1. Introduction
This manual provides detailed instructions for the operation and maintenance of your Toshiba DVR660 1080p Upconverting VHS DVD Recorder with Built-in Digital Tuner. Please read this manual thoroughly before using the device to ensure proper functionality and to prevent damage.
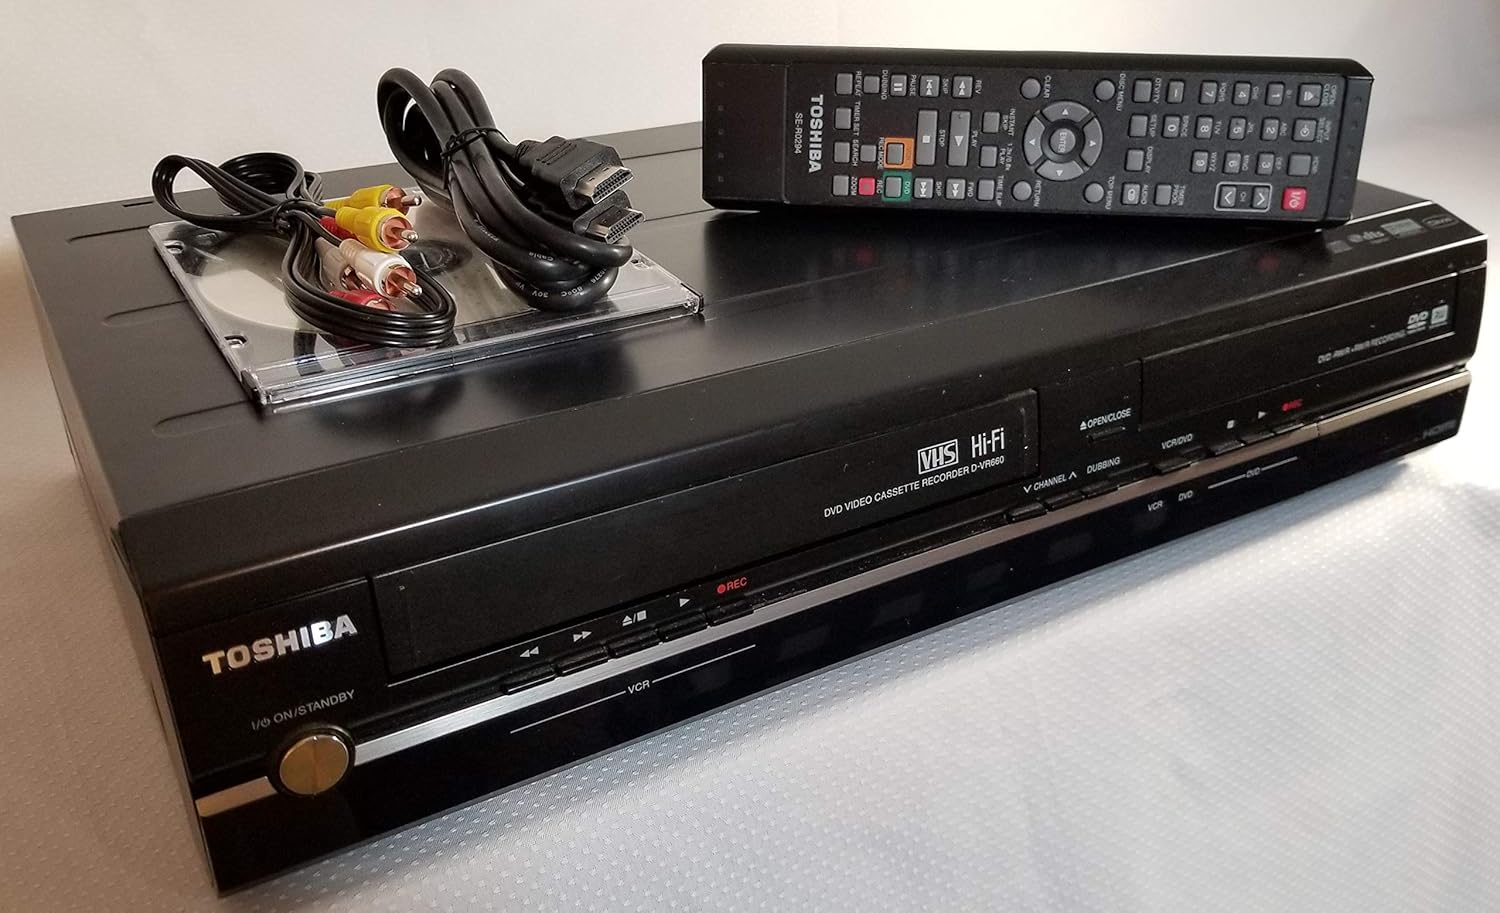
Figure 1: Toshiba DVR660 front view with remote control and connection cables.
2. Setup
2.1 Unpacking
Carefully remove all components from the packaging. Ensure the following items are present:
- Toshiba DVR660 unit
- Remote control
- Power cord
- AV cables (RCA type)
- HDMI cable (if included with your specific package)
2.2 Connecting the Device
Follow these steps to connect your DVR660 to your television and other audio/video equipment:
- Power Connection: Connect the power cord to the DVR660 and then to a wall outlet.
- Video Connection:
- For optimal picture quality, use an HDMI cable to connect the HDMI OUT port on the DVR660 to an HDMI IN port on your television.
- Alternatively, use component video cables (red, green, blue) for video and red/white RCA cables for audio, connecting them to the corresponding IN ports on your TV.
- For standard definition, use a composite video cable (yellow) for video and red/white RCA cables for audio.
- Audio Connection:
- If using HDMI, audio is transmitted automatically.
- If using component or composite video, connect the red and white RCA audio cables from the DVR660's AUDIO OUT to your TV's AUDIO IN.
- For digital audio, use an optical or coaxial digital audio cable from the DVR660's DIGITAL AUDIO OUT to a compatible input on your audio receiver.
- Antenna/Cable Connection: Connect your antenna or cable TV line to the ANTENNA IN port on the DVR660.

Figure 2: Rear panel connections including HDMI, component, composite, and audio ports.

Figure 3: Model number D-VR660 and serial number details on the rear label.
3. Operating Instructions
3.1 Basic Playback (DVD/VHS)
- Power On: Press the Power button on the unit or remote control.
- Insert Media:
- For DVD: Press the OPEN/CLOSE button on the DVD tray, place a DVD disc, and press OPEN/CLOSE again to close.
- For VHS: Insert a VHS tape into the VCR slot.
- Select Source: Use the VCR/DVD button on the remote or front panel to switch between VCR and DVD modes.
- Playback: Press the PLAY button to begin playback.
3.2 Recording to DVD
The DVR660 allows recording from external sources or the built-in tuner to a recordable DVD disc.
- Insert Recordable DVD: Place a blank, recordable DVD (DVD-R, DVD-RW, DVD+R, DVD+RW) into the DVD tray.
- Select Input Source: Use the INPUT SELECT button on the remote to choose the source you wish to record (e.g., Line 1, Line 2, TV Tuner).
- Start Recording: Press the REC button on the remote or front panel. The recording indicator will illuminate.
- Stop Recording: Press the STOP button to end the recording.
3.3 Recording to VHS
The DVR660 allows recording from external sources or the built-in tuner to a VHS tape.
- Insert VHS Tape: Insert a blank VHS tape into the VCR slot.
- Select Input Source: Use the INPUT SELECT button on the remote to choose the source you wish to record.
- Start Recording: Press the REC button.
- Stop Recording: Press the STOP button.
3.4 Dubbing VHS to DVD
You can transfer content from a VHS tape to a DVD disc.
- Insert VHS Tape: Insert the VHS tape you want to dub.
- Insert Recordable DVD: Insert a blank, recordable DVD disc.
- Select Dubbing Mode: Refer to your remote control for a "Dubbing" or "VHS->DVD" button, or navigate through the on-screen menu to select the dubbing function.
- Start Dubbing: Follow the on-screen prompts or press the designated button to start the transfer.
3.5 JPEG Photo Viewer
The DVR660 supports viewing JPEG photos from a CD-R/RW disc.
- Insert Photo CD: Insert a CD-R/RW disc containing JPEG images into the DVD tray.
- Access Photo Viewer: The unit should automatically detect the photo CD and display a menu. If not, select the DVD source and navigate to the photo viewer function.
- Browse Photos: Use the navigation buttons on the remote to browse and view your photos.
4. Maintenance
4.1 Cleaning
- Exterior: Wipe the exterior of the unit with a soft, dry cloth. Do not use liquid cleaners or abrasive materials.
- Disc Tray: Keep the disc tray free of dust and debris.
- VCR Heads: For optimal VHS playback and recording, periodically use a dry-type VHS head cleaner tape.
4.2 Storage
Store the DVR660 in a cool, dry place away from direct sunlight and extreme temperatures. Ensure proper ventilation around the unit.
5. Troubleshooting
| Problem | Possible Cause | Solution |
|---|---|---|
| No power | Power cord not connected; outlet not active. | Check power cord connection; test outlet with another device. |
| No picture/sound | Incorrect input selected on TV; cables loose or incorrect. | Select correct input on TV (e.g., HDMI 1, Video 1); check all cable connections. |
| Disc/Tape not playing | Disc/tape dirty or damaged; incorrect media type. | Clean disc/tape; try a different disc/tape; ensure media is compatible. |
| Recording issues | No blank recordable media; copy-protected content. | Insert blank recordable DVD/VHS; note that some content cannot be recorded due to copy protection. |
6. Specifications
- Model: D-VR660
- Product Type: DVD Recorder/VCR Combo
- Upconversion: 1080p
- Built-in Tuner: Digital Tuner
- Special Features: Progressive Scan, JPEG Photo Viewer
- Media Type: DVD, VHS
- Connectivity: HDMI, Component Video, Composite Video, S-Video, Digital Audio (Optical/Coaxial), Analog Audio (RCA)
- Dimensions: 10.31 x 17.13 x 3.92 inches
- Weight: 12.32 pounds
- Power Consumption: 30W
- Audio Output Mode: Stereo
- Built-in Decoders: Dolby Digital
7. Media Conversion (Optional)
While the Toshiba DVR660 can dub VHS to DVD, for advanced digital conversion of your VHS tapes or DVDs to modern digital formats (e.g., USB drive), you might consider a dedicated video converter. The following video demonstrates a third-party device that can assist with this process.
Video 1: Demonstration of a PORTTA HD Video Recorder for converting VHS/DVD to digital formats. This device is separate from the Toshiba DVR660 but can be used to digitize content played on it.
8. Warranty Information
For specific warranty details, please refer to the warranty card included with your product or visit the official Toshiba support website. Keep your proof of purchase for warranty claims.
9. Customer Support
If you encounter any issues not covered in this manual, please contact Toshiba customer support. Contact information can typically be found on the Toshiba website or in your product documentation.