
1. Introduction
This user manual provides essential information for the safe and effective operation and maintenance of your Clore Automotive Jump-N-Carry JNC300XL 900 Peak Amp Jump Starter. Please read this manual thoroughly before using the product to ensure proper function and to prevent damage or injury.
The JNC300XL is an ultra-portable 12V jump starter designed to provide reliable starting power for various vehicles and to power 12-volt accessories.
2. Product Features
- 900 Peak Amps; 225 Cranking Amps: Provides robust power for jump-starting vehicles.
- 27" #4 AWG Cables: Durable and efficient cables for power transfer.
- 12V LED Flashlight: Integrated light for visibility in low-light conditions.
- DC Outlet: Allows powering of 12-volt accessories.
- Full Size Clamps: Designed to penetrate corrosion for reliable connection.

Figure 1: Clore Automotive JNC300XL Jump Starter. This image shows the compact design of the jump starter with its integrated cables, clamps, and LED flashlight.
3. What's in the Box
Upon opening the package, please verify that all components are present and undamaged:
- (1) JNC300XL Jump Starter
- (1) JNC214 AC Charger
4. Setup and Initial Charge
Before first use, the JNC300XL must be fully charged. This ensures optimal performance and battery longevity.
- Connect Charger: Plug the JNC214 AC Charger into the charging port on the JNC300XL unit.
- Plug into Wall: Plug the AC Charger into a standard 120V AC wall outlet.
- Charge Indicator: Observe the charge indicator lights on the unit. The unit is fully charged when all indicator lights are illuminated and steady.
- Initial Charge Time: Allow for an initial charge of at least 12-24 hours.
It is recommended to recharge the unit after each use and at least every 30 days to maintain the internal battery's health, even when not in use.
5. Operating Instructions
5.1. Jump Starting a Vehicle
Follow these steps carefully to safely jump-start a vehicle:
- Prepare Vehicle: Ensure the vehicle's ignition is off and all accessories (lights, radio, etc.) are turned off. Engage the parking brake.
- Connect Positive Clamp: Connect the RED positive (+) clamp of the JNC300XL to the positive (+) terminal of the vehicle's discharged battery. Ensure a solid connection.
- Connect Negative Clamp: Connect the BLACK negative (-) clamp of the JNC300XL to a clean, unpainted metal part of the vehicle's engine block or chassis, away from the battery and fuel lines. Do NOT connect directly to the negative battery terminal unless specified by the vehicle manufacturer.
- Start Vehicle: Once both clamps are securely connected, attempt to start the vehicle. Crank the engine for no more than 5-6 seconds. If the vehicle does not start, wait at least 3 minutes before attempting again to allow the jump starter to cool.
- Disconnect Clamps: Once the vehicle starts, disconnect the BLACK negative (-) clamp first, then disconnect the RED positive (+) clamp. Store the clamps securely in their designated holders on the unit.

Figure 2: Using the JNC300XL to jump start a 12-volt vehicle. The image illustrates the compact size and ease of handling when positioning the unit near the vehicle's battery.

Figure 3: Full-sized clamps for secure connection. This close-up shows the robust design of the clamps, which are built to ensure good contact even with corroded battery terminals.
5.2. Using the 12V DC Outlet
The JNC300XL features a 12V DC outlet, which can be used to power various 12-volt accessories such as portable air compressors, car vacuums, or phone chargers.
- Locate Outlet: The 12V DC outlet is typically located on the control panel of the unit.
- Plug in Accessory: Insert the 12V plug of your accessory into the DC outlet.
- Power On: Some accessories may require the unit's power button to be turned on. Refer to your accessory's manual for specific instructions.
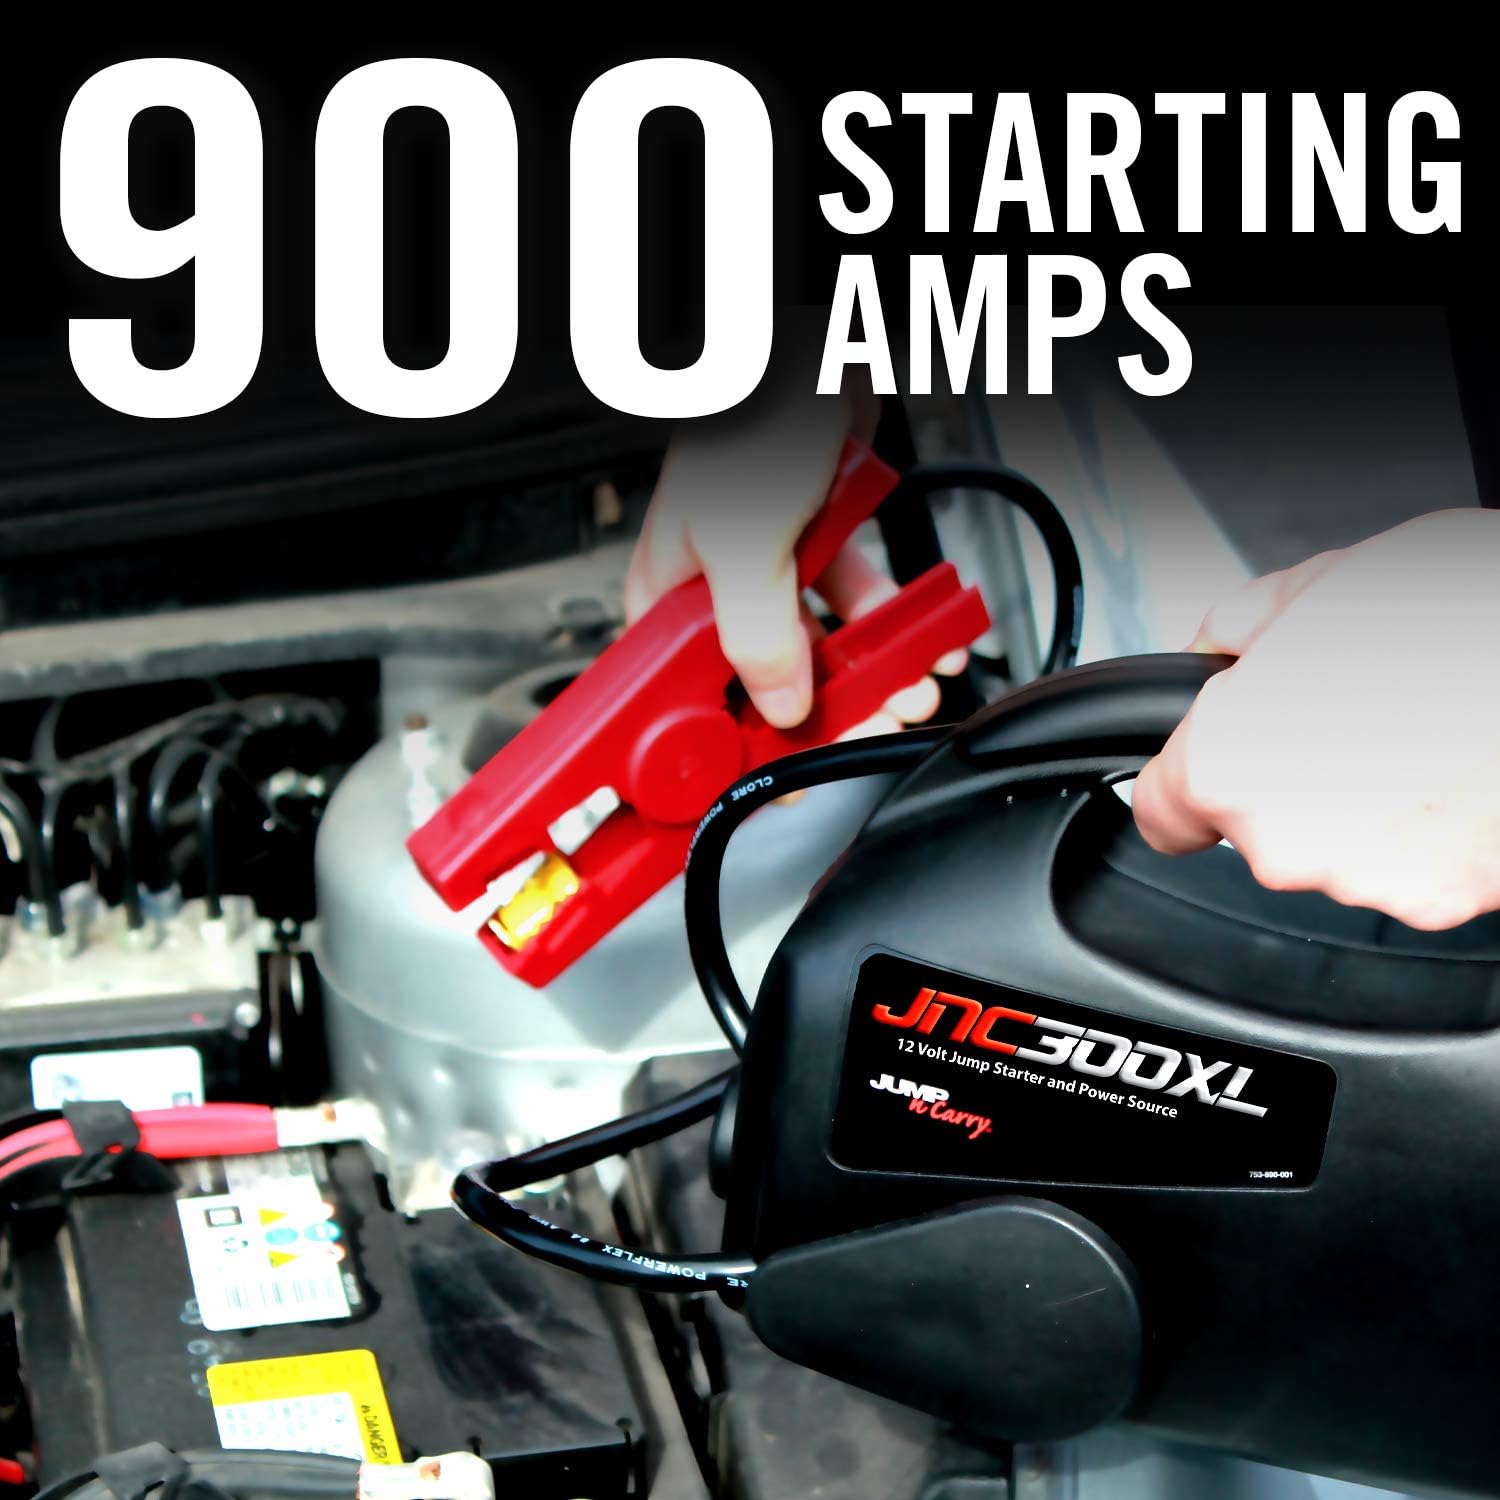
Figure 4: Control panel with LED flashlight. The image highlights the integrated LED flashlight and the buttons for checking battery status and activating the light/DC outlet.
5.3. Using the LED Flashlight
The integrated 12V LED flashlight provides convenient illumination during use in dark environments.
- Activate Light: Press the yellow button on the control panel to turn the LED flashlight on or off.
6. Maintenance
Proper maintenance ensures the longevity and reliability of your JNC300XL Jump Starter.
- Regular Recharging: Recharge the unit after every use. If not used, recharge at least every 30 days to keep the internal battery fully charged. This prevents sulfation and extends battery life.
- Clean Unit: Keep the unit clean and free from dirt, grease, and moisture. Use a soft, dry cloth for cleaning.
- Inspect Cables and Clamps: Periodically inspect the cables and clamps for any signs of damage, fraying, or corrosion. Replace if necessary.
- Storage: Store the unit in a cool, dry place, away from direct sunlight and extreme temperatures.
7. Troubleshooting
| Problem | Possible Cause | Solution |
|---|---|---|
| Unit does not turn on / No power output. | Internal battery is discharged. | Recharge the unit fully using the provided AC charger. |
| Vehicle does not start after jump attempt. | Poor connection; Severely discharged battery; Vehicle issue (not battery related). | Ensure clamps are securely connected to clean terminals/chassis. Allow unit to rest for 3 minutes before re-attempting. If still no start, consult a professional mechanic. |
| LED flashlight is dim or not working. | Low battery charge; Faulty LED. | Recharge the unit. If problem persists, contact customer support. |
8. Specifications
| Attribute | Value |
|---|---|
| Brand | Clore Automotive |
| Model | JNC300XL |
| Peak Output Current | 900 Amps |
| Amperage | 900 Amps |
| Item Weight | 9 Pounds |
| Product Dimensions | 7.25 x 7.75 x 12 inches |
| Batteries | 1 12V batteries required. (included) |
9. Warranty and Support
The Clore Automotive JNC300XL is designed for durability and reliability. For detailed warranty information, please refer to the official user manual provided with your product or download it from the manufacturer's website.
For technical support, troubleshooting assistance, or warranty claims, please contact Clore Automotive customer service directly. Contact information can typically be found on the manufacturer's website or in the full user manual.
Official User Manual (PDF): Download PDF


