
Introduction
This manual provides essential information for the safe and efficient operation of your Wireless Appliance Remote Control Lamp Light Switch. Please read these instructions thoroughly before use and retain them for future reference.
Safety Information
- Indoor Use Only: This device is designed for indoor use in dry locations. Do not expose to water or high humidity.
- Electrical Rating: Do not exceed the maximum electrical rating of 120V~/60Hz, 10A. Overloading may cause damage or fire.
- Proper Insertion: Ensure the receiver is fully inserted into the wall outlet.
- Children and Pets: Keep the device and remote control out of reach of children and pets.
- Cleaning: Disconnect from power before cleaning. Use a dry cloth only.
Package Contents
- 1 x Wireless Remote Control Receiver
- 1 x Remote Control Transmitter
Note: Batteries for the remote control are not included. A 12V 23A battery is required.
Setup
- Install Battery in Remote Control:

Image: The remote control with its battery cover removed, revealing the slot for a 12V 23A battery. Ensure correct polarity when inserting the battery.
Open the battery compartment on the back of the remote control. Insert one 12V 23A battery, ensuring the correct polarity (+/-). Close the battery compartment securely. - Plug in the Receiver:

Image: A close-up of the front of the wireless receiver, showing the integrated electrical outlet, a 'RESET' button, an 'ON/OFF' button, and indicator lights.
Plug the wireless receiver directly into a standard 120V AC wall outlet. The receiver may cover both outlets of a duplex receptacle due to its size. - Connect Your Appliance:
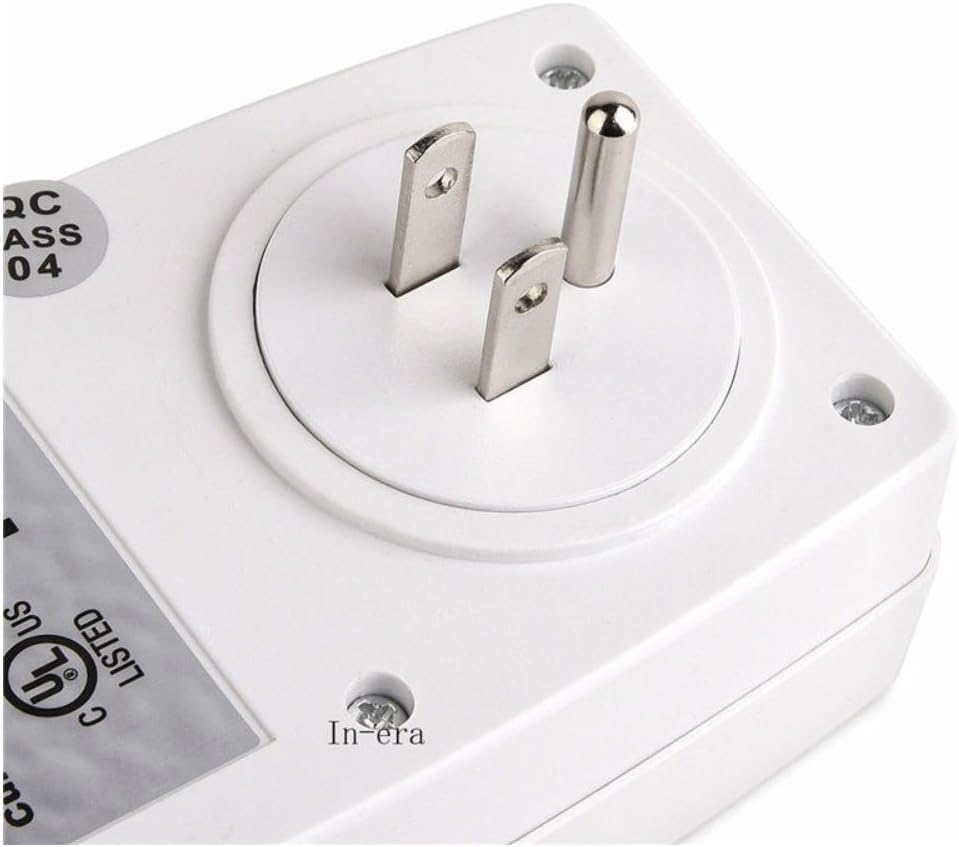
Image: A detailed view of the three-prong plug on the back of the receiver unit, designed for insertion into a standard wall outlet.
Plug the appliance you wish to control (e.g., a lamp) into the outlet on the front of the wireless receiver. Ensure the appliance's own switch is in the 'ON' position if it has one, so it can be controlled by the remote.
Operating Instructions
Once the receiver is plugged in and your appliance is connected, you can control it using either the remote control or the manual button on the receiver.
Using the Remote Control

Image: The remote control unit, featuring distinct 'ON' and 'OFF' buttons for up to three separate channels, along with an indicator light.
- Press the 'ON' button on the remote control to turn on the connected appliance.
- Press the 'OFF' button on the remote control to turn off the connected appliance.
- The remote control typically operates within a range of approximately 50 feet, even through walls, depending on environmental factors.
Using the Manual Button on the Receiver

Image: A user's hand holding the remote control, pointing towards the receiver unit which is plugged into a wall outlet in a room, illustrating the product in action.
- The receiver unit has a manual 'ON/OFF' button. Press this button to toggle the power to the connected appliance directly at the outlet.
- A red indicator light on the receiver will illuminate when the appliance is powered ON.
Maintenance
- Battery Replacement: When the remote control's range decreases or it becomes unresponsive, replace the 12V 23A battery.
- Cleaning: Disconnect the receiver from the wall outlet before cleaning. Wipe the surfaces with a soft, dry cloth. Do not use liquid cleaners or solvents.
- Storage: Store the device in a cool, dry place when not in use for extended periods.
Troubleshooting
- Appliance does not turn ON/OFF:
- Ensure the receiver is securely plugged into a live wall outlet.
- Verify the appliance is properly plugged into the receiver.
- Check if the appliance's own power switch is in the 'ON' position.
- Replace the battery in the remote control.
- Try operating the appliance using the manual 'ON/OFF' button on the receiver.
- Remote control range is reduced:
- Replace the remote control battery.
- Ensure there are no significant obstructions (e.g., large metal objects) between the remote and the receiver.
- Avoid using the device near strong sources of electromagnetic interference.
- Receiver indicator light is off:
- Confirm the wall outlet has power by plugging in another device.
- Ensure the receiver is fully inserted into the wall outlet.
Specifications
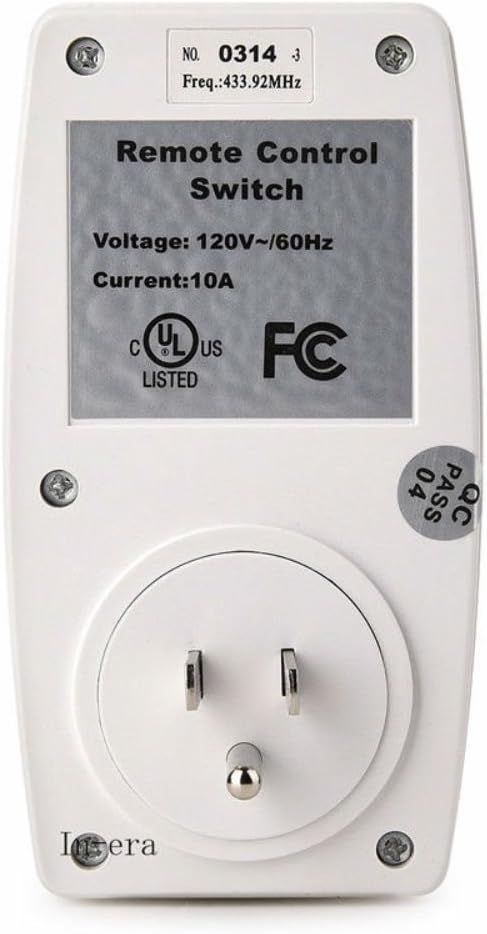
Image: The rear side of the wireless receiver, displaying a label with technical specifications such as voltage, current, and frequency, along with UL and FC certifications.
| Specification | Value |
|---|---|
| Model Number | CECOMINOD048951 |
| Operating Voltage | 120 Volts |
| Current Rating | 10 Amps |
| Frequency | 60 Hz |
| Connector Type | Wireless |
| Control Method | Remote |
| Mounting Type | Wall Mount |
| Color | White |
| Item Weight | 10.4 ounces |
| Package Dimensions | 5.6 x 3.9 x 3.1 inches |
| Remote Battery Type | 12V 23A (not included) |
Warranty and Support
This product is typically covered by a standard manufacturer's warranty against defects in materials and workmanship. For specific warranty details or technical support, please refer to the product packaging or contact the retailer where the product was purchased. Keep your purchase receipt as proof of purchase.


