Introduction
Thank you for choosing the REGAL Automatic Breadmaker Model K6751. This appliance is designed to simplify the process of making fresh, homemade bread. Please read this manual thoroughly before first use to ensure safe operation and optimal performance. Keep this manual for future reference.
Important Safety Instructions
When using electrical appliances, basic safety precautions should always be followed, including the following:
- Read all instructions before operating the breadmaker.
- Do not touch hot surfaces. Use handles or knobs.
- To protect against electric shock, do not immerse cord, plugs, or the appliance in water or other liquid.
- Close supervision is necessary when any appliance is used by or near children.
- Unplug from outlet when not in use and before cleaning. Allow to cool before putting on or taking off parts.
- Do not operate any appliance with a damaged cord or plug, or after the appliance malfunctions or has been damaged in any manner.
- The use of accessory attachments not recommended by the appliance manufacturer may cause injuries.
- Do not use outdoors.
- Do not let cord hang over edge of table or counter, or touch hot surfaces.
- Do not place on or near a hot gas or electric burner, or in a heated oven.
- Extreme caution must be used when moving an appliance containing hot oil or other hot liquids.
- To disconnect, turn any control to 'off', then remove plug from wall outlet.
- Do not use appliance for other than intended use.
Product Overview
Familiarize yourself with the components of your REGAL Automatic Breadmaker.
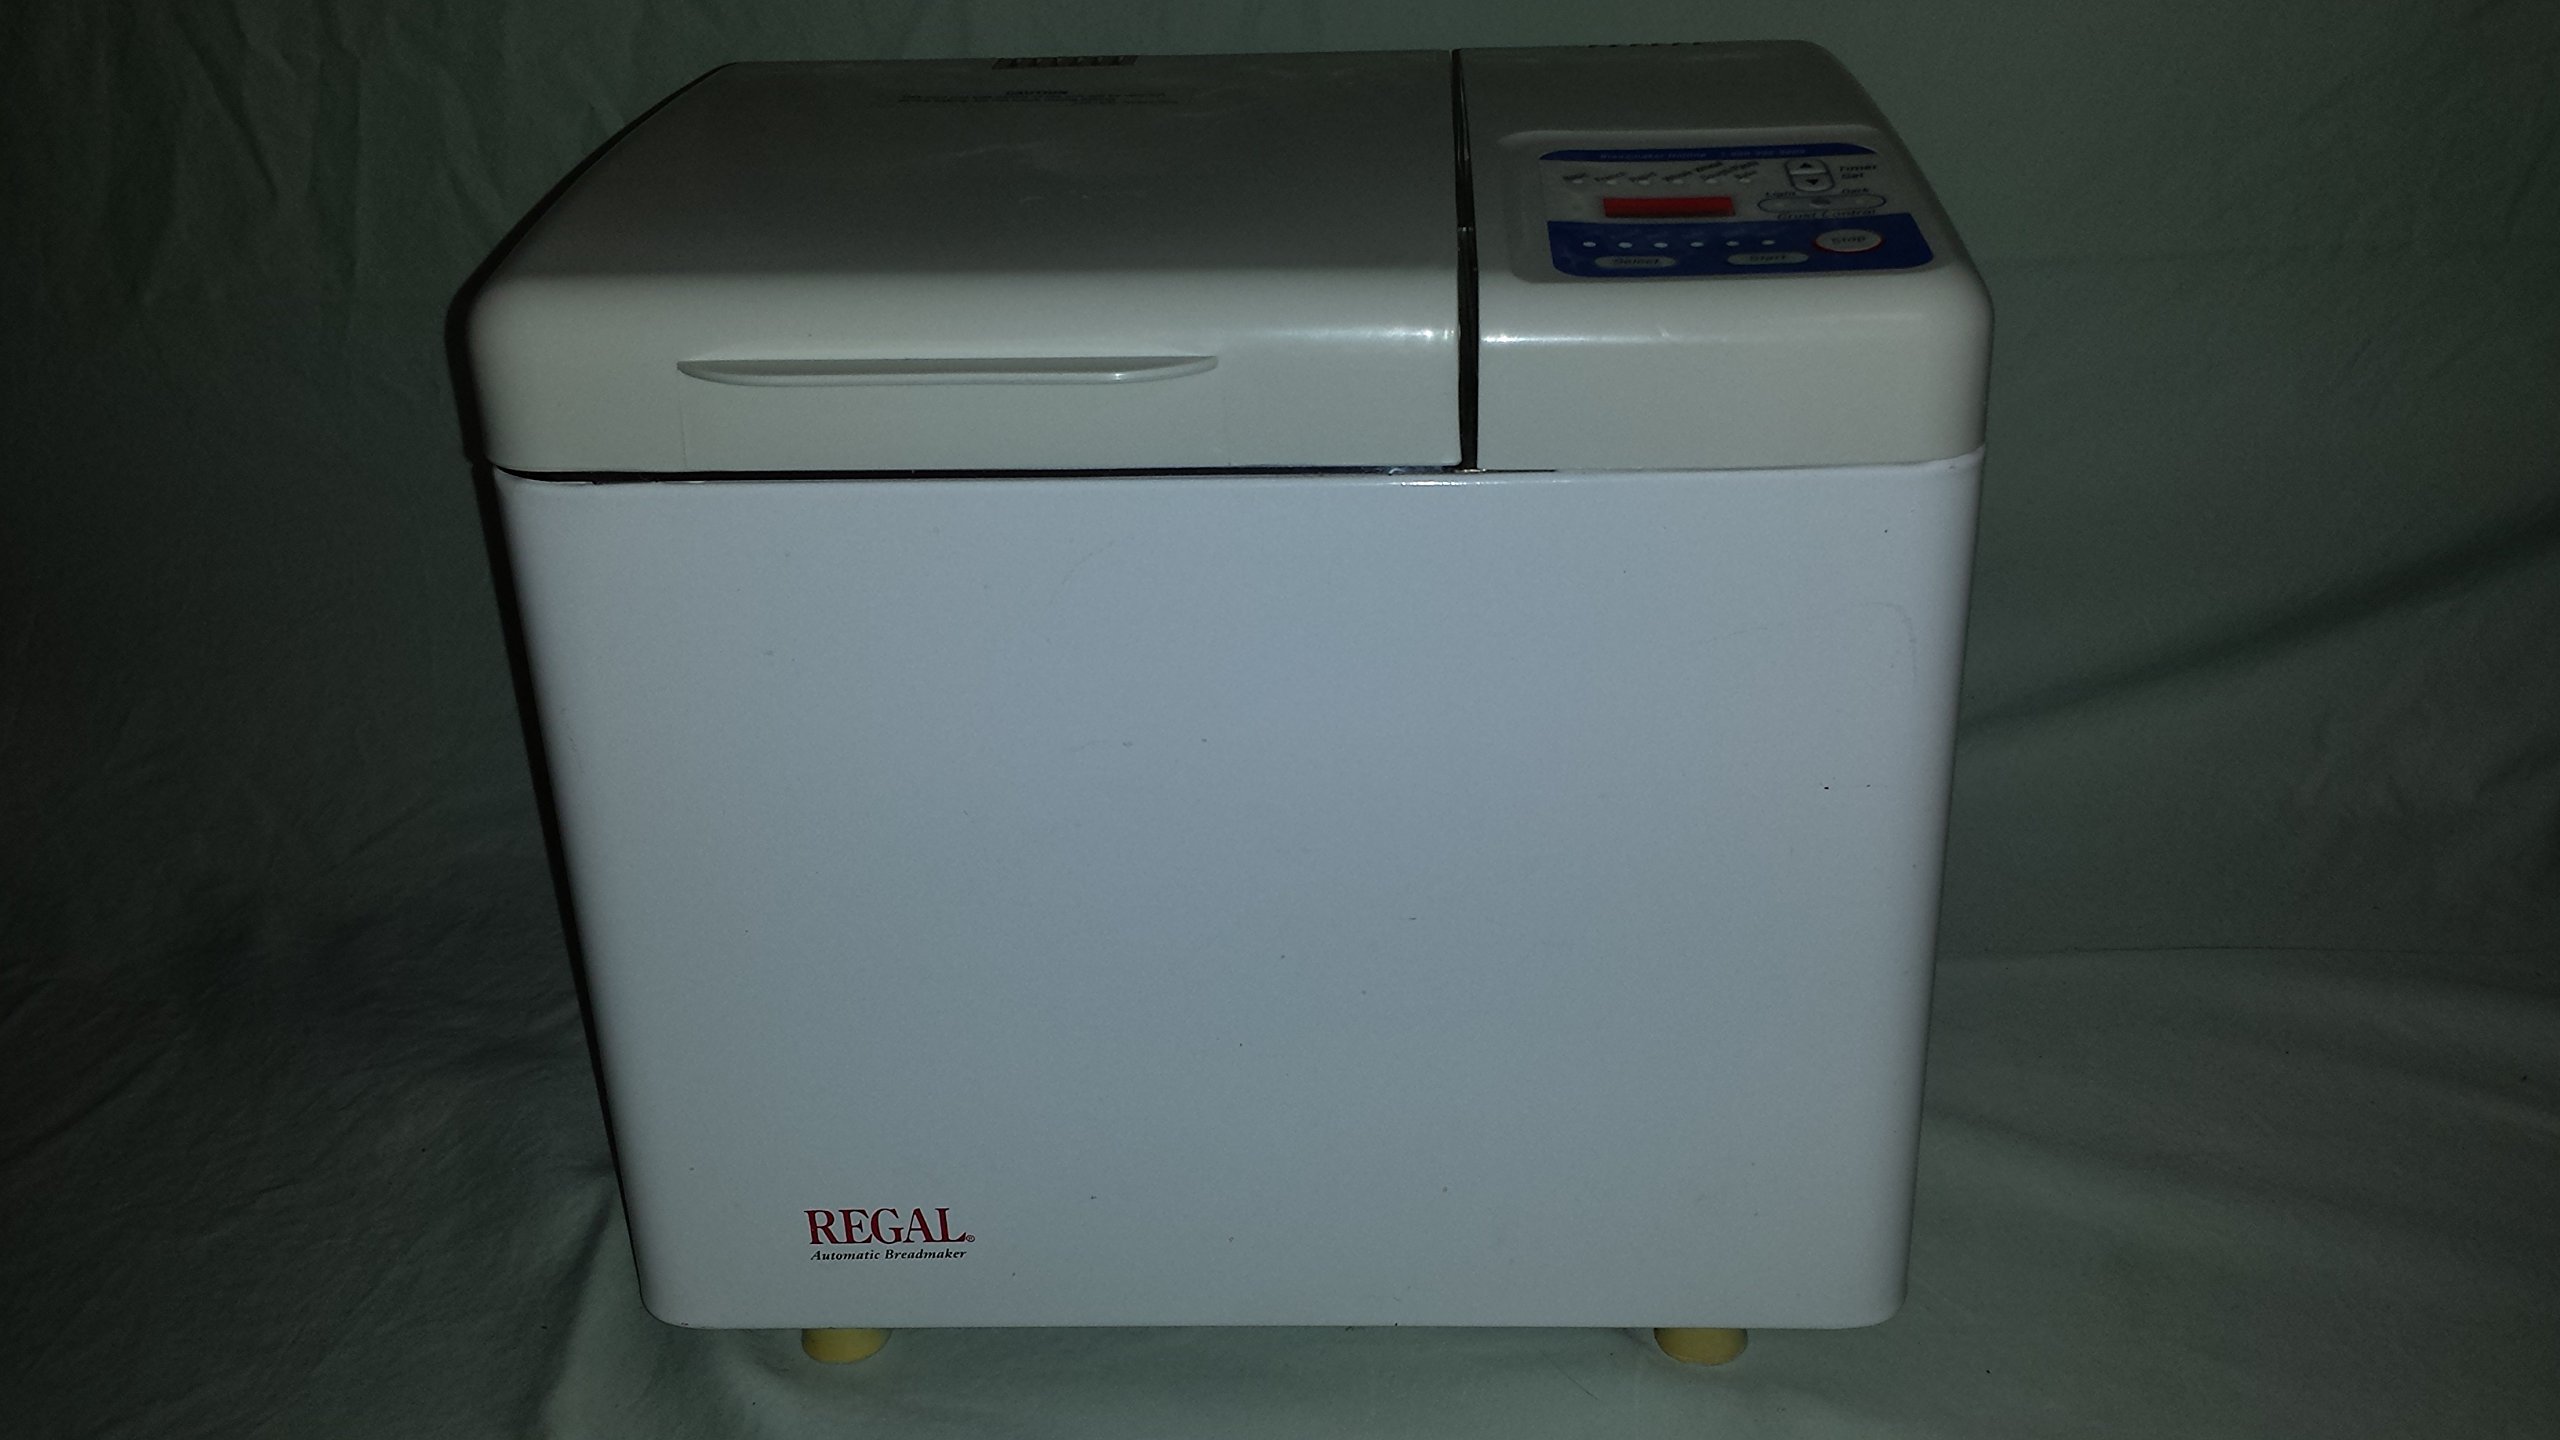
Image 1: Top view of the REGAL Automatic Breadmaker, showing the removable bread pan, kneading paddle, and the control panel with various program selections and crust control options.
Main Components:
- Lid: Hinged lid for accessing the bread pan.
- Control Panel: Features program selection buttons, crust control, timer settings, and start/stop functions.
- Baking Chamber: The interior cavity where the bread pan is placed.
- Removable Bread Pan: Non-stick pan for baking, with a drive shaft for the kneading paddle.
- Kneading Paddle: Detachable paddle that attaches to the drive shaft inside the bread pan for mixing and kneading ingredients.

Image 2: The interior baking chamber of the breadmaker, with the bread pan removed. This view shows the heating element and the central drive mechanism for the bread pan.

Image 3: The underside of the removable bread pan, illustrating the mechanism that connects to the breadmaker's drive shaft for kneading.
Control Panel Functions:
- Program Indicators: Lights indicate the selected program (Basic, French, Rapid, Whole Wheat, Sweet, Dough/Pasta, Bake).
- Timer Set: Adjusts the delay timer for delayed baking.
- Crust Control: Selects desired crust darkness (Light, Dark).
- Select Button: Cycles through available programs.
- Start Button: Initiates the selected program.
- Stop Button: Halts the current program.
Setup
- Unpacking: Carefully remove the breadmaker and all accessories from the packaging. Retain packaging for storage or shipping.
- Initial Cleaning: Before first use, wash the bread pan and kneading paddle with warm, soapy water. Rinse thoroughly and dry completely. Wipe the interior and exterior of the breadmaker with a damp cloth.
- Placement: Place the breadmaker on a stable, flat, heat-resistant surface, away from direct sunlight and heat sources. Ensure adequate ventilation around the appliance.
- Insert Bread Pan: Place the clean, dry bread pan into the baking chamber. Press down firmly until it clicks into place. Ensure the kneading paddle is securely attached to the shaft inside the pan.
- Power Connection: Plug the power cord into a grounded electrical outlet. The display will illuminate.
Operating Instructions
Basic Bread Making Process:
- Add Ingredients: Always add liquid ingredients first, followed by dry ingredients. Make a small indentation in the dry ingredients and add the yeast last, ensuring it does not come into direct contact with liquids or salt initially. Refer to a reliable breadmaker recipe for precise measurements for a 1.5-pound loaf.
- Select Program: Close the lid. Press the 'Select' button repeatedly until the desired program indicator lights up (e.g., Basic, Whole Wheat).
- Choose Crust Color: Press the 'Crust Control' button to select 'Light' or 'Dark' crust.
- Set Delay Timer (Optional): If you wish to delay the start of the baking process, use the 'Timer Set' buttons to adjust the delay time. The total time displayed includes the baking cycle.
- Start Baking: Press the 'Start' button. The breadmaker will begin its cycle, which includes kneading, rising, and baking.
- End of Cycle: A signal will sound when the program is complete. The breadmaker may enter a 'Keep Warm' cycle.
- Remove Bread: Unplug the breadmaker. Using oven mitts, carefully remove the bread pan by twisting and lifting it out. Invert the pan onto a wire rack to release the bread. If the kneading paddle remains in the bread, carefully remove it with a non-metallic utensil.
- Cooling: Allow the bread to cool on a wire rack for at least 20-30 minutes before slicing.
Available Programs:
- Basic: For white and mixed breads.
- French: For light breads made from fine flour.
- Rapid: For quick baking of basic bread.
- Whole Wheat: For breads made with a significant proportion of whole wheat flour.
- Sweet: For breads with high sugar, fats, and proteins.
- Dough/Pasta: Prepares dough for rolls, pizza, or pasta without baking.
- Bake: For baking pre-prepared dough or for adding extra baking time.
Maintenance and Cleaning
Proper care ensures the longevity and performance of your breadmaker.
- Unplug and Cool: Always unplug the breadmaker from the power outlet and allow it to cool completely before cleaning.
- Bread Pan and Kneading Paddle: Remove the bread pan and kneading paddle. Wash them with warm, soapy water using a soft sponge. Do not use abrasive cleaners or metal scouring pads, as this can damage the non-stick coating. Rinse thoroughly and dry completely.
- Interior of Baking Chamber: Wipe the interior of the baking chamber with a damp cloth to remove any crumbs or residue. Ensure no water enters the drive shaft area.
- Exterior: Wipe the exterior of the breadmaker with a dry cloth. Do not immerse the main unit in water or any other liquid.
- Storage: Store the breadmaker in a clean, dry place once all parts are clean and dry.
Troubleshooting
If you encounter issues with your breadmaker, refer to the following common problems and solutions:
| Problem | Possible Cause | Solution |
|---|---|---|
| Bread does not rise | Expired yeast, incorrect water temperature, too much salt/sugar, incorrect ingredient order. | Check yeast freshness. Use lukewarm water (105-115°F / 40-46°C). Ensure yeast is added last and not in direct contact with salt or liquids initially. |
| Bread is too dense/heavy | Too much flour, not enough liquid, old yeast. | Measure ingredients precisely. Ensure correct liquid-to-flour ratio. Check yeast activity. |
| Bread sticks to pan | Damaged non-stick coating, bread not cooled sufficiently. | Ensure non-stick coating is intact. Allow bread to cool on a wire rack for 20-30 minutes before slicing. |
| Kneading paddle stuck in bread | Common occurrence. | Carefully remove the paddle with a non-metallic utensil after the bread has cooled slightly. |
| Breadmaker stops mid-cycle | Power interruption, overheating. | Check power supply. If overheating, unplug and let cool for 30 minutes before restarting. |
Specifications
- Model: K6751
- Brand: REGAL
- Capacity: 1.5 Pounds
- Number of Programs: 6 (Basic, French, Rapid, Whole Wheat, Sweet, Dough/Pasta, Bake)
- Material: Stainless Steel (housing components)
- Item Weight: 18.36 pounds
- Package Dimensions: 14.75 x 14.75 x 10.75 inches
- Product Care Instructions: Wipe with Dry Cloth
Warranty and Support
For warranty information or technical support, please refer to the documentation included with your purchase or contact REGAL customer service. Keep your proof of purchase for warranty claims.


