1. Introduction
The Sealey VS160 Valve Spring Compressor is designed for the efficient replacement of valve springs and valve stem oil seals. This tool allows for these operations to be performed without the necessity of removing the cylinder head, provided it is used with a VS1601 Compressed Air Adaptor (sold separately). It features a reversible jaw adaptor and an automatic cam action lock for pre-setting spring tension, making it suitable for a wide range of OHV, OHC, and CVH engines.
Important Safety Note:
- Always wear appropriate personal protective equipment, including eye protection.
- Ensure the engine is cool before attempting any work on valve components.
- Refer to the vehicle manufacturer's service manual for specific procedures and torque settings.
- This tool is not suitable for engines with deep-seated valves.
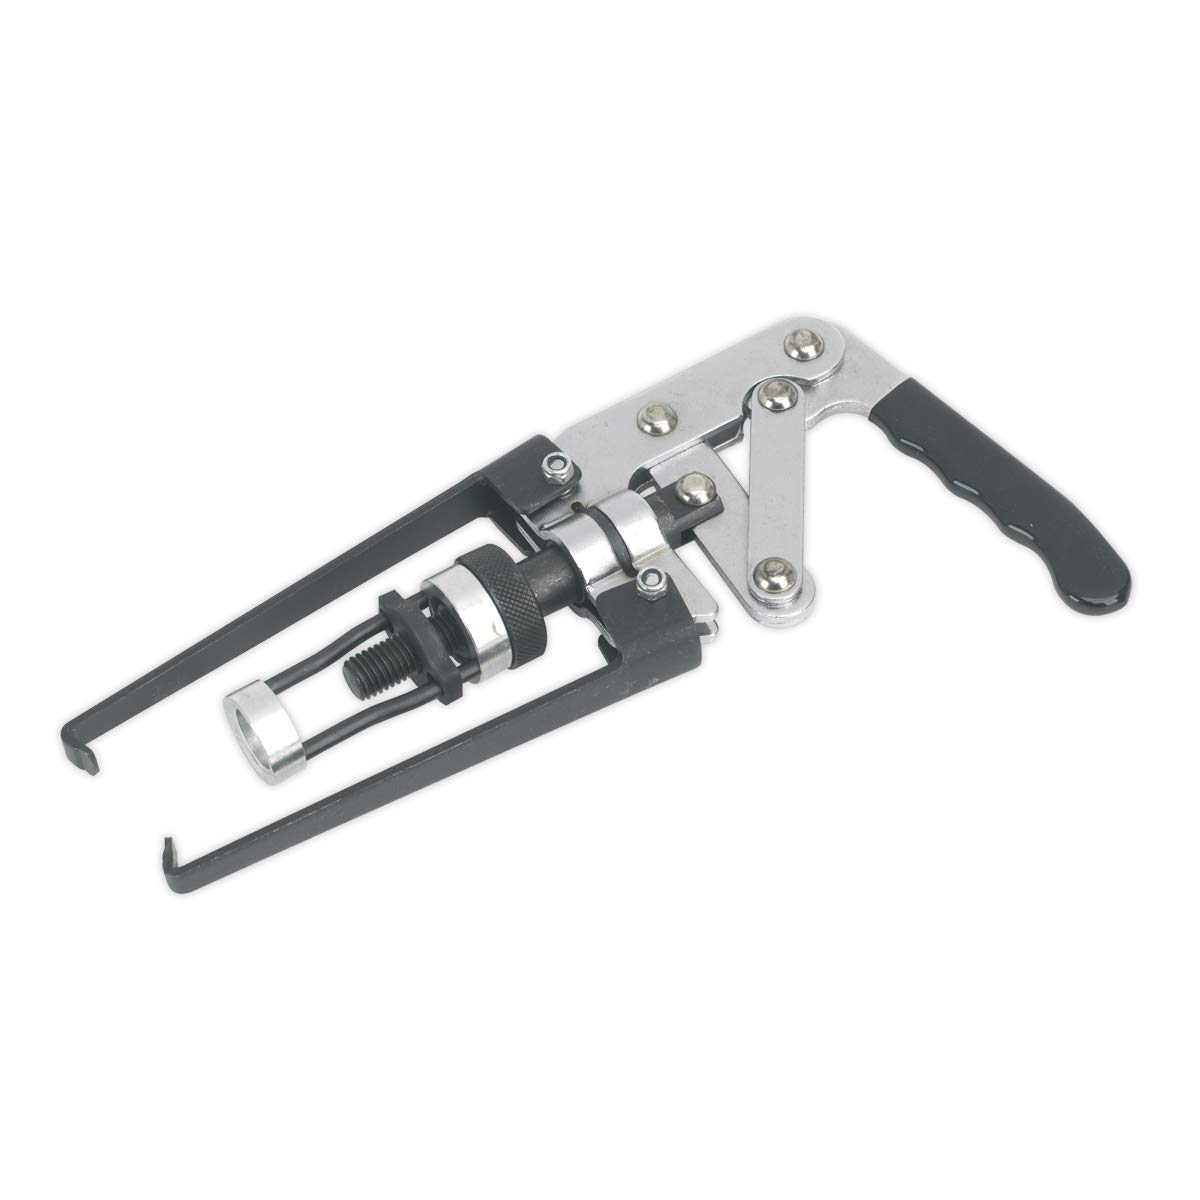
Figure 1: The Sealey VS160 Valve Spring Compressor. This image shows the main body of the compressor, including the handle, the reversible jaw adaptor, and the cam action lock mechanism.
2. Setup
- Engine Preparation: Ensure the engine is turned off and cool. Disconnect the battery to prevent accidental starting.
- Cylinder Head Access: Remove any components obstructing access to the valve springs, such as rocker covers or camshafts, as per the vehicle manufacturer's instructions.
- Piston Positioning: For valve spring replacement without cylinder head removal, position the piston of the cylinder you are working on at Top Dead Center (TDC) on its compression stroke. This helps prevent the valve from dropping into the cylinder if it accidentally detaches from the compressor.
- Compressed Air Adaptor (VS1601): If replacing valve stem oil seals or working without cylinder head removal, install the Sealey VS1601 Compressed Air Adaptor (not included) into the spark plug hole of the cylinder. Connect an air compressor to maintain pressure in the cylinder, holding the valves in place.
- Tool Adjustment:
- Select the appropriate jaw adaptor for the valve spring diameter. The VS160 features a reversible jaw adaptor.
- Adjust the compressor's height to accommodate the valve spring assembly.
3. Operating Instructions
- Positioning the Compressor: Carefully place the compressor over the valve spring. Ensure the lower jaw securely grips the cylinder head or valve spring seat, and the upper jaw is centered on the valve spring retainer.
- Compressing the Spring:
- Engage the automatic cam action lock mechanism.
- Gradually apply pressure to the compressor handle to compress the valve spring. Observe the spring as it compresses, ensuring it does so evenly.
- Compress the spring just enough to expose the valve keepers (collets).
- Removing Valve Keepers: Once the spring is compressed, use a magnetic tool or small pliers to carefully remove the valve keepers. Store them safely.
- Releasing the Spring: Slowly release the pressure on the compressor handle, allowing the valve spring and retainer to decompress. Remove the spring and retainer.
- Installing New Components:
- Install the new valve stem oil seal (if applicable) and the new valve spring and retainer.
- Position the compressor over the new spring and retainer.
- Compress the spring as before, ensuring the retainer is properly seated.
- Carefully place the valve keepers into their grooves on the valve stem.
- Slowly release the compressor, ensuring the keepers lock into the retainer correctly. Gently tap the retainer with a rubber mallet to ensure proper seating.
- Repeat: Move to the next valve and repeat the process.
Caution:
- Never force the tool. If resistance is encountered, re-check positioning.
- Ensure valve keepers are fully seated before removing the compressor. Improper seating can lead to valve drop.
4. Maintenance
- Cleaning: After each use, clean the tool thoroughly to remove oil, grease, and debris. Use a clean cloth.
- Lubrication: Periodically apply a light coat of machine oil to all moving parts, including the cam action lock and threaded components, to ensure smooth operation and prevent corrosion.
- Inspection: Regularly inspect the tool for any signs of wear, damage, or deformation, especially on the jaws and cam mechanism. Pay attention to welds, as some users have reported issues with spot welds.
- Storage: Store the valve spring compressor in a clean, dry place, away from moisture and corrosive materials.
- Repair: Do not attempt to repair damaged components yourself unless you are qualified. Contact Sealey customer support or a qualified technician for repairs.
5. Troubleshooting
| Problem | Possible Cause | Solution |
|---|---|---|
| Tool does not compress spring effectively. | Incorrect jaw adaptor size or positioning. Spring tension too high for tool. | Ensure correct jaw adaptor is used and properly seated. Verify the tool is suitable for the specific engine's valve springs. |
| Valve keepers are difficult to remove/install. | Spring not compressed enough. Keepers are stuck. | Compress the spring slightly more to fully expose the keeper grooves. Use a magnetic tool for easier handling of keepers. |
| Tool feels unstable or slips. | Improper seating on cylinder head or retainer. Worn or damaged jaws. | Re-position the tool to ensure secure contact. Inspect jaws for wear; replace tool if damaged. |
| Tool components (e.g., jaws) break or bend. | Excessive force applied. Tool used on deep-seated valves. Manufacturing defect. | Do not apply excessive force. Ensure the tool is not used on engines with deep-seated valves. Contact Sealey for warranty or repair if a defect is suspected. |
If problems persist, consult a qualified mechanic or contact Sealey customer support.
6. Specifications
| Feature | Detail |
|---|---|
| Model Number | VS160 |
| Brand | Sealey |
| Compatibility | OHV, OHC, and CVH engines (not suitable for deep-seated valves) |
| Function | Valve spring and valve stem oil seal replacement without cylinder head removal (with VS1601 adaptor) |
| Features | Reversible jaw adaptor, automatic cam action lock |
| Item Weight | 1.83 pounds (approx. 0.83 kg) |
| Product Dimensions | 6.5 x 12.95 x 1.57 inches (approx. 16.5 x 32.9 x 4 cm) |
7. Warranty and Support
For warranty information, please refer to the documentation provided with your purchase or contact your retailer. Sealey products typically come with a manufacturer's warranty covering defects in materials and workmanship.
For technical support, spare parts, or service inquiries, please contact Sealey customer service:
- Website: www.sealey.co.uk
- Contact Information: Refer to the official Sealey website for the most current contact details, including phone numbers and email addresses for your region.
Always provide the model number (VS160) and purchase date when contacting support.


