1. Introduction
Thank you for purchasing the Silverlit X-Twin 3D Air Acrobat 3D Remote Control Plane. This manual provides essential information for the safe and effective operation, maintenance, and troubleshooting of your new RC plane. Please read this manual thoroughly before first use and retain it for future reference.
The Silverlit X-Twin 3D Air Acrobat 3D is a 3-channel remote control plane designed for precision flight and acrobatic maneuvers. It features a durable, shock-resistant construction and an efficient I-Poly battery for extended flight times.

Figure 1.1: The Silverlit X-Twin 3D Air Acrobat 3D Remote Control Plane.
2. Safety Information
Always prioritize safety when operating remote control aircraft. Failure to follow these guidelines may result in injury or damage to property.
- Age Recommendation: This product is suitable for users aged 8 years and older. Adult supervision is recommended for younger users.
- Flight Environment: Operate the plane in open, clear areas away from people, animals, buildings, trees, power lines, and other obstacles. Avoid flying in strong winds or adverse weather conditions.
- Battery Safety:
- Do not attempt to disassemble, short-circuit, or modify batteries.
- Do not expose batteries to extreme temperatures or direct sunlight.
- Always use the recommended charging method for the plane's I-Poly battery.
- Remove batteries from the transmitter when not in use for extended periods.
- Propeller Safety: Keep fingers, hair, and loose clothing away from rotating propellers.
- Visual Line of Sight: Always maintain visual line of sight with the aircraft during flight.
- Pre-Flight Check: Before each flight, ensure all components are securely attached and functioning correctly.
3. Package Contents
Carefully unpack the box and ensure all items listed below are present. If any items are missing or damaged, please contact your retailer.
- Silverlit X-Twin 3D Air Acrobat 3D Plane (with built-in I-Poly battery)
- 3-Channel Remote Control Transmitter
- Instruction Manual (this document)

Figure 3.1: Overview of the product components and features.
4. Setup
4.1 Transmitter Battery Installation
The remote control transmitter requires 6 x AA batteries (not included).
- Locate the battery compartment on the back of the transmitter.
- Open the battery compartment cover.
- Insert 6 x AA batteries, ensuring correct polarity (+/-).
- Close the battery compartment cover securely.
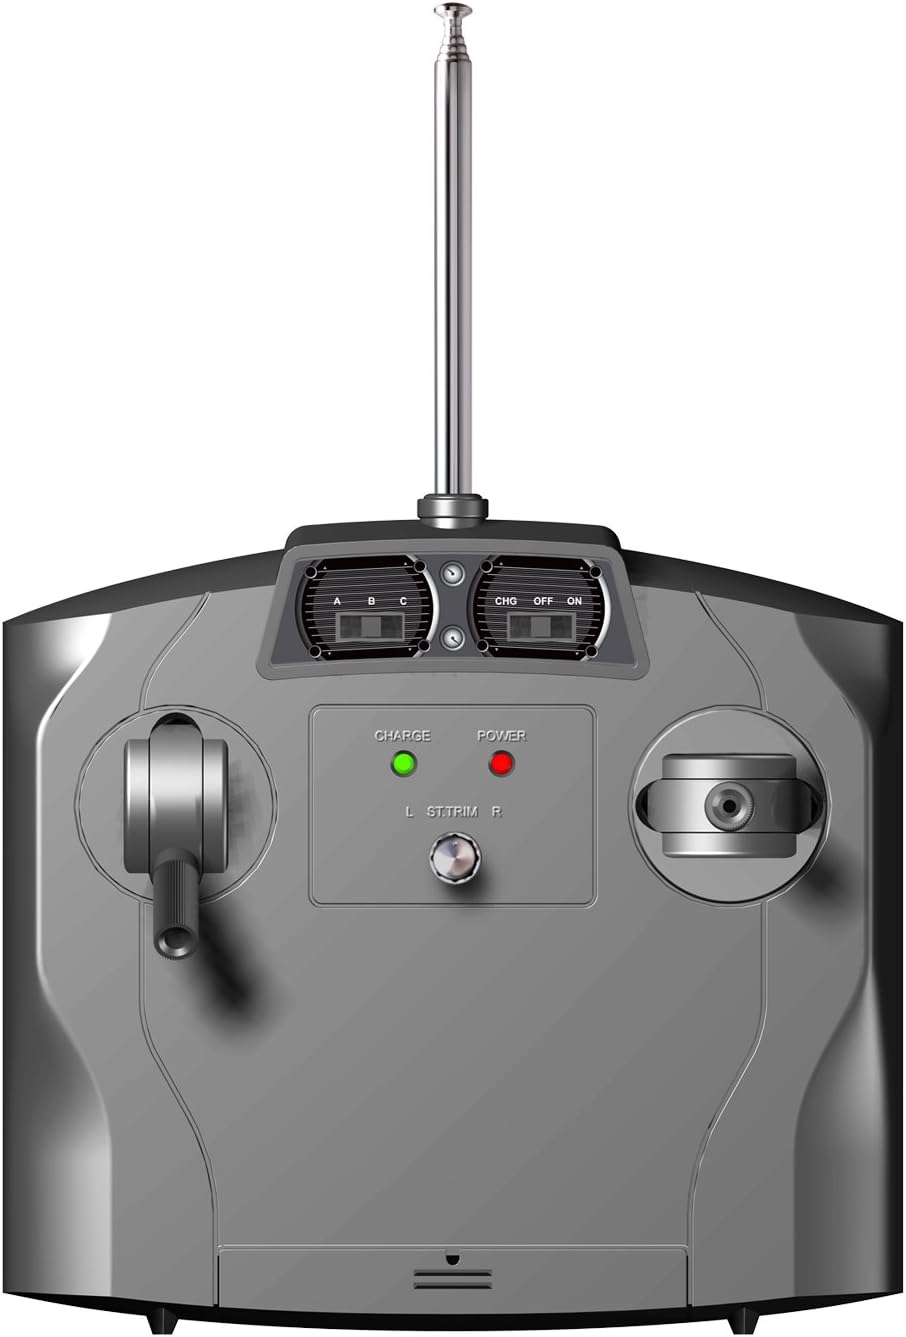
Figure 4.1: The remote control transmitter.
4.2 Charging the Plane's Battery
The plane is equipped with a built-in I-Poly battery. It must be charged before first use and after each flight.
- Ensure the transmitter has fresh batteries and is turned OFF.
- Connect the charging cable from the transmitter to the charging port on the plane. Refer to the transmitter diagram for the charging port location.
- Turn ON the transmitter. The charge indicator light on the transmitter will illuminate.
- Charging typically takes approximately 30-45 minutes. Do not overcharge.
- Once charging is complete, the indicator light may change or turn off. Disconnect the plane from the transmitter and turn OFF the transmitter.
4.3 Binding the Plane and Transmitter
The plane and transmitter are typically pre-bound from the factory. If they do not connect, follow these steps:
- Ensure the plane's battery is charged and the plane is turned OFF.
- Turn ON the transmitter.
- Turn ON the plane.
- Place the plane on a flat surface. The indicator lights on both the plane and transmitter should become solid, indicating a successful connection.
- If binding fails, turn off both devices and repeat the process.
5. Operating Instructions
5.1 Pre-Flight Check
Before each flight, perform the following checks:
- Ensure the plane's battery is fully charged.
- Verify the transmitter batteries are fresh.
- Check that all propellers are securely attached and undamaged.
- Confirm the rear rudder moves freely and responds to transmitter inputs.
- Select a suitable, open flying area free from obstacles.
5.2 Basic Controls
The Silverlit X-Twin 3D Air Acrobat 3D uses a 3-channel control system:
- Throttle (Left Stick): Controls the speed of the propellers, determining altitude and forward thrust. Push up to increase speed, pull down to decrease.
- Direction (Right Stick): Controls the rear rudder for turning left or right. Push left to turn left, push right to turn right.
- Trimmer (on Transmitter): Used to fine-tune the plane's straight flight. Adjust if the plane consistently drifts left or right without input.
5.3 Take-Off and Flight
- Place the plane on a flat, open surface, facing into the wind if possible.
- Slowly push the throttle stick forward to increase propeller speed. The plane will gain speed and lift off.
- Once airborne, gently adjust the throttle to maintain desired altitude.
- Use the right stick to steer the plane left or right.
- For acrobatic maneuvers like looping, rapidly increase throttle and pull back on the right stick (or follow specific instructions on the product packaging for stunt looping).
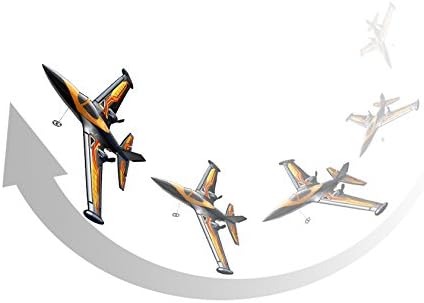
Figure 5.1: The plane performing a looping maneuver.
5.4 Landing
To land the plane, slowly reduce the throttle while maintaining control with the rudder. Guide the plane towards a clear, flat landing area. Allow it to gently descend and touch down. Once on the ground, fully reduce the throttle to stop the propellers.
6. Maintenance
Proper maintenance will extend the lifespan of your Silverlit X-Twin 3D Air Acrobat 3D plane.
- Cleaning: Wipe the plane and transmitter with a soft, dry cloth. Do not use harsh chemicals or solvents.
- Damage Inspection: After each flight, inspect the plane for any signs of damage, especially to the propellers, wings, and rudder. The plane is made from a special shock-resistant material, but extreme impacts can still cause damage.
- Battery Care: Store the plane's I-Poly battery and transmitter batteries in a cool, dry place. Do not store fully charged or fully depleted for long periods.
- Storage: Store the plane and transmitter in their original packaging or a protective case to prevent damage when not in use.
7. Troubleshooting
If you encounter issues with your plane, refer to the following common problems and solutions:
| Problem | Possible Cause | Solution |
|---|---|---|
| Plane does not respond to transmitter. | Low transmitter batteries; Plane battery depleted; Not properly bound. | Replace transmitter batteries; Charge plane battery; Re-bind plane and transmitter (see Section 4.3). |
| Plane does not take off or flies weakly. | Low plane battery; Damaged propellers; Obstruction. | Charge plane battery; Inspect and replace damaged propellers; Ensure no obstructions are blocking propellers. |
| Plane drifts to one side. | Trimmer setting incorrect; Damaged rudder. | Adjust the trimmer on the transmitter; Inspect rudder for damage and ensure free movement. |
| Short flight time. | Battery not fully charged; Old battery. | Ensure full charge cycle; Battery lifespan decreases over time, consider replacement if available. |
8. Specifications
- Model: Silverlit X-Twin 3D Air Acrobat 3D (85658)
- Channels: 3-Channel R/C
- Plane Battery: Built-in I-Poly (Lithium Polymer)
- Transmitter Batteries: 6 x AA (not included)
- Material: Special shock-resistant plastic
- Recommended Age: 8 years and up
- Package Dimensions: Approximately 42.6 x 40.4 x 9.2 cm
- Weight: Approximately 639.99 g
9. Warranty and Support
For information regarding warranty coverage, technical support, or replacement parts, please refer to the contact information provided on the product packaging or contact your retailer. Keep your proof of purchase for any warranty claims.


