
NEIKO 61013
Contents
NEIKO 61013 Digital Electronic Safe User Manual
Model: 61013
1. Introduction
Thank you for choosing the NEIKO 61013 Digital Electronic Safe. This safe is designed to provide secure storage for your valuables, important documents, jewelry, and firearms. Its compact size and robust construction make it suitable for home, office, or travel use. This manual provides essential information for the proper setup, operation, and maintenance of your new safe.
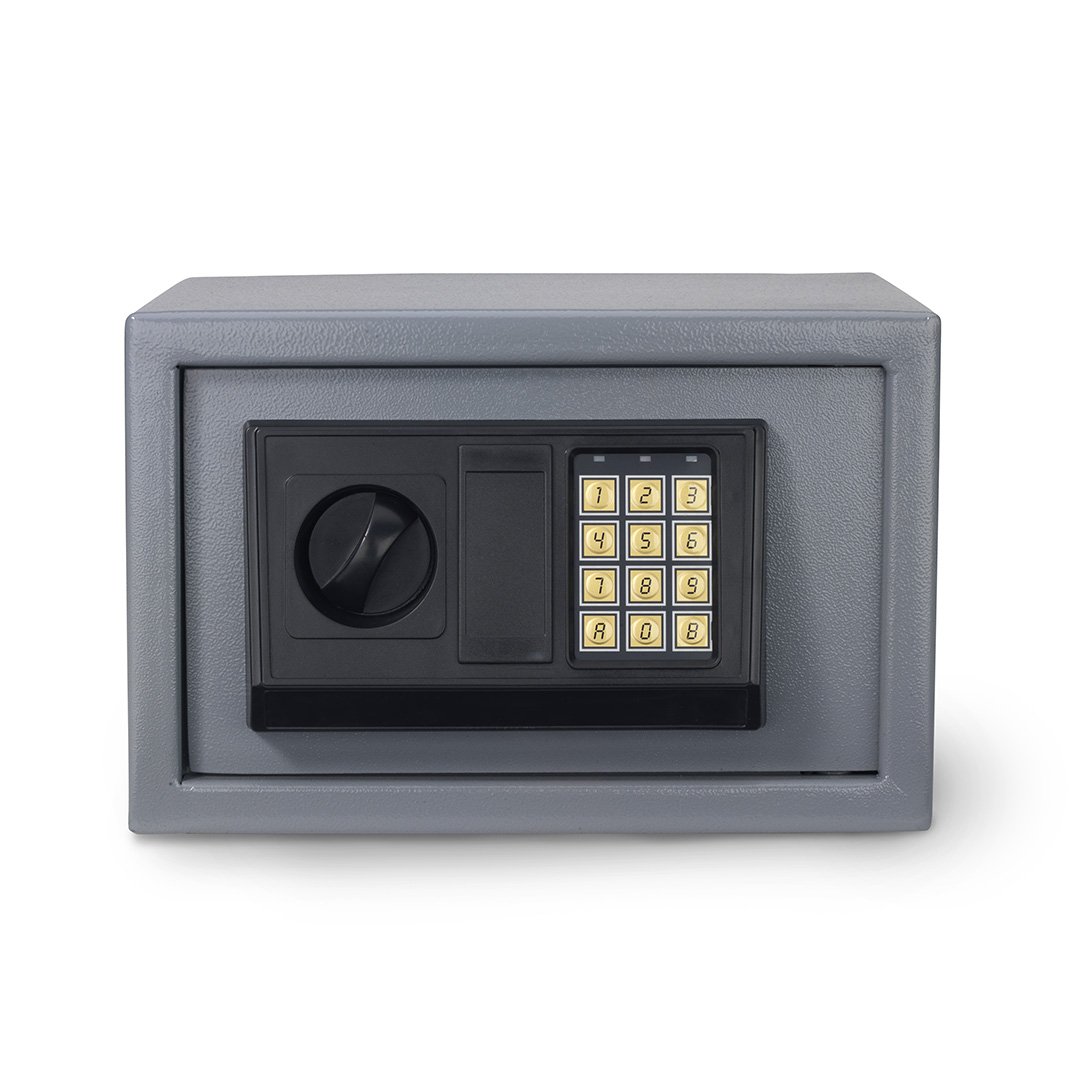
Image 1.1: The NEIKO 61013 Digital Electronic Safe, featuring its electronic keypad and sturdy construction.
2. Safety Information
WARNING: This product can expose you to chemicals including lead, which is known to the State of California to cause cancer and birth defects or other reproductive harm. For more information go to www.P65Warnings.ca.gov.
- Always keep the emergency override keys in a secure location, separate from the safe itself, and not inside the safe.
- Do not store the safe in areas prone to extreme temperatures or high humidity.
- Ensure the safe is securely mounted to prevent unauthorized removal.
- Keep the safe closed and locked when not in use.
3. Package Contents
Verify that all items are present in the package:
- NEIKO 61013 Digital Electronic Safe
- Emergency Override Keys (2)
- Mounting Hardware (heavy-duty bolts)
- User Manual
4. Setup
4.1. Battery Installation
- Open the safe door using one of the emergency override keys. Insert the key into the keyhole, turn it clockwise, and rotate the knob to open.
- Locate the battery compartment on the inside of the safe door.
- Insert 4 AA batteries (not included) according to the polarity indicators (+/-).
- Close the battery compartment cover.
4.2. Initial Code Setting
- With the safe door open, press the red reset button located on the inside of the door, near the hinge. You will hear a beep.
- Within 5 seconds, enter your desired 3 to 8 digit code on the keypad.
- Press the "A" or "B" button to confirm your new code. You will hear a confirmation beep.
- Test the new code with the door open before closing it. Enter your code, then press "A" or "B". The green light should illuminate, allowing you to turn the knob and retract the bolts.
4.3. Mounting the Safe
The safe includes pre-drilled holes and heavy-duty bolts for secure mounting to a wall or floor. This hidden anchoring design enhances security.
- Choose a suitable location for mounting, ensuring it is a solid surface (e.g., wooden stud, concrete wall/floor).
- Open the safe door and remove the protective mat from the bottom to expose the mounting holes.
- Mark the drilling points through the holes onto your chosen surface.
- Drill pilot holes using an appropriate drill bit for your surface type.
- Align the safe with the drilled holes and secure it using the provided heavy-duty bolts.
- Ensure all bolts are tightened securely.

Image 4.1: Interior of the safe, showing mounting holes for secure installation.
5. Operating Instructions
5.1. Opening the Safe with Digital Code
- Enter your 3 to 8 digit personal code on the keypad.
- Press the "A" or "B" button to confirm.
- If the code is correct, the green light will illuminate. Within 5 seconds, turn the knob clockwise to open the door.
- If the red light flashes and you hear beeps, the code entered is incorrect. Try again.

Image 5.1: The electronic keypad for code entry.
5.2. Changing the Digital Code
You can reprogram the code at any time:
- Open the safe door using your current code or emergency key.
- Press the red reset button on the inside of the door. You will hear a beep.
- Within 5 seconds, enter your new 3 to 8 digit code on the keypad.
- Press the "A" or "B" button to confirm. You will hear a confirmation beep.
- Test the new code with the door open before closing it.
5.3. Using Emergency Override Keys
In case of forgotten code, dead batteries, or electronic malfunction, the safe can be opened using the emergency override keys.
- Locate the keyhole cover on the keypad panel.
- Remove the cover.
- Insert one of the emergency override keys into the keyhole and turn it clockwise.
- While holding the key turned, rotate the knob to open the safe door.
- Once the door is open, you can replace the batteries or reset the code as needed.
6. Maintenance
- Battery Replacement: When the batteries are low, the red light will flash and the safe will beep continuously after entering the code. Replace all 4 AA batteries promptly to ensure proper function.
- Cleaning: Clean the exterior of the safe with a soft, damp cloth. Avoid abrasive cleaners or solvents that could damage the finish.
- Rust Prevention: The safe features a corrosion-resistant finish. To maintain this, keep the safe dry and avoid exposing it to excessive moisture.
- Key Storage: Always store emergency override keys in a secure, easily accessible location outside the safe.
7. Troubleshooting
| Problem | Possible Cause | Solution |
|---|---|---|
| Safe does not open with digital code. | Incorrect code entered; batteries are low or dead. | Re-enter the correct code. Replace batteries. Use emergency override key. |
| Keypad is unresponsive. | Dead batteries. | Use emergency override key to open the safe and replace batteries. |
| Door does not close or lock properly. | Obstruction in the door frame; locking bolts are not aligned. | Check for any obstructions. Ensure the door is fully closed before turning the knob to lock. |
| Forgotten digital code. | Code was not recorded or remembered. | Use the emergency override key to open the safe, then reset the code. |
8. Specifications
- Brand: NEIKO
- Model Number: 61013
- Lock Type: Electronic Combination Lock
- Color: Grey
- Capacity: 550 cubic inches
- Material: Alloy Steel
- Special Feature: Rust Resistant
- Mounting Type: Wall Mount
- Item Weight: 0.27 g (Note: This weight seems incorrect, typically safes are heavier. Please refer to product packaging for accurate weight.)
- Alarm: Anti-theft
- Control Type: Touchpad Control
- External Dimensions (Approximate): 12" (Width) x 8" (Depth) x 8" (Height)

Image 8.1: Dimensions of the NEIKO 61013 Digital Electronic Safe.

Image 8.2: Key specifications of the safe, including capacity and code length.
9. Warranty and Support
NEIKO products are designed for quality and durability. For any questions, technical support, or warranty inquiries, please contact NEIKO customer service. Refer to the product packaging or the official NEIKO website for the most current contact information.
For more information about NEIKO tools and products, visit the NEIKO Store on Amazon.
Ask a question about this manual
Ask about setup, troubleshooting, compatibility, parts, safety, or missing instructions. Manuals+ will review the question and use this page’s manual context to help answer it.