1. Introduction
This manual provides detailed instructions for the installation, operation, and maintenance of your Lutron Maestro MSCLV-600M-SW Magnetic Low Voltage Digital Dimmer. This dimmer is designed for use with 600-watt magnetic low voltage lighting applications and supports multi-location dimming from up to ten locations when paired with coordinating Maestro Accessory Dimmers.
Key features include:
- Multi-location dimming capability (up to nine accessory dimmers).
- One tap on/off to selected light level.
- Two taps for full brightness.
- Press and hold for a 10-second fade to off.
- Delayed off feature provides light as you exit the room.
- Rocker switch for precise light level adjustment.
2. Important Safety Information
WARNING: Risk of Electric Shock.
- Turn off power at the circuit breaker or fuse box before installing or servicing the dimmer.
- Installation must be performed by a qualified electrician or trained personnel in accordance with all local and national electrical codes.
- Do not use with standard incandescent, LED, or electronic low voltage lighting. This dimmer is specifically for magnetic low voltage loads.
- Ensure the total wattage of the connected lighting does not exceed the dimmer's maximum rating of 600 watts.
- Ground the dimmer in accordance with local and national electrical codes.
3. Package Contents
Your Lutron Maestro MSCLV-600M-SW package should include:
- One (1) Lutron Maestro MSCLV-600M-SW Digital Dimmer
- Installation Guide (this document)
- Mounting Screws
Note: Wall plates and coordinating accessory dimmers (for multi-location control) are sold separately.
4. Installation Instructions
Before beginning, ensure power is turned off at the circuit breaker. This dimmer is designed for single-pole or multi-location applications. For multi-location control, you will need one Maestro MSCLV-600M-SW dimmer and up to nine Maestro Accessory Dimmers.
4.1 Wiring Diagram (Typical Single-Pole Installation)
Refer to the diagram below for a typical single-pole wiring configuration. For multi-location wiring, consult the specific instructions provided with your Maestro Accessory Dimmers.
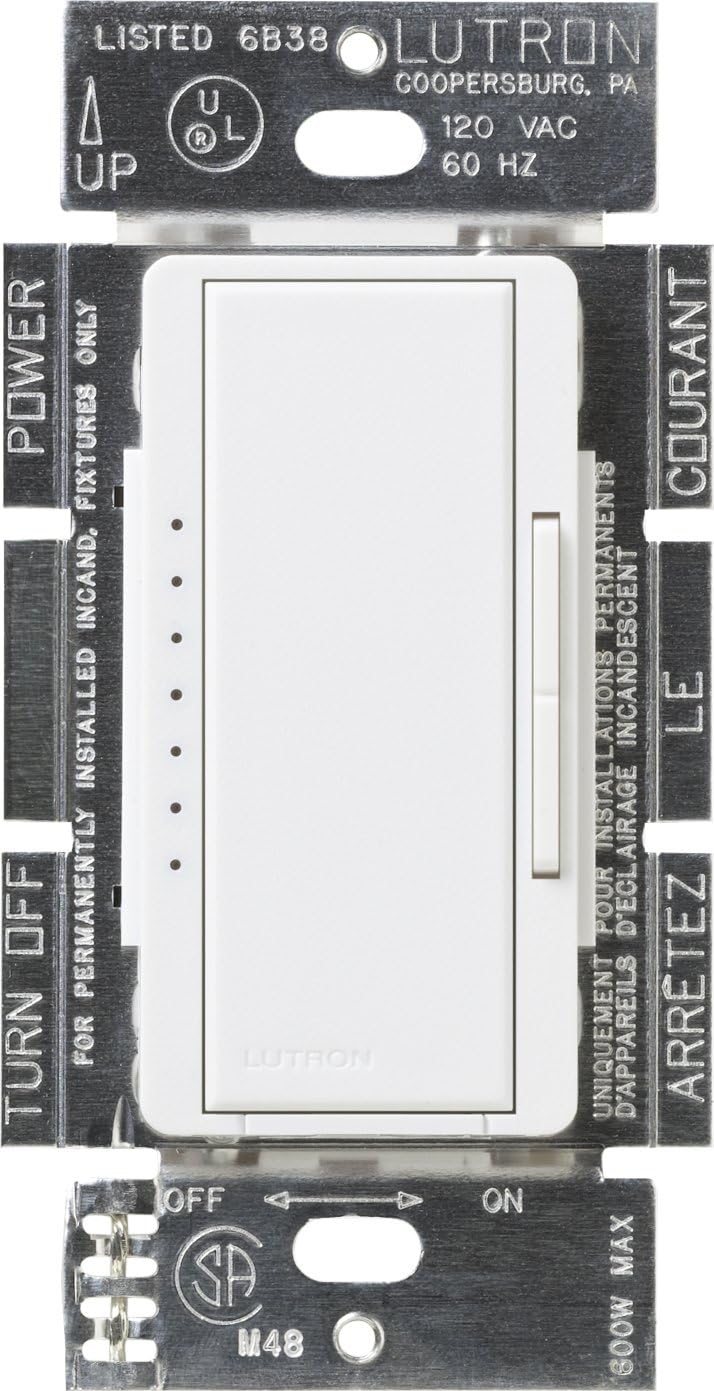
Image Description: This image displays the Lutron Maestro MSCLV-600M-SW dimmer module from the front, showing its internal components and wiring terminals. Labels indicate 'POWER', 'TURN OFF', 'UP', 'ON', 'OFF', and '800W MAX' (note: product is 600W, this label might be generic for the series). The dimmer has a main rocker switch and a smaller vertical slider for dimming control, along with a row of indicator lights. The metal mounting straps are visible with regulatory markings.
- Turn Off Power: Locate the circuit breaker that controls the lighting circuit and switch it to the OFF position. Verify power is off at the switch location using a voltage tester.
- Remove Existing Switch: Carefully remove the wall plate and unscrew the existing switch from the wall box. Disconnect the wires from the old switch.
- Identify Wires: Identify the following wires in the wall box:
- Hot/Line Wire: The wire bringing power from the circuit breaker.
- Load Wire: The wire going to the light fixture.
- Ground Wire: Bare copper or green insulated wire.
- Neutral Wire: (If present, typically white) This dimmer does not require a neutral wire.
- Wire the Dimmer: Connect the wires from the wall box to the dimmer's terminals as follows:
- Connect the Hot/Line wire to the dimmer's designated line terminal (usually black).
- Connect the Load wire to the dimmer's designated load terminal (usually red).
- Connect the Ground wire to the dimmer's green ground screw.
- For multi-location installations, connect the traveler wires according to the accessory dimmer instructions.
- Mount the Dimmer: Carefully fold the wires into the wall box and secure the dimmer to the wall box using the provided screws.
- Install Wall Plate: Attach the coordinating wall plate (sold separately) over the dimmer.
- Restore Power: Turn the power back ON at the circuit breaker.
5. Operating Instructions
The Lutron Maestro Digital Dimmer offers intuitive control over your magnetic low voltage lighting.

Image Description: This image shows the Lutron Maestro MSCLV-600M-SW dimmer installed with a white faceplate. The main rocker switch and the smaller vertical slider are clearly visible, along with the row of five small LED indicator lights on the left side, with one light illuminated in yellow, indicating the current dimming level.
5.1 Basic Operation
- Turn On/Off: Tap the main rocker switch once to turn the lights on to your previously selected level, or off.
- Full Brightness: Tap the main rocker switch twice quickly to turn the lights on to full brightness.
- Dim/Brighten: Use the small vertical rocker switch on the right side to adjust the light level up or down. The LED indicator lights on the left will show the current brightness level.
- Delayed Off: Press and hold the main rocker switch for approximately 10 seconds. The lights will gradually fade to off, providing time to exit the room before the lights extinguish completely.
6. Maintenance
Your Lutron Maestro dimmer is designed for long-lasting performance with minimal maintenance.
- Cleaning: To clean the dimmer and wall plate, wipe with a soft, damp cloth. Do not use abrasive cleaners, solvents, or chemical sprays, as these can damage the finish or internal components.
- No User-Serviceable Parts: There are no user-serviceable parts inside the dimmer. Do not attempt to open or repair the unit.
7. Troubleshooting
If your Lutron Maestro dimmer is not functioning as expected, consult the following common issues and solutions:
| Problem | Possible Cause | Solution |
|---|---|---|
| Lights do not turn on. | Power is off at the circuit breaker. Loose wiring connection. Bulb(s) burned out. | Check the circuit breaker and turn it ON. Verify all wiring connections are secure (ensure power is off first). Replace bulb(s). |
| Lights do not dim or flicker. | Incorrect bulb type (not magnetic low voltage). Total wattage exceeds dimmer capacity. Loose wiring. | Ensure you are using magnetic low voltage bulbs/fixtures. Reduce the total wattage of connected lights to below 600W. Check wiring connections (ensure power is off first). |
| Dimmer is warm to the touch. | Normal operation. | It is normal for dimmers to feel warm during operation. If it is excessively hot or emits smoke/odor, turn off power immediately and contact support. |
| Multi-location control not working. | Incorrect wiring for multi-location. Accessory dimmer not compatible or faulty. | Review multi-location wiring diagrams for the Maestro system. Ensure you are using genuine Lutron Maestro Accessory Dimmers. |
If the problem persists after trying these solutions, please contact Lutron Customer Support.
8. Specifications
| Feature | Detail |
|---|---|
| Model Number | MSCLV-600M-SW |
| Brand | Lutron |
| Wattage | 600 Watts (Magnetic Low Voltage) |
| Operating Voltage | 120 Volts AC, 60 Hz |
| Operation Mode | Off |
| Control Type | Touch with Dimmer Control |
| Actuator Type | Push Button |
| Circuit Type | 9-way (for multi-location with accessory dimmers) |
| Color | Snow |
| Dimensions (L x W x H) | 1.5 x 2.2 x 4.2 inches |
| Item Weight | 4 ounces |
| Connectivity Protocol | X-10 |
| Special Features | Deep Back Cover |
9. Warranty Information
Specific warranty details for the Lutron Maestro MSCLV-600M-SW dimmer are typically provided with the product packaging or can be found on the official Lutron website. Lutron generally offers a limited warranty covering defects in materials and workmanship. Please retain your proof of purchase for warranty claims.
10. Customer Support
For additional assistance, technical support, or troubleshooting not covered in this manual, please contact Lutron Customer Support.
10.1 Lutron 24/7 Support Video
Video Description: This video highlights Lutron's commitment to customer support, emphasizing that help is available 24/7. It shows a person installing a Lutron product and then a customer service representative assisting a customer, conveying the ease of getting projects done with Lutron's continuous support.
Lutron 24/7 Support Phone: 844-588-7661
You can also visit the official Lutron website for more resources, FAQs, and product information.


