1. Product Overview
This manual provides essential information for the safe and proper use of your Equip CEE 7/7 (SCHUKO) to C13 Power Cable. This cable is designed to connect electronic devices requiring a C13 power input to a standard CEE 7/7 (SCHUKO) wall outlet.
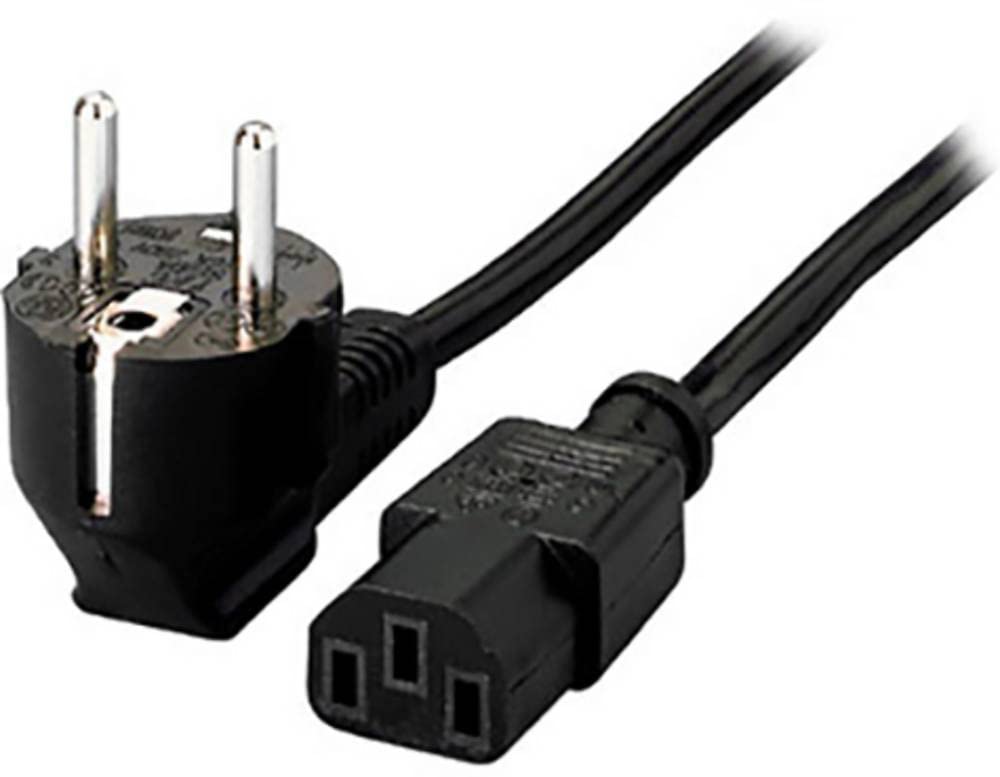
Figure 1: Equip CEE 7/7 (SCHUKO) to C13 Power Cable. The image shows the male CEE 7/7 (Schuko) plug with two round pins and grounding clips, and the female C13 connector, commonly used for computers and monitors.
Key Features:
- C13 socket x 1
- 1 x Schuko (CEE 7/7) plug
- Conductor: 0.75 mm² (24/0.19 mm)
- Cable length: 1.1 m
2. Safety Instructions
Please read and understand these safety instructions before using the power cable. Failure to follow these instructions may result in electric shock, fire, or damage to equipment.
- Do not use the cable if it is damaged, frayed, or has exposed wires.
- Ensure the voltage and current ratings of the connected device are compatible with the power supply and cable.
- Do not overload electrical outlets.
- Keep the cable away from water, heat sources, and sharp objects.
- Do not attempt to modify or repair the cable. Contact qualified personnel for assistance.
- Always grasp the plug, not the cable, when disconnecting from an outlet or device.
3. Setup and Connection
Follow these steps to properly connect your device using the Equip power cable:
- Inspect the Cable: Before connecting, visually inspect the power cable for any signs of damage, such as cuts, abrasions, or bent pins. Do not use a damaged cable.
- Connect to Device: Insert the C13 connector (female end) firmly into the corresponding C14 inlet on your electronic device (e.g., computer, monitor, printer). Ensure a snug fit.
- Connect to Power Outlet: Insert the CEE 7/7 (SCHUKO) plug (male end) into a standard, grounded CEE 7/7 wall power outlet. Ensure the plug is fully inserted.
- Power On: Once both ends are securely connected, you may power on your device.

Figure 2: C13 Connector. This image shows the C13 female connector, which plugs into the C14 inlet of electronic devices.
4. Operating Instructions
This power cable is designed for simple plug-and-play operation. Once connected as described in the "Setup and Connection" section, it provides power to your device.
- Ensure the cable is not kinked, pinched, or run under heavy objects that could damage it.
- Avoid pulling on the cable to disconnect it. Always use the molded plug to remove it from the outlet or device.
- Do not use the cable in wet or damp conditions.
5. Maintenance and Care
Proper maintenance ensures the longevity and safe operation of your power cable.
- Cleaning: Disconnect the cable from all power sources before cleaning. Wipe the cable and plugs with a dry, soft cloth. Do not use liquid cleaners or solvents.
- Storage: When not in use, coil the cable loosely. Avoid tight coiling or bending, which can damage the internal wires. Store in a cool, dry place away from direct sunlight and extreme temperatures.
- Inspection: Periodically inspect the cable for any signs of wear, damage, or discoloration. Replace the cable immediately if any damage is observed.
6. Troubleshooting
If you encounter issues with your power cable, refer to the following common troubleshooting steps:
| Problem | Possible Cause | Solution |
|---|---|---|
| Device not powering on. | Cable not fully connected. | Ensure both the C13 connector and the CEE 7/7 plug are fully inserted into their respective ports. |
| Device not powering on. | Power outlet is not active. | Test the power outlet with another known working device. Check circuit breakers. |
| Device not powering on. | Damaged cable. | Inspect the cable for visible damage. If damaged, replace the cable immediately. |
| Intermittent power. | Loose connection. | Ensure all connections are secure. Avoid moving the cable while the device is in operation. |
If troubleshooting steps do not resolve the issue, discontinue use and contact customer support.
7. Specifications
| Model Number | 112120 |
| Connector Type 1 | CEE 7/7 (SCHUKO) Male |
| Connector Type 2 | IEC C13 Female |
| Conductor Size | 0.75 mm² (24/0.19 mm) |
| Cable Length | 1.1 meters (approximately 3.6 feet) |
| Product Dimensions | 1.44 x 1.44 x 70.87 inches (approximate cable dimensions) |
| Item Weight | 7 ounces (0.2 Kilograms) |
| Brand | Equip |
| Manufacturer | Digital Data Communications |
8. Warranty and Support
For warranty information or technical support, please refer to the official Equip website or contact your retailer. Keep your purchase receipt as proof of purchase.
Manufacturer: Digital Data Communications
Brand: Equip
Contact Information: Please visit the Equip official website for support and contact details.


