1. Introduction
This manual provides instructions for the setup, operation, and maintenance of your ViewSonic VX1945wm 19-inch Widescreen LCD Monitor. This monitor features a 1440x900 resolution display, an integrated iPod dock, built-in stereo speakers with a subwoofer, an 8-in-1 card reader, and multiple USB ports for enhanced multimedia functionality.
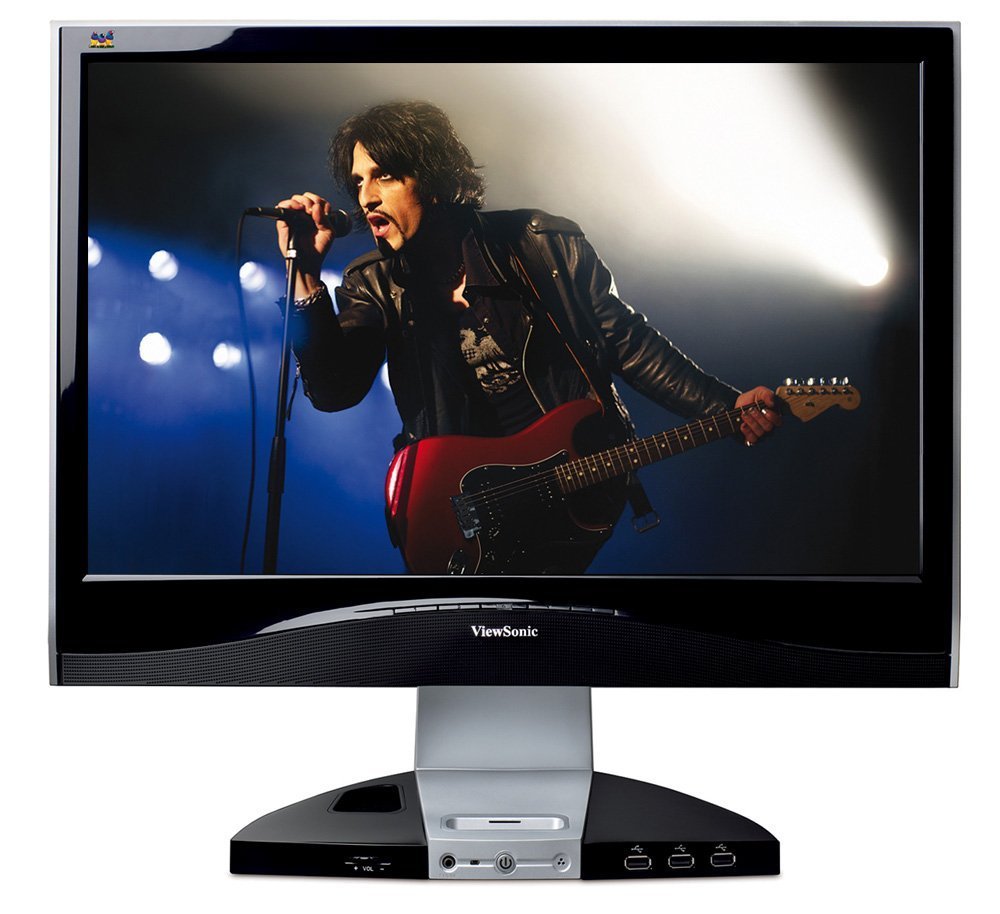
Figure 1.1: ViewSonic VX1945wm Monitor. The image displays the 19-inch widescreen LCD monitor with a black finish. An iPod is docked in the central base, which also features various ports and controls. The screen shows a musician performing on stage.
2. Safety Information
- Read all instructions carefully before operating the monitor.
- Do not expose the monitor to rain or moisture.
- Do not open the monitor casing; there are no user-serviceable parts inside. Refer all servicing to qualified service personnel.
- Place the monitor on a stable, flat surface to prevent it from falling.
- Ensure proper ventilation around the monitor. Do not block ventilation openings.
- Use only the power cord and adapter supplied with the monitor.
- Unplug the monitor from the power outlet during lightning storms or when unused for long periods.
3. Package Contents
Verify that all items are present in the package:
- ViewSonic VX1945wm LCD Monitor
- Power Cable
- VGA Cable
- DVI Cable
- Audio Cable
- USB Upstream Cable
- Quick Start Guide
- Resource CD (includes drivers and user manual)
4. Setup
4.1 Physical Connections
- Power Connection: Connect the power cable to the monitor's power input and then to a grounded electrical outlet.
- Video Connection:
- For digital signal, connect the DVI cable from your computer's DVI output to the monitor's DVI input.
- For analog signal, connect the VGA cable from your computer's VGA output to the monitor's VGA input.
- Audio Connection: Connect the audio cable from your computer's audio output to the monitor's audio input to enable the integrated speakers and subwoofer.
- USB Upstream Connection: Connect the USB upstream cable from your computer's USB port to the monitor's USB upstream port. This enables the integrated USB hub, card reader, and iPod data transfer functionality.
4.2 iPod Dock Setup
Carefully insert your iPod into the integrated dock connector located on the monitor's base. Ensure it is seated properly. The dock will charge your iPod and allow for audio playback through the monitor's speakers and data transfer when connected via the USB upstream cable.
4.3 Driver Installation
After connecting the monitor to your computer, your operating system may automatically detect and install necessary drivers. If prompted, or if you experience display issues, install the monitor drivers from the provided Resource CD or download them from the ViewSonic website.
5. Operating Instructions
5.1 Power On/Off
Press the power button located on the front of the monitor's base to turn the monitor on or off. The power indicator light will illuminate when the monitor is active.
5.2 On-Screen Display (OSD) Menu
Use the control buttons on the monitor's base to navigate the On-Screen Display (OSD) menu. This menu allows you to adjust various display settings such as brightness, contrast, input source, and audio volume.
5.3 iPod Dock Operation
- Charging: Your iPod will charge automatically when docked and the monitor is powered on.
- Audio Playback: Audio from the docked iPod will play through the monitor's integrated speakers. Adjust volume using the monitor's controls or the iPod's controls.
- Data Transfer: When the monitor is connected to your computer via the USB upstream cable, you can sync your iPod with your computer through the dock.
5.4 Multimedia Base Features
- 8-in-1 Card Reader: Insert compatible memory cards (e.g., SD, MMC, MS, CF) into the card reader slots on the monitor's base to access data.
- USB Ports: Use the USB 2.0 ports on the monitor's base to connect peripherals such as a keyboard, mouse, or joystick. These ports are powered, allowing for charging devices even when the computer is off, provided the monitor has power.
- Microphone and Headphone Jacks: Connect a microphone or headphones to the respective jacks on the monitor's base for audio input and output.
5.5 Optimal Display Resolution
For the best visual experience, set your computer's display resolution to 1440x900. Refer to your operating system's display settings for adjustment instructions.
6. Maintenance
6.1 Cleaning the Monitor
- Always unplug the monitor before cleaning.
- Screen: Gently wipe the screen with a soft, lint-free cloth. For stubborn marks, lightly dampen the cloth with water or a mild, non-abrasive screen cleaner. Do not spray liquid directly onto the screen.
- Casing: Use a soft, dry cloth to wipe the monitor casing. Avoid using strong detergents or abrasive cleaners.
6.2 General Care
- Avoid placing heavy objects on the monitor or its cables.
- Do not expose the monitor to direct sunlight or excessive heat.
- Keep the monitor away from strong magnetic fields.
7. Troubleshooting
If you encounter issues with your monitor, refer to the following common problems and solutions:
7.1 No Power / No Display
- Ensure the power cable is securely connected to both the monitor and a working electrical outlet.
- Verify the power indicator light on the monitor is on. If not, press the power button.
- Check that the video cable (DVI or VGA) is securely connected to both the monitor and your computer.
- Ensure your computer is powered on and not in sleep mode.
- Try connecting the monitor to a different power outlet or using a different power cable if available.
7.2 Incorrect Resolution / Blurry Image
- The optimal resolution for this monitor is 1440x900. Adjust your computer's display settings to this resolution.
- Ensure the correct display drivers for your graphics card are installed and up to date.
- If using an analog (VGA) connection, perform an auto-adjust function via the OSD menu to optimize the image.
7.3 iPod Not Recognized / Sync Issues
- Ensure the USB upstream cable is connected from the monitor to your computer.
- Verify that your iPod is properly seated in the dock.
- Check if your computer's iTunes software is up to date.
- Try connecting the iPod directly to your computer via a standard USB cable to rule out issues with the iPod itself.
- Restart your computer and the monitor.
7.4 No Audio / Low Volume
- Ensure the audio cable is securely connected from your computer's audio output to the monitor's audio input.
- Check the volume settings on both your computer and the monitor's OSD menu.
- Verify that the correct audio output device is selected in your computer's sound settings.
- If playing from an iPod, ensure the iPod's volume is not muted or set too low.
7.5 USB Ports / Card Reader Not Functioning
- Confirm that the USB upstream cable is connected from the monitor to your computer.
- Ensure the monitor is powered on.
- Try connecting the USB device or memory card to a different port or directly to your computer to verify functionality.
- Check your computer's Device Manager for any unrecognized USB devices.
8. Specifications
| Feature | Detail |
|---|---|
| Screen Size | 19 Inches (Viewable) |
| Resolution | 1440x900 |
| Aspect Ratio | 16:10 |
| Response Time | 5ms |
| Inputs | DVI, VGA |
| Audio | Integrated Stereo Speakers, Subwoofer, Microphone Jack, Headphone Jack |
| Connectivity | Integrated iPod Dock, 8-in-1 Card Reader, USB 2.0 Hub (4 ports) |
| Dimensions (LxWxH) | 8 x 18 x 17 inches |
| Weight | 8 pounds |
| Color | Black |
9. Warranty & Support
9.1 Product Warranty
ViewSonic products are covered by a limited warranty. Please refer to the warranty card included with your product or visit the official ViewSonic website for detailed warranty terms and conditions specific to your region and product model.
9.2 Technical Support
If you require technical assistance or have questions not covered in this manual, please contact ViewSonic Customer Support. Support contact information, including phone numbers and online resources, can be found on the official ViewSonic website (www.viewsonic.com/us/support).


