1. Introduction
This manual provides comprehensive instructions for the installation, operation, and maintenance of the Danco 39696 Cross-Arm 3-Handle Tub/Shower Faucet Rebuild & Remodeling Valve Trim Kit. This kit is designed to restore the functionality and appearance of compatible 3-handle tub and shower faucets, offering a practical solution for leaky faucets and outdated trim.
2. Product Overview & Included Components
The Danco 39696 kit is engineered for durability and ease of installation, featuring brass stems and metal handle construction. It includes all necessary parts to rebuild the existing valve body of compatible Price Pfister tub and shower faucets.
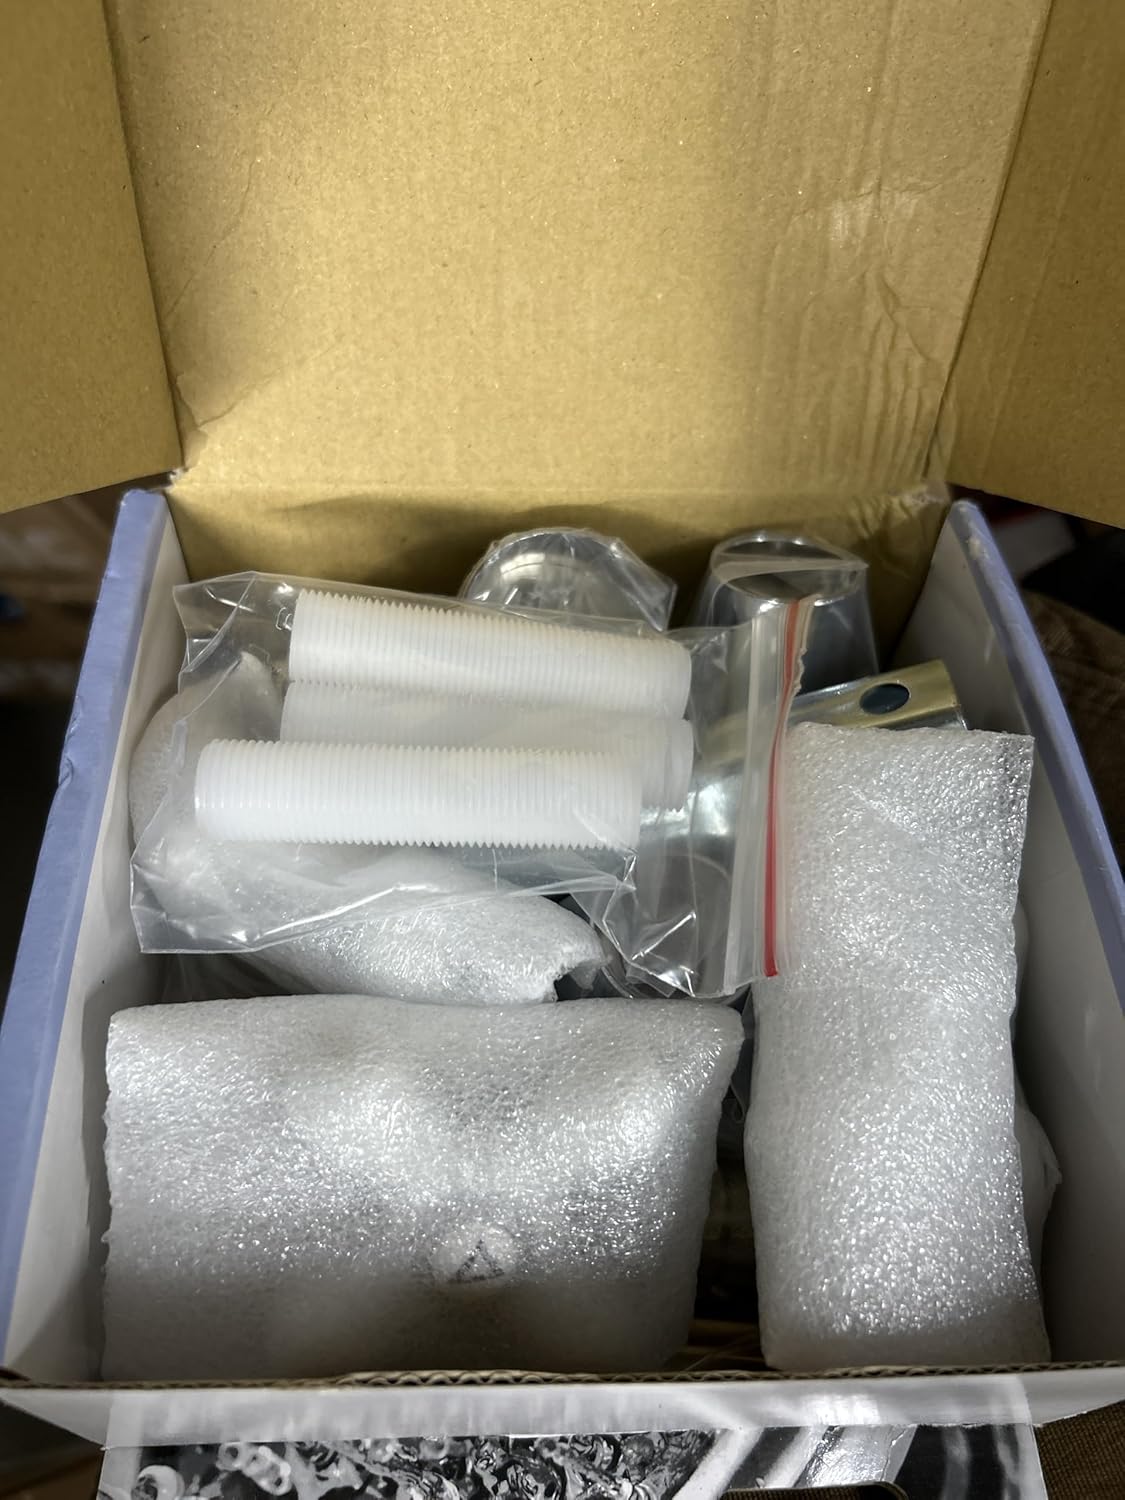
Figure 1: Danco 39696 Cross-Arm 3-Handle Tub/Shower Faucet Rebuild Kit. This image displays the complete kit, including handles, stems, flanges, and other components, ready for installation.
Kit Contents:
- 1 x 12H-2H Stem (5-5/8")
- 1 x 12H-2C Stem (5-5/8")
- 1 x 12H-18D Stem
- 3 x #38 Seats (7/16 inch x 27 thread)
- 3 x Cross-Arm Handles with H/C/D index buttons (White Porcelain and Chrome finish)
- 3 x Handle Flanges
- 3 x Sleeves
- 1 x Socket Wrench
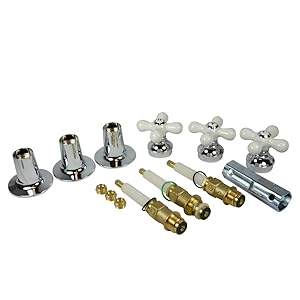
Figure 2: Detailed view of the Danco 39696 kit components. This image shows the individual stems, seats, handles, and flanges included in the rebuild kit.
3. Compatibility
This Danco remodeling kit is specifically designed to repair 5" or 5-9/16" Price Pfister tub and shower leaky shower valves. It is suitable for 3-handle tub and shower Pfister bath series 01-010 to 01-380, including Price Pfister Contempera and Contessa models.
Important Note: This kit does not fit 4-1/4" Pfister stems.
4. Installation Instructions (Setup)
Tools Required:
- Adjustable wrench
- Screwdriver
- Seat wrench (may be needed, not included in kit)
Installation Steps:
- Preparation: Turn off the main water supply to the tub/shower unit. Open the faucet handles to drain any remaining water from the lines.
- Remove Old Components: Carefully remove the existing handles, handle flanges, and valve stems. Use a screwdriver for handle screws and an adjustable wrench for flanges. If necessary, use a seat wrench to remove the old valve seats from the valve body.
- Install New Seats: Insert the three new #38 seats (7/16 inch x 27 thread) into the valve body. Ensure they are seated correctly and securely.
- Install New Stems: Insert the appropriate new stems (12H-2H, 12H-2C, 12H-18D) into their respective positions in the valve body. The 12H-2H and 12H-2C stems are typically for hot and cold water, while the 12H-18D stem is for the diverter.
- Attach Sleeves and Flanges: Slide the new sleeves over the stems. Then, place the new handle flanges against the wall, ensuring they cover the valve openings.
- Install Handles: Place the cross-arm handles onto the stems. Secure them with the provided screws. Ensure the 'H' (Hot), 'C' (Cold), and 'D' (Diverter) index buttons are correctly oriented for proper identification.
- Testing: Slowly turn the main water supply back on. Check all connections for any leaks. Operate each handle to ensure smooth function and proper water flow.
5. Operation
The Danco 39696 kit provides three cross-arm handles for controlling your tub/shower faucet:
- One handle controls the hot water supply.
- One handle controls the cold water supply.
- One handle acts as a diverter, directing water flow between the tub spout and the showerhead.
Turn the hot and cold handles to achieve the desired water temperature and flow. The diverter handle is typically turned to switch between tub and shower functions.
6. Maintenance
To ensure the longevity and optimal performance of your Danco 39696 Faucet Rebuild Kit, follow these maintenance guidelines:
- Cleaning: Clean the chrome and porcelain surfaces regularly with a soft cloth and mild, non-abrasive soap. Avoid harsh chemicals or abrasive cleaners, as these can damage the finish.
- Inspection: Periodically inspect the handles, flanges, and stems for any signs of wear, damage, or leaks.
- Leak Prevention: Do not overtighten the handles when turning off the water, as this can prematurely wear out the internal valve seats and stems.
7. Troubleshooting
| Problem | Possible Cause | Solution |
|---|---|---|
| Faucet is leaking from the handles or spout. | Worn valve seats or improperly installed stems. | Ensure the new #38 seats are correctly installed and tightened. Verify that the stems are fully seated and secured. If the leak persists, re-check all connections. |
| Handles feel loose or wobbly. | Handle mounting screws are not tight. | Tighten the screws that secure the handles to the valve stems. Do not overtighten. |
| Gap between handle flange and wall. | Valve body set too far back in the wall during initial plumbing installation. | This kit is designed for standard installations. If a significant gap exists, it may indicate a non-standard plumbing setup that requires professional adjustment of the valve body position. |
8. Specifications
| Feature | Detail |
|---|---|
| Brand | Danco |
| Model Number | 39696 |
| Material | Porcelain (Handles), Brass (Stems), Metal (Handle Construction) |
| Finish | Chrome and Porcelain |
| Number of Handles | 3 |
| Installation Type | Widespread |
| Recommended Uses | Bathroom (Tub/Shower) |
| Item Weight | 3.72 pounds |
| Product Dimensions | 14.3 x 9.5 x 3.1 inches |
| UPC | 037155396962 |
9. Warranty and Support
This Danco product is covered by a Limited 1 Year Warranty from the date of purchase. This warranty covers defects in materials and workmanship under normal use.
For warranty claims, technical assistance, or any questions regarding the installation or operation of your Danco 39696 Faucet Rebuild Kit, please contact Danco customer support. Refer to the product packaging or the official Danco website for current contact information.


