1. Introduction
This manual provides essential instructions for the proper installation, operation, and maintenance of the Weller TC208 Heater. The TC208 is designed as a replacement heating element for compatible Weller WTCP series soldering stations. Adhering to these guidelines will ensure safe and effective use of the product.
2. Safety Information
Always prioritize safety when working with electrical components and heating elements. Failure to follow these safety precautions may result in electric shock, fire, or personal injury.
- Disconnect Power: Always ensure the soldering station is unplugged from the power source before attempting any installation, maintenance, or repair.
- Heat Hazard: The heater element reaches high temperatures during operation. Allow sufficient time for the unit to cool down before handling.
- Electrical Connections: Ensure all electrical connections are secure and properly insulated. Incorrect wiring can lead to malfunction or electrical hazards.
- Use in Well-Ventilated Area: Soldering fumes can be harmful. Always work in a well-ventilated area.
- Authorized Personnel: Installation and maintenance should only be performed by qualified individuals familiar with electrical repairs.
- Original Parts: Use only genuine Weller replacement parts to ensure compatibility and safety.
3. Product Overview
The Weller TC208 is a critical component designed to restore the heating function of Weller WTCP series soldering irons. It consists of a robust heating element encased in a metallic tube, with electrical leads for connection to the soldering station's power supply. This replacement part ensures consistent and reliable heat delivery for precision soldering tasks.
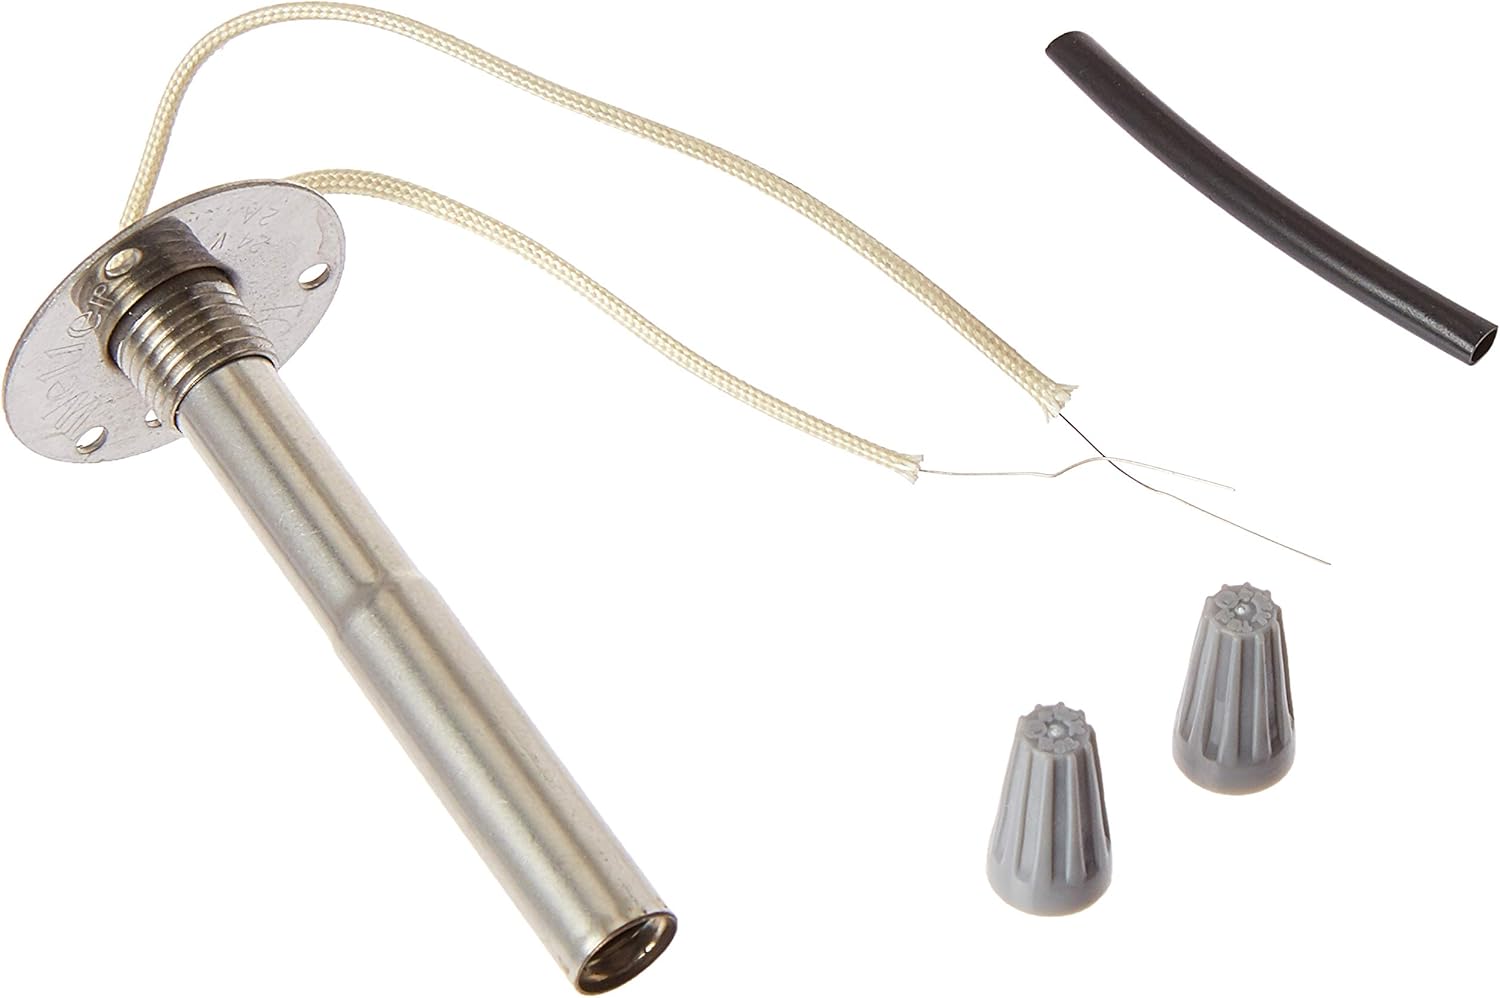
Figure 1: Weller TC208 Heater and included accessories.
This image displays the Weller TC208 Heater, a replacement component for Weller WTCP soldering stations. It features a metallic cylindrical heating element with a flange for mounting, two insulated wires extending from one end, and two grey twist-on wire connectors. A piece of black heat shrink tubing is also included.
4. Setup and Installation
This section outlines the general procedure for replacing the heater element in a compatible Weller WTCP soldering iron. Specific steps may vary slightly depending on the exact model of your soldering iron.
- Prepare the Work Area: Ensure a clean, well-lit, and static-safe workspace. Gather necessary tools, which typically include a screwdriver, wire strippers, and potentially a soldering iron (if not the one being repaired).
- Disconnect Power: Crucially, unplug the soldering station from the main power outlet. Allow the iron to cool completely if it was recently in use.
- Disassemble the Soldering Iron Handle: Carefully open the soldering iron handle to access the internal components. This usually involves unscrewing the handle halves.
- Remove the Old Heater Element:
- Identify the existing heater element and its electrical connections.
- Carefully disconnect the wires from the old heater. Note their positions for correct re-connection.
- Unscrew or unfasten the old heater element from its mounting point within the iron.
- Install the New TC208 Heater:
- Position the new TC208 heater in the soldering iron handle. Ensure the mounting flange aligns correctly.
- Secure the heater in place using the appropriate screws or fasteners. Note: Some older WTCP models may require a new BA60 barrel nut due to a slight diameter difference in the TC208 heater. Verify compatibility before final assembly.
- Connect the heater's wires to the soldering station's internal wiring. The TC208 typically uses nichrome wire, which cannot be soldered directly. Use the provided twist-on wire connectors for the main heating wires. If a ground wire is present and requires connection, it may be soldered and insulated with heat shrink tubing.
- Ensure all connections are tight and properly insulated to prevent short circuits.
- Reassemble the Soldering Iron: Carefully close and secure the soldering iron handle, ensuring no wires are pinched.
- Initial Test: Plug the soldering station back into the power outlet. Turn it on and observe if the iron heats up correctly. Monitor for any unusual smells, smoke, or sounds. If issues arise, immediately unplug the unit and refer to the Troubleshooting section.
5. Operating Instructions
The Weller TC208 is a heating element and does not have independent operating controls. Its function is integrated into the Weller WTCP soldering station. Once installed, the soldering iron operates as designed by the station's controls.
- Power On/Off: Use the power switch on your Weller WTCP soldering station to turn the unit on or off.
- Temperature Control: The WTCP series typically uses a magnetic temperature control system. Ensure the correct soldering tip (which contains the temperature sensing element) is properly seated for accurate temperature regulation.
- Pre-heating: Allow the soldering iron sufficient time to reach its operating temperature before use.
- Usage: Follow the operating instructions provided with your specific Weller WTCP soldering station for proper soldering techniques.
6. Maintenance
Regular maintenance ensures the longevity and optimal performance of your soldering iron and its components, including the TC208 heater.
- Tip Maintenance: Keep soldering tips clean and properly tinned. Replace worn or corroded tips promptly.
- Inspect Connections: Periodically, with the power disconnected, inspect the electrical connections to the heater element for any signs of loosening or damage.
- Clean Handle: Keep the soldering iron handle clean and free of debris.
- Storage: Store the soldering iron in a dry, safe place when not in use.
7. Troubleshooting
If your soldering iron is not functioning correctly after installing the TC208 heater, consider the following:
| Problem | Possible Cause | Solution |
|---|---|---|
| Soldering iron does not heat up. |
|
|
| Intermittent heating. |
|
|
| Heater does not fit properly. |
|
|
If problems persist after attempting these solutions, contact Weller customer support for further assistance.
8. Specifications
| Feature | Detail |
|---|---|
| Model | TC208 |
| Brand | Weller |
| Compatibility | Weller WTCP Soldering Stations |
| Voltage | 24V (typical for WTCP series) |
| Wattage | 50W (as per customer reviews for compatibility) |
| Item Weight | 0.64 ounces (18.14 g) |
| Product Dimensions | 1.3 x 1.3 x 5 inches |
| Manufacturer | Apex Tool Group |
9. Warranty Information
Weller products are manufactured to high-quality standards. This product is covered by Weller's standard manufacturer's warranty against defects in materials and workmanship. The specific terms and duration of the warranty may vary by region and product type. Please refer to the official Weller website or contact customer support for detailed warranty information.
Keep your proof of purchase for warranty claims.
10. Customer Support
For technical assistance, troubleshooting beyond this manual, or warranty inquiries, please contact Weller customer support. You can typically find contact information on the official Weller website or through your product retailer.
When contacting support, please have your product model (TC208) and any relevant purchase information ready.


