
InSinkErator Compact
InSinkErator COMPACT Evolution 3/4 HP Continuous Garbage Disposal Quiet Series Instruction Manual
1. Introduction
This manual provides essential information for the safe and efficient operation of your InSinkErator COMPACT Evolution 3/4 HP Continuous Garbage Disposal. Please read all instructions carefully before installation and use.
The InSinkErator Evolution Compact garbage disposal is designed for households with restricted cabinet space, offering a powerful 3/4 HP Dura-Drive induction motor and 2-Stage MultiGrind Technology. It incorporates SoundSeal technology for reduced noise levels and features alloy stainless steel grind components for durability. The exclusive Lift & Latch installation technology simplifies the setup process.
2. Product Overview and Key Features
The Evolution Compact model combines advanced grinding capabilities with quiet operation, making it a suitable choice for modern kitchens.
2.1. SoundSeal Technology
Experience significantly reduced noise during operation. SoundSeal technology incorporates multiple components designed to minimize sound, allowing for normal conversation even when the disposal is running.

Figure 1: Components of SoundSeal Technology for noise reduction.
2.2. 2-Stage MultiGrind Technology
This system utilizes two grinding stages to efficiently process tough food scraps, including fibrous fruits and vegetables, reducing them to finer particles for easier drainage and jam prevention.

Figure 2: MultiGrind Technology for efficient food waste processing.
2.3. Dura-Drive Induction Motor
The 3/4 HP Dura-Drive induction motor provides reliable and powerful performance for consistent grinding of food waste.
2.4. Lift & Latch Installation
Engineered for quick and easy installation, the Lift & Latch system simplifies the sink connection process, making it our easiest install ever.
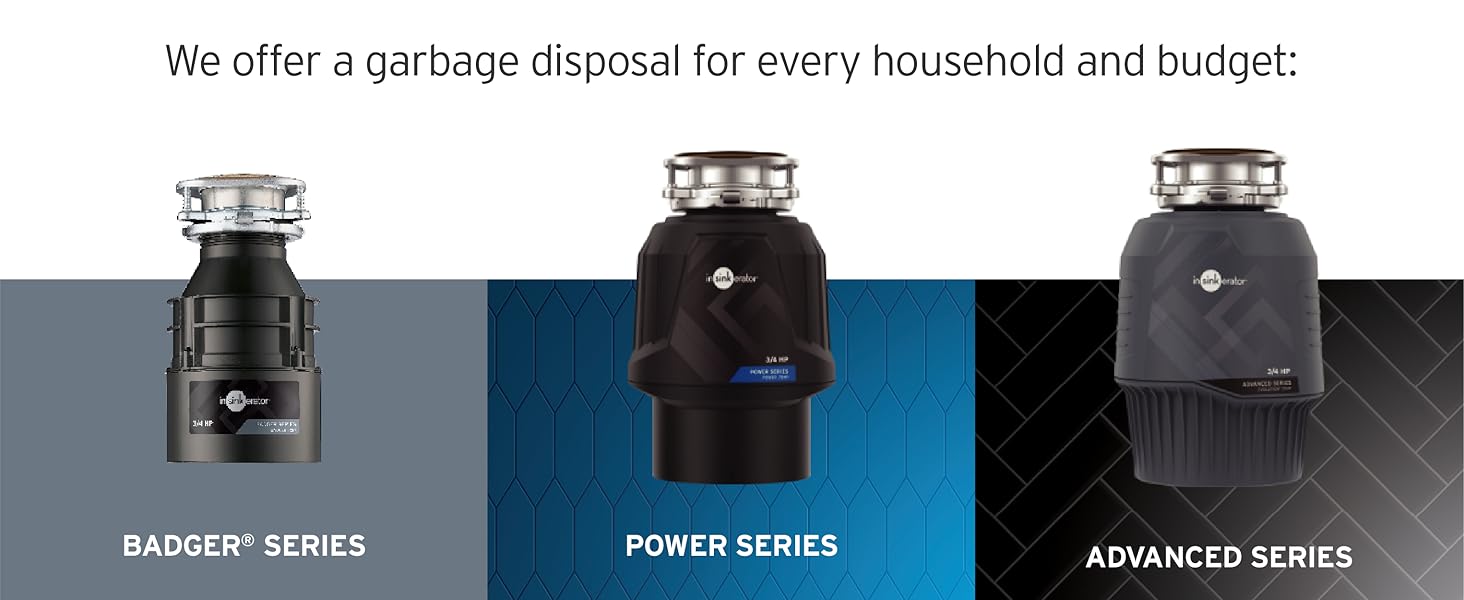
Figure 3: Summary of key product features.
3. What's in the Box
Your InSinkErator COMPACT Evolution garbage disposal package includes:
- InSinkErator COMPACT Evolution 3/4 HP Continuous Garbage Disposal Unit
- Installation Manual
- Quiet Collar Sink Baffle
- Sink Flange Assembly (with mounting hardware)
- Stopper
- Discharge Tube (straight and elbow options)
- Allen Wrench (for jam clearing)
Note: A power cord is not included and must be purchased separately if not hard-wiring the unit.
4. Setup and Installation
Installation of the InSinkErator Evolution Compact is designed to be straightforward. Refer to the included Installation Manual for detailed step-by-step instructions and safety warnings.
4.1. Pre-Installation Checks
- Ensure power to the disposal circuit is turned off at the breaker.
- Verify that your sink opening is compatible (standard size).
- Gather necessary tools (screwdriver, plumber's putty, etc.).
4.2. Dishwasher Connection
If connecting a dishwasher, ensure to knock out the dishwasher inlet plug on the disposal unit before final installation. Use a screwdriver to carefully tap out the plug from the inside of the inlet.
Video 1: Unboxing and initial setup considerations for the InSinkErator Evolution Compact, including a view of the installation space under a sink.
Video 2: Detailed review of the InSinkErator Evolution Compact, showcasing its components and discussing installation aspects.
5. Operating Instructions
To operate your InSinkErator garbage disposal:
- Turn on a medium stream of cold water.
- Turn on the disposal by flipping the wall switch.
- Slowly feed food waste into the disposal opening. Do not overload the unit.
- Allow the disposal to run until all food waste is ground and only the sound of water and the motor is heard.
- Turn off the disposal, then turn off the water after a few seconds to flush the drain.
Recommended Food Waste:
- Most fruit and vegetable scraps
- Small bones (chicken, fish)
- Coffee grounds
Avoid Disposing Of:
- Large bones (beef, pork)
- Fibrous materials (corn husks, artichokes)
- Grease, fats, or oils
- Non-food items (plastic, metal, glass)
Video 3: Demonstration of the disposal's power and efficiency in clearing food waste.
6. Maintenance
6.1. Cleaning
To clean your disposal, grind small citrus fruit peels (lemon, orange) with cold water. This helps to freshen the disposal and clean the grind chamber.
6.2. Clearing a Jam
If the disposal hums but does not grind, it may be jammed. Follow these steps:
- Turn off the disposal and the water.
- Insert the provided Allen wrench into the center hole on the bottom of the disposal.
- Work the wrench back and forth until the jam is freed.
- Remove the wrench.
- Reach into the drain opening with tongs or pliers to remove any foreign objects. Never use your hand.
- Press the red reset button on the bottom of the disposal.
- Turn on the cold water and then the disposal to test.
7. Troubleshooting
7.1. Disposal Does Not Start
- Check the wall switch: Ensure it is in the
Related documentsCompact


Ask a question about this manual
Ask about setup, troubleshooting, compatibility, parts, safety, or missing instructions. Manuals+ will review the question and use this page’s manual context to help answer it.