Introduction
The Topeak Panoram V12 Mini is a compact, wired cycle computer designed to provide essential cycling data. Featuring 12 functions, this device helps cyclists monitor their performance with a clear mini screen and a single mode button for easy navigation. This manual will guide you through the installation, operation, maintenance, and troubleshooting of your cycle computer.
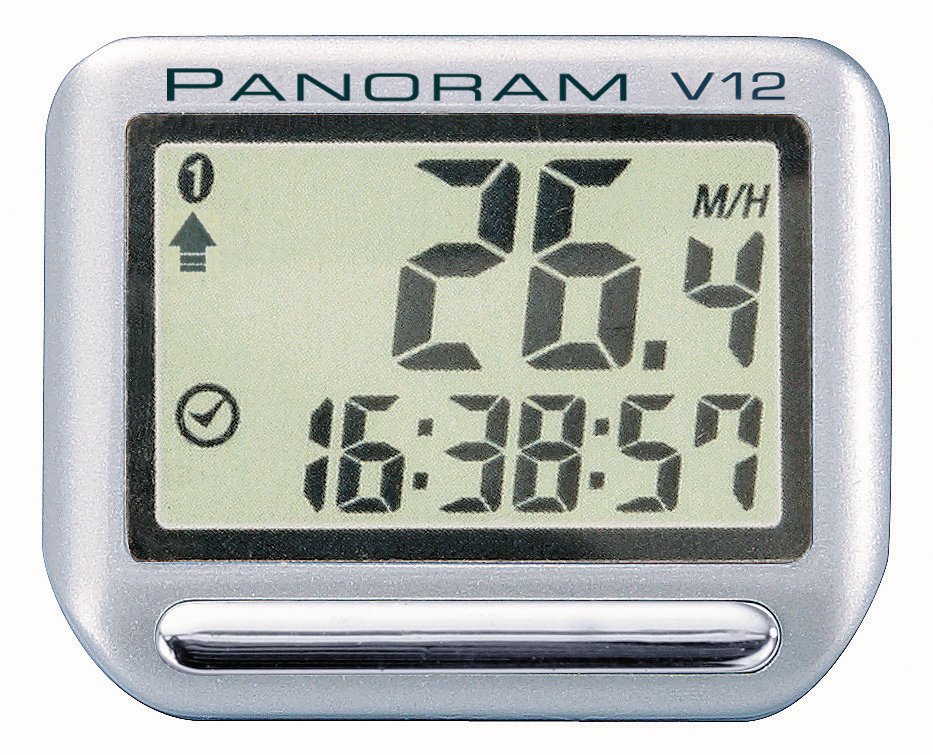
Image: The Topeak Panoram V12 Mini cycle computer, showing its compact size and display, typically mounted on bicycle handlebars.
Setup and Installation
Proper installation is crucial for accurate readings. Follow these steps carefully:
1. Computer Unit Installation
- Attach the multi-angle mount to your bicycle's handlebar or stem using the provided straps or zip ties. Ensure it is securely fastened and positioned for easy viewing.
- Slide the Panoram V12 Mini computer unit onto the mount until it clicks into place.
2. Sensor and Magnet Installation (Wired Version)
As this is a wired version, ensure the sensor and magnet are correctly aligned.
- Mount the speed sensor to the front fork of your bicycle using the provided ties. Position it so that the sensor head is aligned with the spokes.
- Attach the magnet to a spoke on the front wheel. The magnet should pass within 5mm of the sensor head with each wheel rotation. Adjust the sensor and magnet positions as needed to achieve this clearance.
- Route the sensor wire along the brake cable or fork leg, securing it with zip ties to prevent interference with moving parts. Plug the wire into the computer unit.
3. Initial Settings
After installation, configure the basic settings:
- Wheel Circumference: Refer to your bicycle tire's sidewall for its size (e.g., 700x23c, 26x1.95). Use a wheel circumference chart (often found online or in your bike's manual) to find the corresponding value in millimeters. This setting is critical for accurate speed and distance readings.
- Units: Select your preferred units for speed and distance (e.g., km/h and km, or mph and miles).
- Clock: Set the current time.
- Total Distance (Odometer): If replacing an old computer, you may be able to input your previous total distance. Otherwise, start from zero.
Consult the detailed instructions provided in the product packaging for specific button presses to access and adjust these settings.
Operating Instructions
The Panoram V12 Mini features a single mode button for navigating through its functions.
Basic Operation
- Power On/Off: The computer typically powers on automatically when motion is detected or a button is pressed. It features an Auto Sleep function to conserve battery when inactive.
- Mode Button: Press the single mode button to cycle through the available functions. A short press usually advances to the next display mode. A long press may be used to reset trip data or enter settings mode, depending on the current display.
12 Functions Overview
The Panoram V12 Mini provides the following data displays:
- Current Speed (SPD)
- Average Speed (AVS)
- Maximum Speed (MXS)
- Trip Distance (DST)
- Total Distance (ODO) - Odometer
- Ride Time (TM)
- Clock (12/24H)
- Scan Mode (cycles through functions automatically)
- Speed Comparator (arrow indicating faster/slower than AVS)
- Temperature (if applicable, check specific model features)
- Calories Burned (if applicable, check specific model features)
- Stopwatch (if applicable, check specific model features)
Note: The exact 12 functions may vary slightly. Refer to your product's specific documentation for a precise list and how to access each.
Maintenance
Battery Replacement
When the display becomes dim or unresponsive, it's time to replace the battery.
- Carefully remove the computer unit from its mount.
- Locate the battery compartment on the back of the unit. Use a small coin or screwdriver to open the cover.
- Remove the old battery (typically a CR2032 coin cell).
- Insert a new CR2032 battery with the positive (+) side facing up.
- Replace the battery cover, ensuring it is sealed properly to maintain water resistance.
- After battery replacement, you may need to re-enter some settings like time and wheel circumference. The total odometer reading is usually retained.
Cleaning and Care
- Wipe the computer unit with a soft, damp cloth. Do not use abrasive cleaners or solvents.
- The unit has an IP54 International Protection Rating, meaning it is protected from dust ingress and splashing water from any direction. It is not designed for immersion in water.
- Regularly check the sensor and magnet alignment, and ensure the wire is securely fastened and free from damage.
Troubleshooting
If you encounter issues with your Panoram V12 Mini, try the following solutions:
| Problem | Possible Cause | Solution |
|---|---|---|
| No display or dim display | Dead or low battery. | Replace the CR2032 battery. |
| No speed reading or incorrect speed |
|
|
| Cannot switch between functions or functions revert quickly |
|
|
| Odometer (Total Distance) resets to zero unexpectedly |
|
|
If these steps do not resolve the issue, please refer to the Warranty and Support section for further assistance.
Specifications
- Brand: Topeak
- Model: Panoram V12 Mini
- Functions: 12
- Type: Wired Cycle Computer
- Display: Mini Screen
- Control: Single Mode Button
- Weight: Approximately 17 Grams (Computer Only)
- Mounting Type: Handlebar Mount (Multi Angle)
- Water Resistance: IP54 (Protected from dust and splashing water)
- Dimensions (L x W x H): 4.1 x 1.5 x 3.3 cm / 1.6” x 0.6” x 1.3”
- Battery: CR2032 (typically)
- Features: Auto Sleep
Warranty and Support
Topeak products are manufactured with quality and durability in mind. For specific warranty details, please refer to the warranty card included with your product or visit the official Topeak website.
If you require technical assistance, have questions about your product, or need to initiate a warranty claim, please contact Topeak customer support through their official website or the contact information provided in your product packaging. When contacting support, please have your product model (Panoram V12 Mini) and purchase information ready.