Introduction
The Epson Perfection V700 Photo Flatbed Scanner is a high-performance device designed for scanning photos, film, and documents with exceptional detail and color accuracy. This manual provides essential information to help you set up, operate, maintain, and troubleshoot your scanner, ensuring you get the best possible results from your investment.
Product Overview
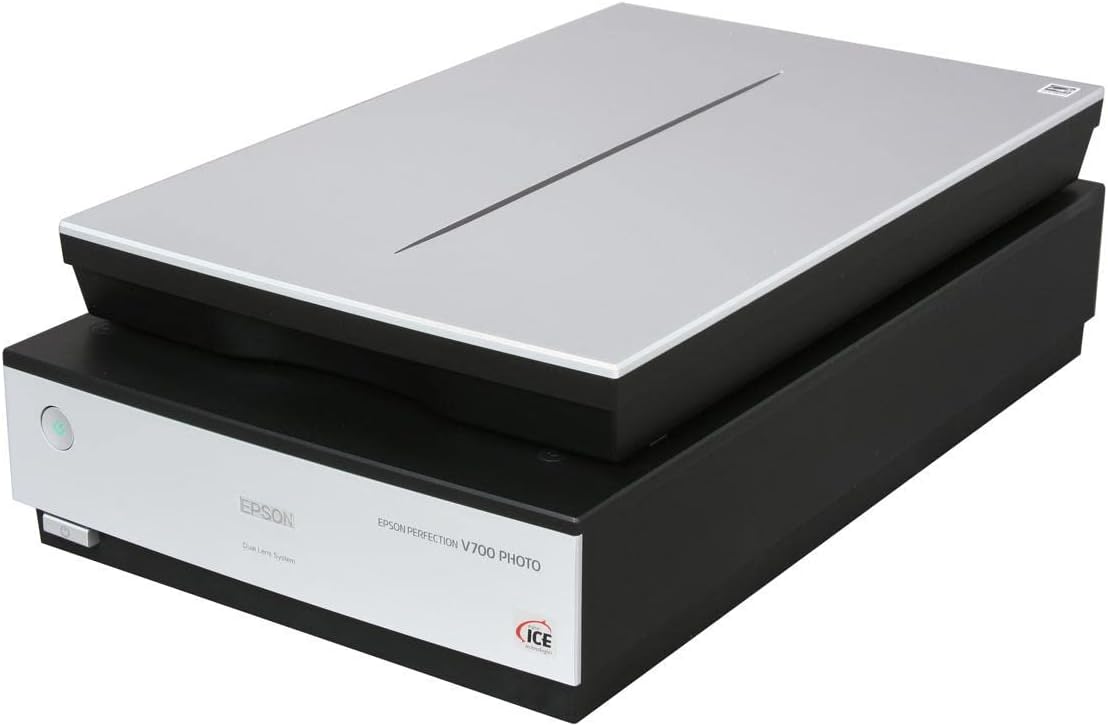
An overhead view of the Epson Perfection V700 Photo Flatbed Scanner, showcasing its sleek design with a light grey lid and black base. The scanner features a power button on the front left and the Epson logo.
Setup
Follow these steps to set up your Epson Perfection V700 Photo Flatbed Scanner:
- Unpack the Scanner: Carefully remove the scanner and all accessories from the packaging. Ensure all protective materials and tapes are removed from the scanner bed and lid.
- Connect the Power Cable: Plug the power cable into the scanner's power port and then into a wall outlet.
- Connect to Computer: Connect the scanner to your computer using either the provided USB 2.0 cable or a FireWire cable. Ensure the connection is secure.
- Install Software: Insert the Epson scanner software CD-ROM into your computer's CD/DVD drive. Follow the on-screen instructions to install the scanner drivers and bundled software. If you do not have a CD-ROM drive, download the latest drivers from the official Epson support website.
- Power On: Press the power button on the scanner. The indicator light should illuminate, indicating the scanner is ready for use.
Operating Instructions
The Epson Perfection V700 offers versatile scanning options. Here's a general guide:
- Placing Originals:
- For documents and photos, place them face-down on the scanner glass, aligning with the corner guide.
- For film (negatives or slides), use the appropriate film holders provided. Place the film securely in the holder and then place the holder on the scanner glass. Ensure the film area is clear of dust and debris.
- Using Epson Scan Software:
- Launch the Epson Scan software on your computer.
- Select the appropriate scanning mode (e.g., Full Auto Mode, Home Mode, Office Mode, Professional Mode) based on your needs. Professional Mode offers the most control over settings.
- Adjust settings such as resolution, image type (color, grayscale, black & white), and destination (e.g., save as JPEG, TIFF, PDF).
- Preview your scan to check framing and quality before the final scan.
- Click the Scan button to begin scanning. The scanned image will be saved to your specified location.
- Digital ICE Technology: This scanner features Digital ICE technology for automatic removal of dust and scratches from film scans. Enable this option in the Epson Scan software for optimal film restoration.
Maintenance
Regular maintenance ensures the longevity and optimal performance of your scanner:
- Cleaning the Scanner Glass: Use a soft, lint-free cloth dampened with a mild glass cleaner (non-abrasive) to wipe the scanner glass. Avoid spraying cleaner directly onto the glass.
- Cleaning Film Holders: Gently wipe film holders with a soft, dry cloth. Do not use harsh chemicals.
- Exterior Cleaning: Wipe the exterior of the scanner with a soft, dry cloth.
- Dust Prevention: Keep the scanner lid closed when not in use to prevent dust accumulation on the scanner glass and internal components.
- Software Updates: Periodically check the Epson support website for updated drivers and software to ensure compatibility and access to new features.
Troubleshooting
If you encounter issues with your scanner, refer to the following common problems and solutions:
| Problem | Solution |
|---|---|
| Scanner does not turn on. | Ensure the power cable is securely connected to both the scanner and a working electrical outlet. Check if the power button is fully pressed. |
| Scanner not recognized by computer. | Verify that the USB or FireWire cable is securely connected to both the scanner and the computer. Try a different USB/FireWire port. Reinstall the scanner drivers. Restart your computer and scanner. |
| Scanned images are blurry or poor quality. | Clean the scanner glass and film holders. Ensure originals are placed correctly and flat on the scanner bed. Adjust scanning resolution and settings in the Epson Scan software. Check for dust or smudges on the original. |
| Software crashes or freezes. | Ensure your operating system and scanner drivers are up to date. Close other applications that might be consuming system resources. Reinstall the Epson Scan software. |
| Lines appear on scanned images. | This often indicates dust or debris on the scanner glass or calibration strip. Clean the scanner glass thoroughly. |
Specifications
Key technical specifications for the Epson Perfection V700 Photo Flatbed Scanner:
| Feature | Detail |
|---|---|
| Scan Size (W x H) | 8 1/2" x 11 7/10" |
| Bit Depth of Color | 16-bit Grayscale, 48-bit Color |
| DPI Graphics Resolution | 4800 x 6400 dpi |
| Connectivity | FireWireR, USB 2.0 |
| Operating System Compatibility | MacR, WindowsR |
| Product Dimensions | 9.8 x 24.7 x 17.6 inches |
| Item Weight | 16.91 pounds |
| Model Name | Perfection V700 |
| Scanner Type | Photo Flatbed |
| Light Source Type | CCFL |
Warranty and Support
Epson provides a limited warranty for the Perfection V700 Photo Flatbed Scanner. For specific warranty terms and conditions, please refer to the warranty card included with your product or visit the official Epson support website.
For technical assistance, driver downloads, FAQs, and further support, please visit the Epson support website or contact Epson customer service. Have your product model number (B11B178011) and serial number ready when contacting support.


