Introduction
This manual provides essential instructions for the safe and correct installation and maintenance of your Gorilla Automotive 73138 Standard Mag Lug Nuts. Please read this manual thoroughly before installation to ensure proper use and vehicle safety. These lug nuts are designed for specific automotive wheel applications.
Product Overview
The Gorilla Automotive 73138 Standard Mag Lug Nut is engineered for durability and secure fitment. Key features include:
- Enhanced Seating Surface: Designed to provide a more substantial seating surface compared to traditional lug nuts, ensuring a secure fit.
- Thread Size Stamping: Each lug nut is stamped with its thread size for easy identification, reducing confusion during installation or replacement.
- High-Strength Construction: Manufactured from high-strength steel for superior durability and reliability.
- Chrome Finish: Features a chrome exterior finish for corrosion resistance and aesthetic appeal.
Setup and Installation
Proper installation of lug nuts is critical for vehicle safety. Always consult your vehicle's owner's manual for specific wheel installation procedures and torque specifications.
- Verify Compatibility: Ensure that the Gorilla Automotive 73138 lug nuts (12-1.50 thread size, 13/16" hex size) are compatible with your vehicle's wheel studs and wheels.
- Clean Surfaces: Before installation, ensure that wheel studs, lug nut seats, and wheel mounting surfaces are clean and free from dirt, rust, or debris. Do not use oil or grease on wheel studs or lug nuts unless specifically instructed by your vehicle manufacturer.
- Hand Tighten: Place the wheel onto the vehicle's hub. Install each lug nut by hand, ensuring it threads smoothly onto the stud. Do not force the lug nut. If resistance is met, remove the lug nut, inspect the threads on both the stud and the lug nut for damage, and resolve any issues before proceeding.
- Initial Tightening: Using a lug wrench, tighten the lug nuts in a star pattern (for 5 or more studs) or crisscross pattern (for 4 studs) until they are snug. This helps to properly seat the wheel.
- Final Torque: Lower the vehicle until the wheels are just touching the ground, preventing them from rotating. Using a calibrated torque wrench, tighten each lug nut to the vehicle manufacturer's specified torque setting, again following the star or crisscross pattern. Do not overtighten.
- Re-torque Check: After driving approximately 50-100 miles (80-160 km), re-check the torque of all lug nuts to ensure they remain properly tightened. This is a critical safety step as lug nuts can sometimes loosen slightly after initial installation.
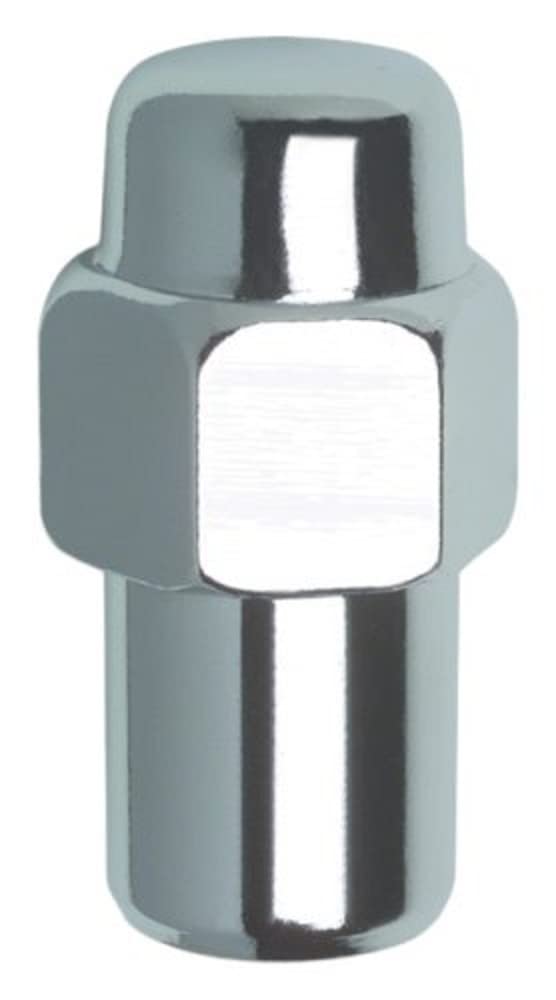
Image: Gorilla Automotive 73138 Standard Mag Lug Nut with key dimensions. The lug nut measures 1.70 inches in overall length, has a base diameter of 0.685 inches, and a seating surface height of 0.750 inches.
Operating Considerations
Once installed, the lug nuts function to secure your vehicle's wheels. Regular checks are the primary "operation" for these components.
- Periodic Inspection: Periodically inspect lug nuts for any signs of damage, corrosion, or loosening. This is especially important after tire rotations or any wheel-related service.
- Avoid Impact Wrenches: While impact wrenches can be used for initial removal, it is highly recommended to use a torque wrench for final tightening to prevent overtightening, stud damage, or uneven torque distribution.
Maintenance
Proper maintenance ensures the longevity and performance of your lug nuts.
- Cleaning: Clean lug nuts with a mild soap and water solution. Avoid harsh chemicals or abrasive cleaners that could damage the chrome finish.
- Corrosion Prevention: While the chrome finish offers protection, inspect for any signs of rust or corrosion, especially in harsh weather conditions. Address any corrosion promptly to prevent further damage.
- Thread Condition: Ensure threads on both the lug nut and wheel stud remain clean and undamaged. Damaged threads can lead to improper torque and unsafe wheel attachment.
Troubleshooting
Common issues and their resolutions:
- Lug Nut Loosening:
- Cause: Insufficient torque during installation, improper seating, or failure to re-torque after initial driving.
- Solution: Immediately re-torque all lug nuts to the manufacturer's specifications using a calibrated torque wrench. If loosening persists, inspect wheel studs and lug nuts for damage.
- Difficulty Threading Lug Nut:
- Cause: Cross-threading, damaged threads on the stud or lug nut, or debris.
- Solution: Do not force the lug nut. Remove it and inspect both the lug nut and the wheel stud threads for damage. Clean any debris. If threads are damaged, replace the affected component (lug nut or wheel stud).
- Damaged Chrome Finish:
- Cause: Abrasive cleaning agents, impact from tools, or environmental exposure.
- Solution: Use appropriate cleaning methods. Minor damage may be cosmetic. Significant damage exposing bare metal may lead to corrosion and should be monitored.
Specifications
| Brand | GORILLA |
| Model Number | 73138 |
| Material | High-Strength Steel / Alloy Steel |
| Exterior Finish | Chrome |
| Fastener Type | Wheel Lug Nut |
| Thread Size | 12-1.50 |
| Hex Size | 13/16" |
| Overall Length | 1.70" (approximate) |
| Base Diameter | 0.685" (approximate) |
| Seating Surface Height | 0.750" (approximate) |
| Country of Origin | China |
Warranty Information
Specific warranty details for the Gorilla Automotive 73138 Standard Mag Lug Nut are not provided in the product data. Please refer to the manufacturer's official website or contact Gorilla Automotive directly for current warranty policies and terms.
Support and Contact
For technical assistance, product inquiries, or further support regarding your Gorilla Automotive 73138 Standard Mag Lug Nuts, please visit the official Gorilla Automotive website or contact their customer service department. Contact information can typically be found on their website or product packaging.
Note: Always ensure you are using genuine Gorilla Automotive products for optimal performance and safety.