Product Overview
The POWERMASTER 9162 Starter is a high-performance, OEM-style replacement designed for select Ford 289, 302, and 351 Windsor engines. It features a 4.4:1 gear-reduction ratio and delivers 160 ft-lbs of high-torque cranking power, ensuring reliable engine starts. This starter is finished with a durable black powder coating.
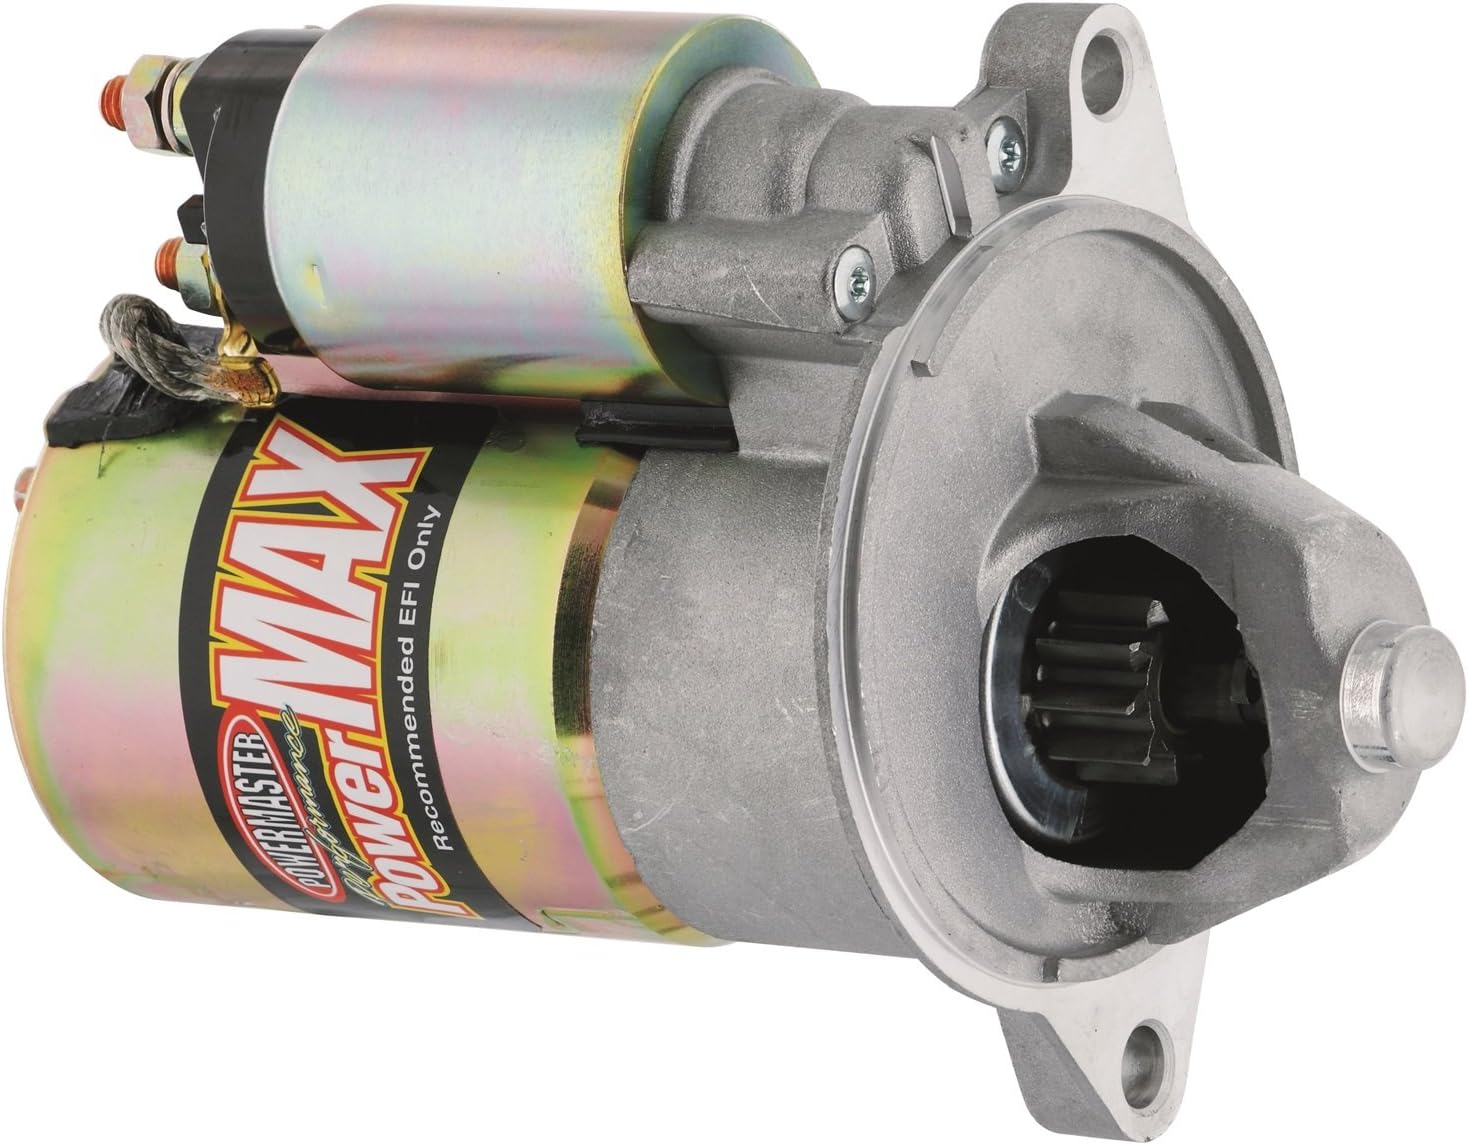
Image: The POWERMASTER 9162 Starter, showcasing its compact design, solenoid, and gear reduction housing. The main body is a metallic gold color with a black label, and the mounting flange and gear housing are silver-gray.
Key Features
- Compatibility: Designed for full-size Ford 289, 302, 351 Windsor engines.
- High Torque: Provides 160 ft-lbs of cranking power.
- Gear Reduction: Features a 4.4:1 gear-reduction ratio for efficient starting.
- Design: OEM-Style high torque replacement.
- Finish: Durable black powder-coated finish.
Setup and Installation
Important Safety Information: Always disconnect the vehicle's battery before beginning any electrical work. Ensure the vehicle is on a stable, level surface and properly supported. Wear appropriate personal protective equipment (PPE) such as safety glasses and gloves.
- Preparation: Ensure the engine is cool. Locate the existing starter motor.
- Battery Disconnection: Disconnect the negative (-) battery cable first, then the positive (+) battery cable.
- Wiring Disconnection: Carefully disconnect all electrical connections from the old starter, noting their positions for reinstallation. This typically includes the main battery cable and the solenoid trigger wire.
- Removal of Old Starter: Unbolt the old starter from the engine block or bell housing. Be prepared for its weight.
- Installation of New Starter: Position the POWERMASTER 9162 starter and secure it with the appropriate bolts. Ensure proper alignment. Some applications may require shims (not included) to achieve correct gear mesh. Refer to vehicle-specific service manuals for exact shim requirements.
- Wiring Connection: Reconnect the electrical wires to the new starter. Ensure all connections are clean and tight. The main battery cable connects to the large terminal, and the trigger wire connects to the smaller solenoid terminal.
- Battery Reconnection: Reconnect the positive (+) battery cable first, then the negative (-) battery cable.
- Testing: Attempt to start the vehicle. Listen for any unusual noises, such as grinding, which may indicate improper shimming.
Note: If you are unsure about any step, consult a qualified automotive technician.
Operating Instructions
The POWERMASTER 9162 Starter operates automatically when the ignition key is turned to the "START" position. Its primary function is to engage the engine's flywheel and provide the necessary rotational force to initiate combustion.
- Ensure the vehicle's transmission is in Park (P) for automatic or Neutral (N) for manual, with the parking brake engaged.
- Insert the ignition key and turn it to the "START" position. The starter will engage the flywheel and crank the engine.
- Once the engine starts, release the key, and it will return to the "RUN" position. The starter will disengage from the flywheel.
- Avoid prolonged cranking (more than 10-15 seconds) to prevent overheating the starter. Allow a brief cool-down period between starting attempts if the engine does not immediately fire.
Maintenance
The POWERMASTER 9162 Starter is designed for durability and requires minimal routine maintenance. However, periodic checks can help ensure its longevity and optimal performance.
- Connection Check: Periodically inspect all electrical connections to the starter for cleanliness and tightness. Loose or corroded connections can impede performance.
- Battery Health: Ensure your vehicle's battery is in good condition and fully charged. A weak battery can put undue strain on the starter.
- Cable Integrity: Check the battery cables and starter cables for any signs of wear, fraying, or damage. Replace damaged cables immediately.
- Environmental Factors: Keep the area around the starter free from excessive dirt, oil, and debris.
Troubleshooting
| Problem | Possible Cause | Solution |
|---|---|---|
| Starter does not crank or cranks slowly. | Weak or dead battery; Loose or corroded battery/starter connections; Faulty ignition switch or starter relay. | Charge or replace battery; Clean and tighten all connections; Test ignition switch/relay and replace if necessary. |
| Grinding noise during cranking. | Improper starter shimming; Damaged flywheel teeth. | Adjust shimming (consult vehicle service manual); Inspect flywheel for damage. |
| Starter engages but engine does not start. | Engine issues (fuel, spark, compression); Starter not receiving proper signal. | Diagnose engine issues; Check starter trigger wire and solenoid. |
| Starter continues to run after engine starts. | Stuck solenoid; Faulty ignition switch. | Immediately turn off engine and disconnect battery; Inspect/replace solenoid or ignition switch. |
Always ensure safety precautions are followed when troubleshooting automotive electrical systems.
Specifications
| Attribute | Value |
|---|---|
| Model Number | 9162 |
| Brand | POWERMASTER |
| Voltage | 12 Volts |
| Wattage | 1.4 KW |
| Amperage | 4.25 Amps |
| Gear Reduction Ratio | 4.4:1 |
| Cranking Power | 160 ft-lbs |
| Flywheel Compatibility | 157 Tooth (for 3/4 inch depth) |
| Material | Metal |
| Item Weight | 9.15 pounds |
| Product Dimensions (L x W x H) | 12.5 x 5.5 x 7.5 inches |
| Country of Origin | USA |
| UPC | 692209001409 |
Warranty and Support
For warranty information and technical support regarding your POWERMASTER 9162 Starter, please refer to the official POWERMASTER website or contact their customer service directly. Keep your purchase receipt as proof of purchase.
Manufacturer: POWERMASTER
Contact Information: Please visit the manufacturer's official website for the most up-to-date contact details and warranty policies.


