1. Product Overview
The ACDelco Gold 18E112 Rear Drum Brake Wheel Cylinder is designed as a high-quality replacement component for drum brake systems. It features both aluminum and iron castings for durability and performance. The wheel cylinder incorporates Ethylene Propylene (EPDM) and Styrene Butadiene (SBR) rubber components, providing superior resistance to heat, corrosion, and leakage. A smooth bore finish and quality seals contribute to the longevity of the rubber components. This unit is manufactured to meet expectations for fit, form, and function, and comes ready for installation without requiring additional assembly.
2. Safety Information
Warning: Working with vehicle brake systems requires specialized knowledge and tools. If you are not experienced with automotive repair, it is recommended to seek professional assistance. Failure to follow proper safety procedures can result in serious injury or vehicle damage.
- Always wear appropriate personal protective equipment, including safety glasses and gloves.
- Ensure the vehicle is securely supported on a level surface using jack stands before beginning any work. Never rely solely on a jack.
- Brake fluid is corrosive and can damage paint and skin. Avoid contact and clean up spills immediately.
- Do not allow air into the brake system during installation or bleeding procedures.
- Dispose of old brake fluid and components according to local environmental regulations.
3. Package Contents
Verify that all components are present and undamaged before proceeding with installation.
- 1x ACDelco Gold 18E112 Rear Drum Brake Wheel Cylinder
4. Installation Instructions
4.1. Tools and Materials Required
- Vehicle jack and jack stands
- Lug wrench
- Brake fluid (DOT 3 or DOT 4, as specified by vehicle manufacturer)
- Flare nut wrench (for brake line)
- Socket set (for retaining bolts)
- Bleeder wrench (typically 8mm for this model)
- Drain pan for brake fluid
- Clean rags
- Safety glasses and gloves
4.2. Preparation
- Park the vehicle on a firm, level surface.
- Engage the parking brake.
- Loosen the lug nuts on the wheel where the wheel cylinder will be replaced.
- Raise the vehicle using a jack and secure it with jack stands. Ensure the vehicle is stable.
- Remove the wheel and tire assembly.
- Carefully remove the brake drum. This may require releasing the automatic adjuster or using a drum puller if stuck.
4.3. Removing the Old Wheel Cylinder
- Place a drain pan beneath the wheel cylinder to catch any brake fluid.
- Using a flare nut wrench, carefully disconnect the brake line from the old wheel cylinder. Be prepared for fluid leakage.
- Remove the retaining bolts that secure the wheel cylinder to the backing plate.
- Remove the old wheel cylinder from the backing plate.
4.4. Installing the New Wheel Cylinder
- If your old wheel cylinder had metal adapters for the brake line, carefully remove them from the old unit and transfer them to the new ACDelco Gold 18E112 wheel cylinder. These typically pull out and push in.
- Position the new wheel cylinder onto the backing plate, ensuring proper alignment.
- Secure the wheel cylinder with the retaining bolts. Tighten to vehicle manufacturer specifications.
- Reconnect the brake line to the new wheel cylinder using the flare nut wrench. Tighten securely but do not overtighten.
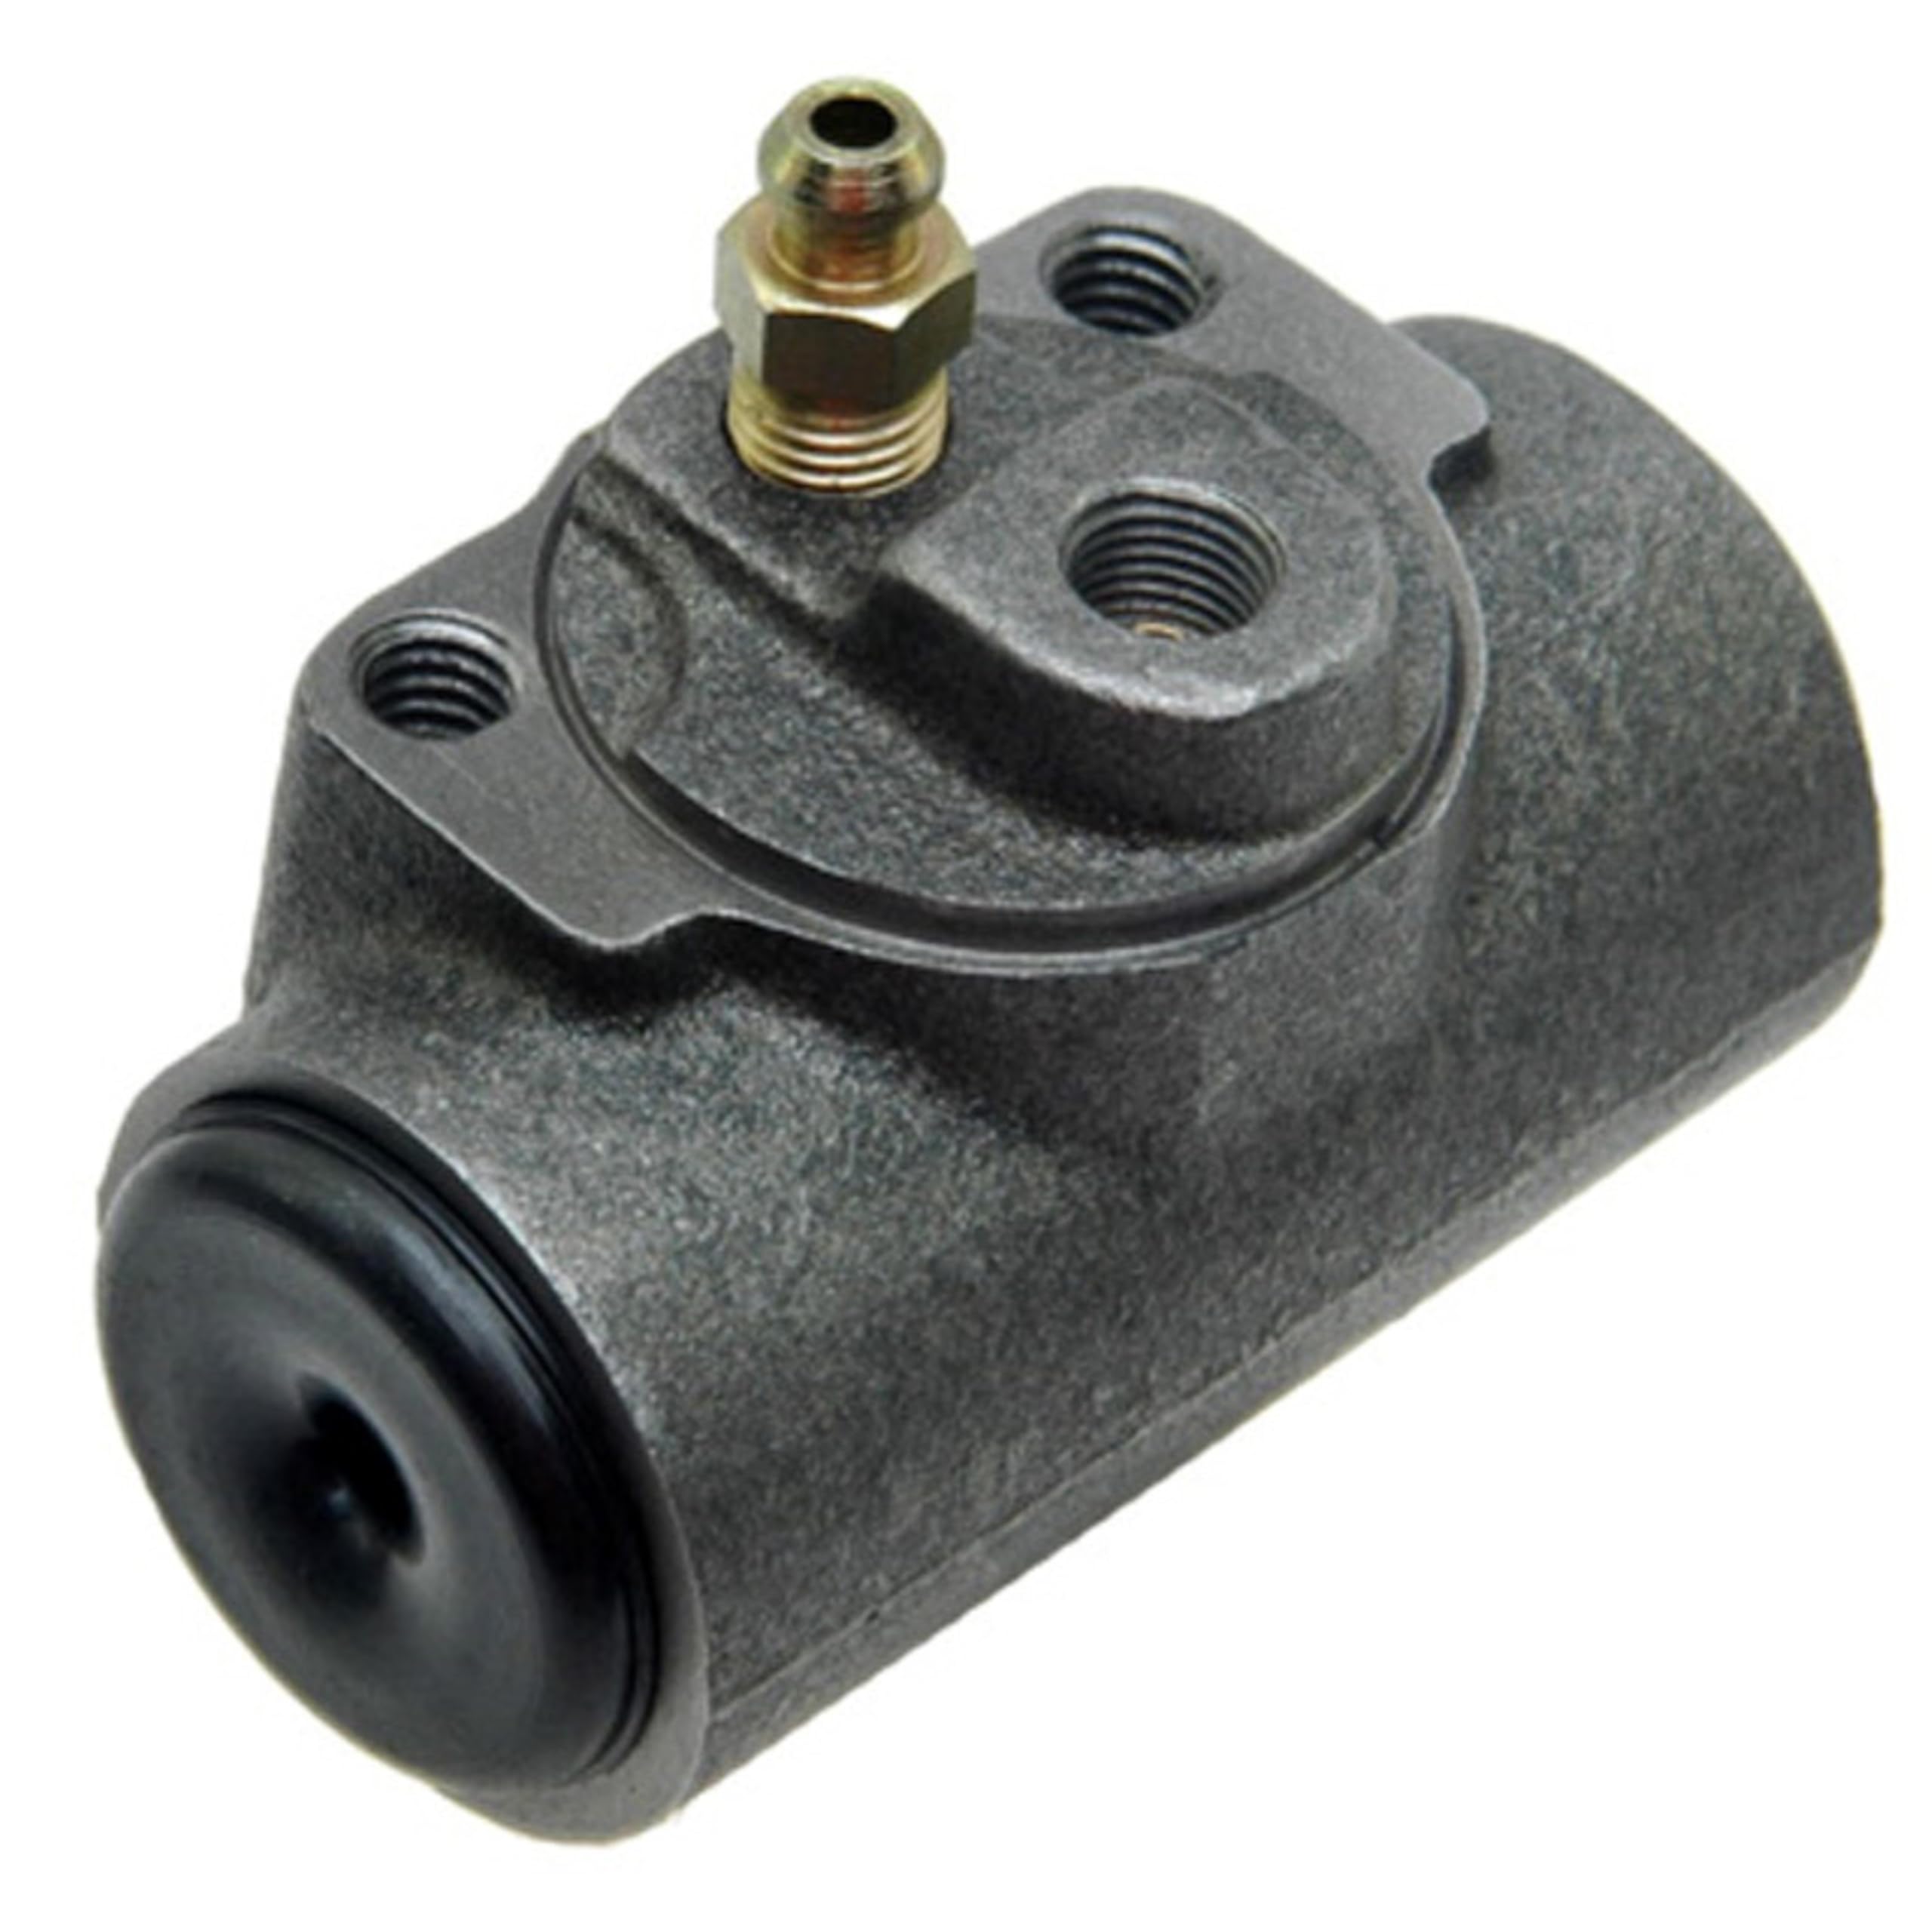
Figure 1: Front view of the ACDelco Gold 18E112 Rear Drum Brake Wheel Cylinder. This image shows the main body and connection points.

Figure 2: Top view of the wheel cylinder, highlighting the bleeder screw. The bleeder screw is used to remove air from the brake system.
5. Operation and Brake System Bleeding
5.1. Function
The wheel cylinder is a critical component of a drum brake system. When the brake pedal is pressed, hydraulic pressure from the master cylinder is transmitted through the brake lines to the wheel cylinder. This pressure forces the pistons within the wheel cylinder outwards, pushing the brake shoes against the inside of the brake drum, which creates friction and slows or stops the vehicle. Proper installation and a fully bled system are essential for correct operation.
5.2. Brake System Bleeding Procedure
After replacing a wheel cylinder, it is imperative to bleed the brake system to remove any air that may have entered. Air in the brake lines can cause a spongy pedal and reduced braking effectiveness.
- Ensure the master cylinder reservoir is full of new, clean brake fluid. Keep it topped off throughout the bleeding process.
- Start bleeding the wheel cylinder furthest from the master cylinder (typically the passenger side rear).
- Attach a clear hose to the bleeder screw and place the other end into a container with a small amount of brake fluid.
- Have an assistant slowly and firmly press the brake pedal down and hold it.
- While the pedal is held down, open the bleeder screw approximately a quarter to half turn. You will see fluid and/or air bubbles exit through the hose.
- Close the bleeder screw before your assistant releases the brake pedal.
- Repeat steps 3-5 until no more air bubbles are visible in the fluid exiting the hose.
- Move to the next furthest wheel cylinder and repeat the process until all wheel cylinders have been bled and the brake pedal feels firm.
- Once bleeding is complete, ensure the master cylinder reservoir is filled to the MAX line.
- Reinstall the brake drum, wheel, and tire. Lower the vehicle.
- Test the brakes in a safe area at low speed before driving normally.
6. Maintenance
Regular inspection and maintenance of your vehicle's brake system are crucial for safety and performance.
- Brake Fluid Level: Periodically check the brake fluid level in the master cylinder reservoir. A low level can indicate a leak or worn brake components.
- Fluid Condition: Brake fluid should be clear or light amber. Dark or cloudy fluid may indicate contamination and require flushing.
- Leak Inspection: During routine vehicle inspections, check around the wheel cylinders and brake lines for any signs of brake fluid leaks.
- Drum Brake Inspection: When brake drums are removed for service, inspect the wheel cylinders for leaks, corrosion, or damage. Also, check the condition of brake shoes and hardware.
7. Troubleshooting Common Issues
7.1. Spongy Brake Pedal
If the brake pedal feels soft or spongy after installation, it typically indicates air trapped within the hydraulic brake system. Re-bleed the brake system thoroughly, starting from the wheel cylinder furthest from the master cylinder and working your way closer.
7.2. Brake Fluid Leaks
If brake fluid is observed leaking from the wheel cylinder area, re-check all connections for proper tightening. Ensure the brake line flare nut is snug and the wheel cylinder retaining bolts are torqued correctly. Inspect the wheel cylinder for any visible damage or manufacturing defects. If a leak persists, the wheel cylinder may need to be replaced.
7.3. Uneven Braking or Pulling
Uneven braking or the vehicle pulling to one side during braking can be caused by various brake system issues, including a faulty wheel cylinder. If one wheel cylinder is not applying pressure correctly, it can lead to imbalanced braking force. Inspect all drum brake components for proper function, contamination, or wear.
8. Product Specifications
| Specification | Detail |
|---|---|
| Manufacturer | AC Delco |
| Brand | ACDelco |
| Model | Brake Drum Wheel Cylinder |
| Item Weight | 1.07 pounds |
| Product Dimensions | 4 x 3.1 x 2.3 inches |
| Item Model Number | 18E112 |
| Exterior | Machined |
| Manufacturer Part Number | 18E112 |
| OEM Part Number | 19175906 |
| ASIN | B000C9HFHA |
| Date First Available | October 10, 2007 |
9. Warranty and Support
For information regarding product warranty, please refer to the official ACDelco warranty documentation provided with your purchase or visit the official ACDelco website. For technical support or further assistance, please contact ACDelco customer service through their official channels.


