
1. Product Overview
The Dorman 12702 Brake Bleeder Screws are designed as a direct replacement component for specific vehicle applications. These screws facilitate the process of bleeding air from a vehicle's hydraulic brake system. Constructed from quality materials, they are engineered for reliable performance and a long service life, matching the fit and function of original equipment parts.
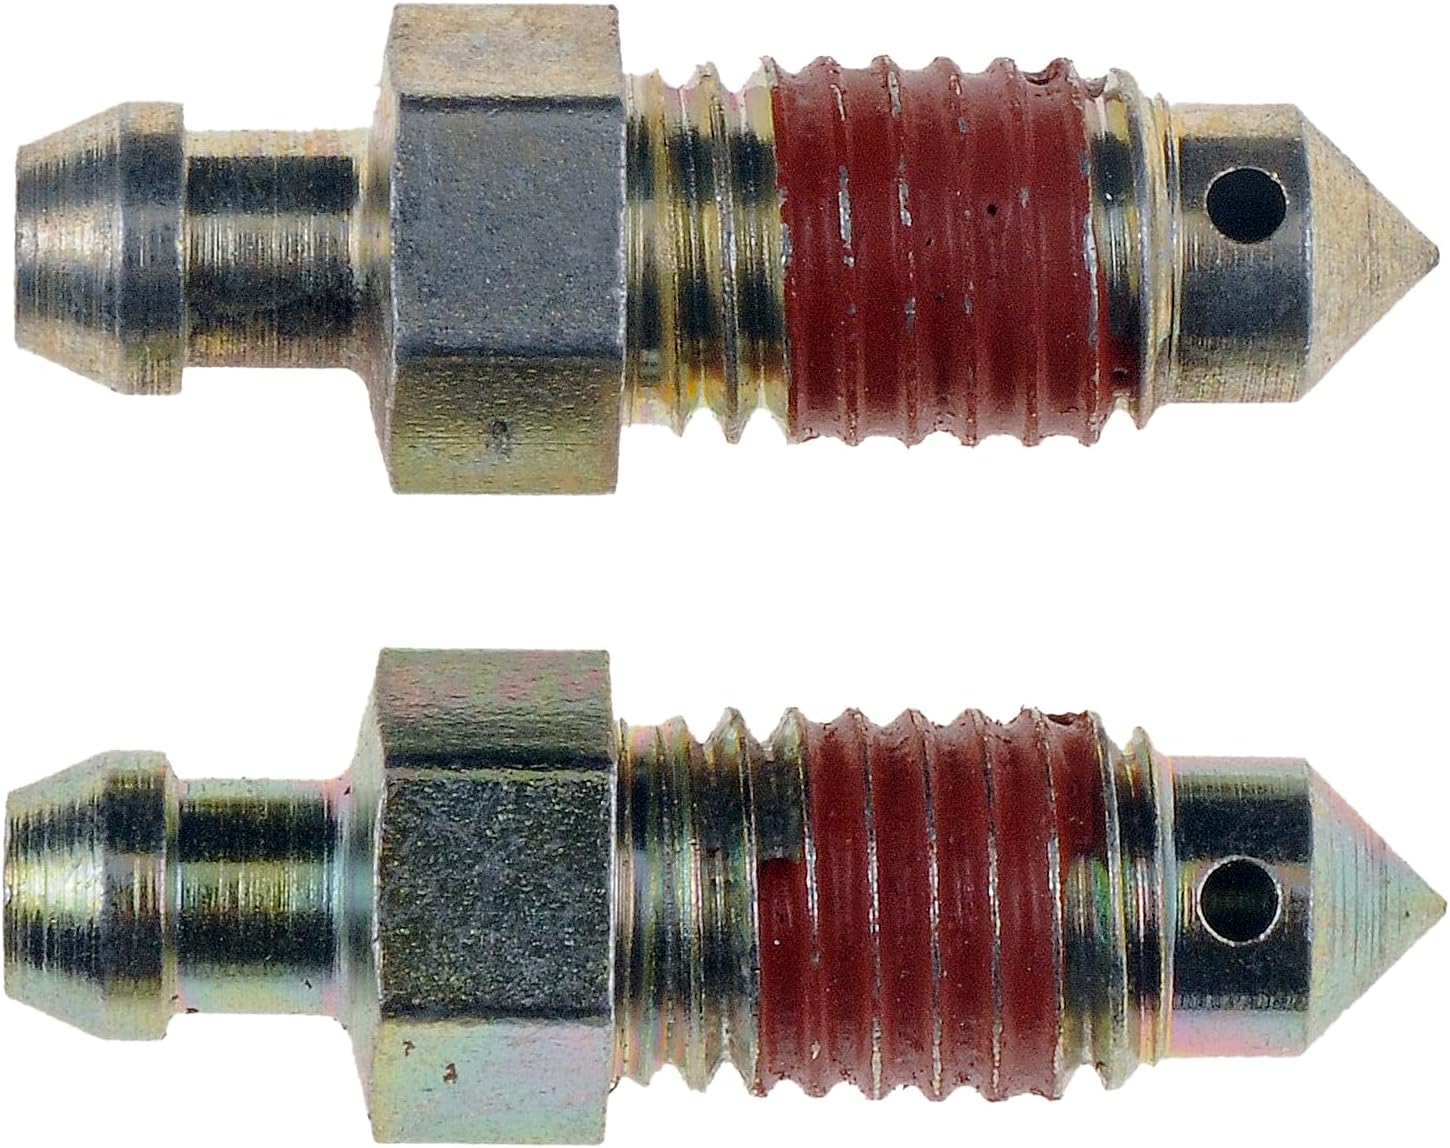
This image displays two Dorman 12702 brake bleeder screws. These screws are designed for direct replacement in specified vehicle brake systems, featuring an M10-1.5 thread size and a length of 33mm. They are typically used to facilitate the removal of air from the hydraulic brake system.
2. Safety Information
Always prioritize safety when working on vehicle brake systems. Failure to follow safety precautions can result in serious injury or damage to the vehicle.
- Wear appropriate personal protective equipment, including safety glasses and gloves.
- Ensure the vehicle is securely supported on jack stands on a level surface before beginning any work.
- Consult your vehicle's service manual for specific brake system procedures and torque specifications.
- Brake fluid is corrosive. Avoid contact with skin, eyes, and painted surfaces. Dispose of used brake fluid responsibly according to local regulations.
- Do not allow the master cylinder reservoir to run dry during the bleeding process, as this can introduce more air into the system.
3. Package Contents
The Dorman 12702 package typically includes:
- 2 Quick Bleeder Screws
4. Specifications
| Feature | Specification |
|---|---|
| Brand | Dorman |
| Model Number | 12702 |
| Material | Steel |
| Head Style | Socket |
| Thread Size | M10 x 1.5mm |
| Item Weight | 0.8 ounces (per screw, approximate) |
| UPC | 037495127028 |
5. Installation (Setup)
These bleeder screws are designed for direct replacement. Verify compatibility with your specific vehicle's make, model, and year before installation. Some vehicles may require different bleeder screw sizes for front and rear calipers.
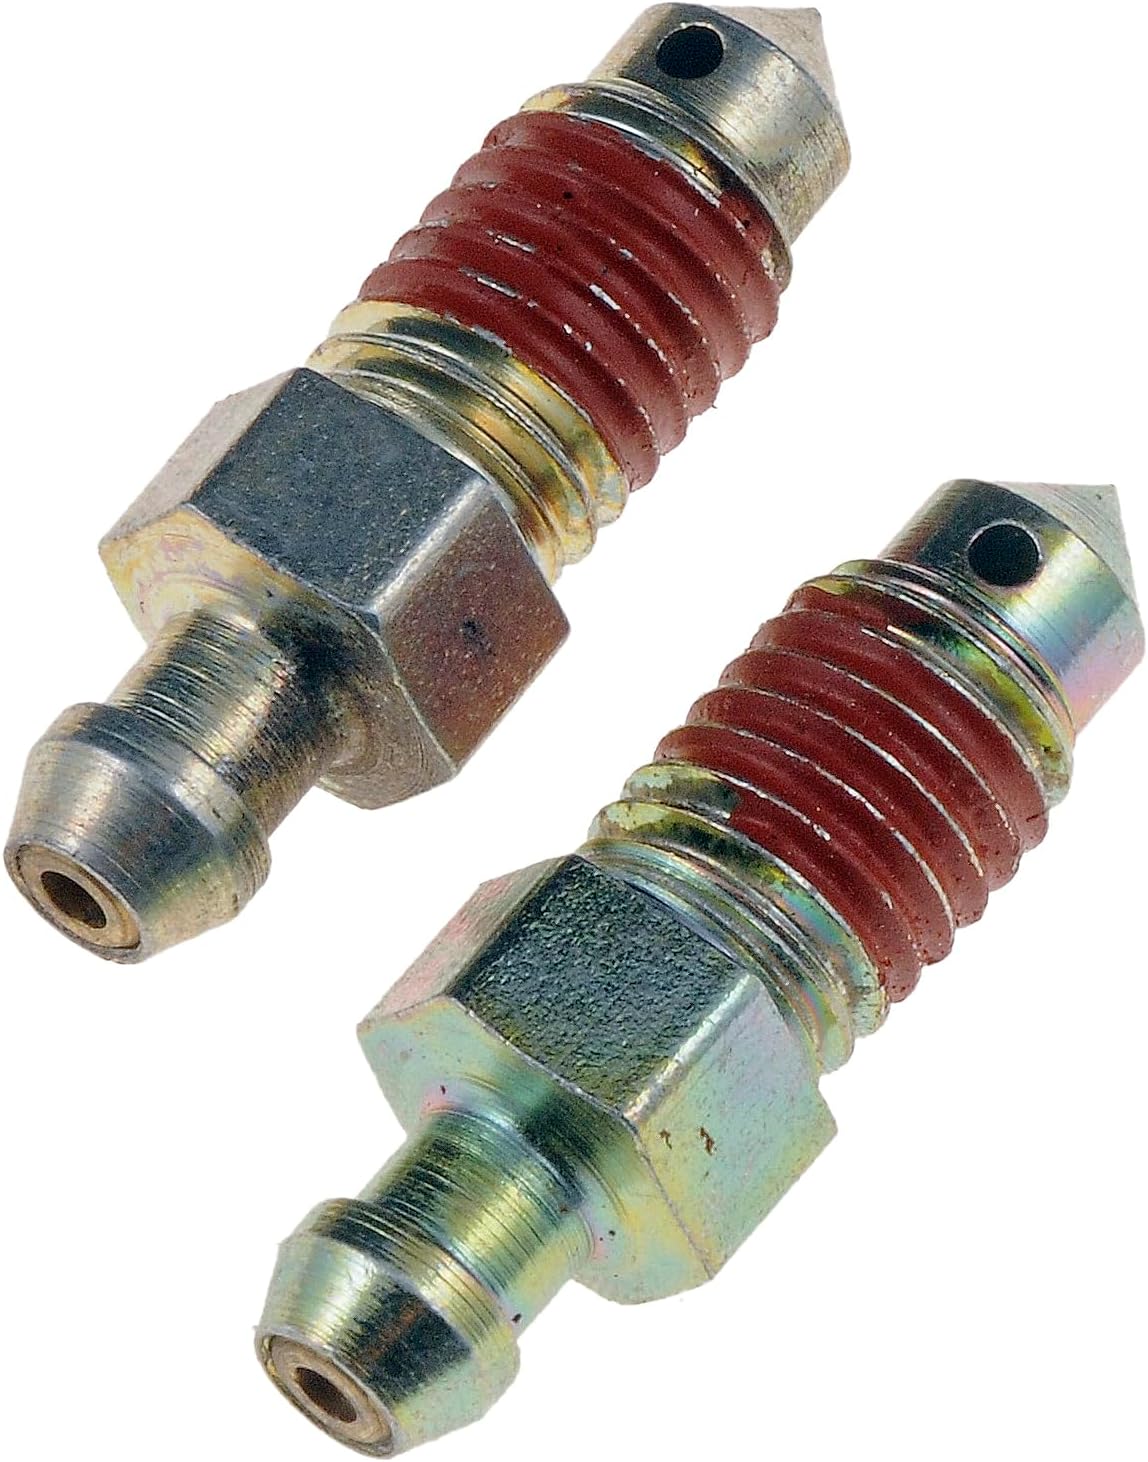
An angled view of the Dorman 12702 brake bleeder screws, highlighting their design which includes a tapered tip for sealing and a threaded body for secure installation into the brake caliper or wheel cylinder.
Installation Steps:
- Prepare Vehicle: Park the vehicle on a level surface, engage the parking brake, and block the wheels. Raise the vehicle and support it securely with jack stands. Remove the wheel(s) to access the brake caliper or wheel cylinder.
- Locate Old Bleeder Screw: Identify the existing bleeder screw on the brake caliper or wheel cylinder. Clean the area around it to prevent contaminants from entering the brake system.
- Remove Old Bleeder Screw: Using an appropriately sized wrench, carefully loosen and remove the old bleeder screw. Be prepared for a small amount of brake fluid to escape.
- Install New Bleeder Screw: Thread the Dorman 12702 bleeder screw into the caliper or wheel cylinder by hand to ensure it starts correctly. Tighten it gently with a wrench. Do not overtighten, as this can damage the threads. Refer to your vehicle's service manual for the correct torque specification.
- Check Brake Fluid Level: Ensure the master cylinder reservoir is filled to the MAX line with the correct type of brake fluid.
6. Operation (Brake Bleeding)
These quick bleeder screws are designed to simplify the brake bleeding process, often allowing for single-person operation. They feature an internal check valve that prevents air from re-entering the system once expelled.
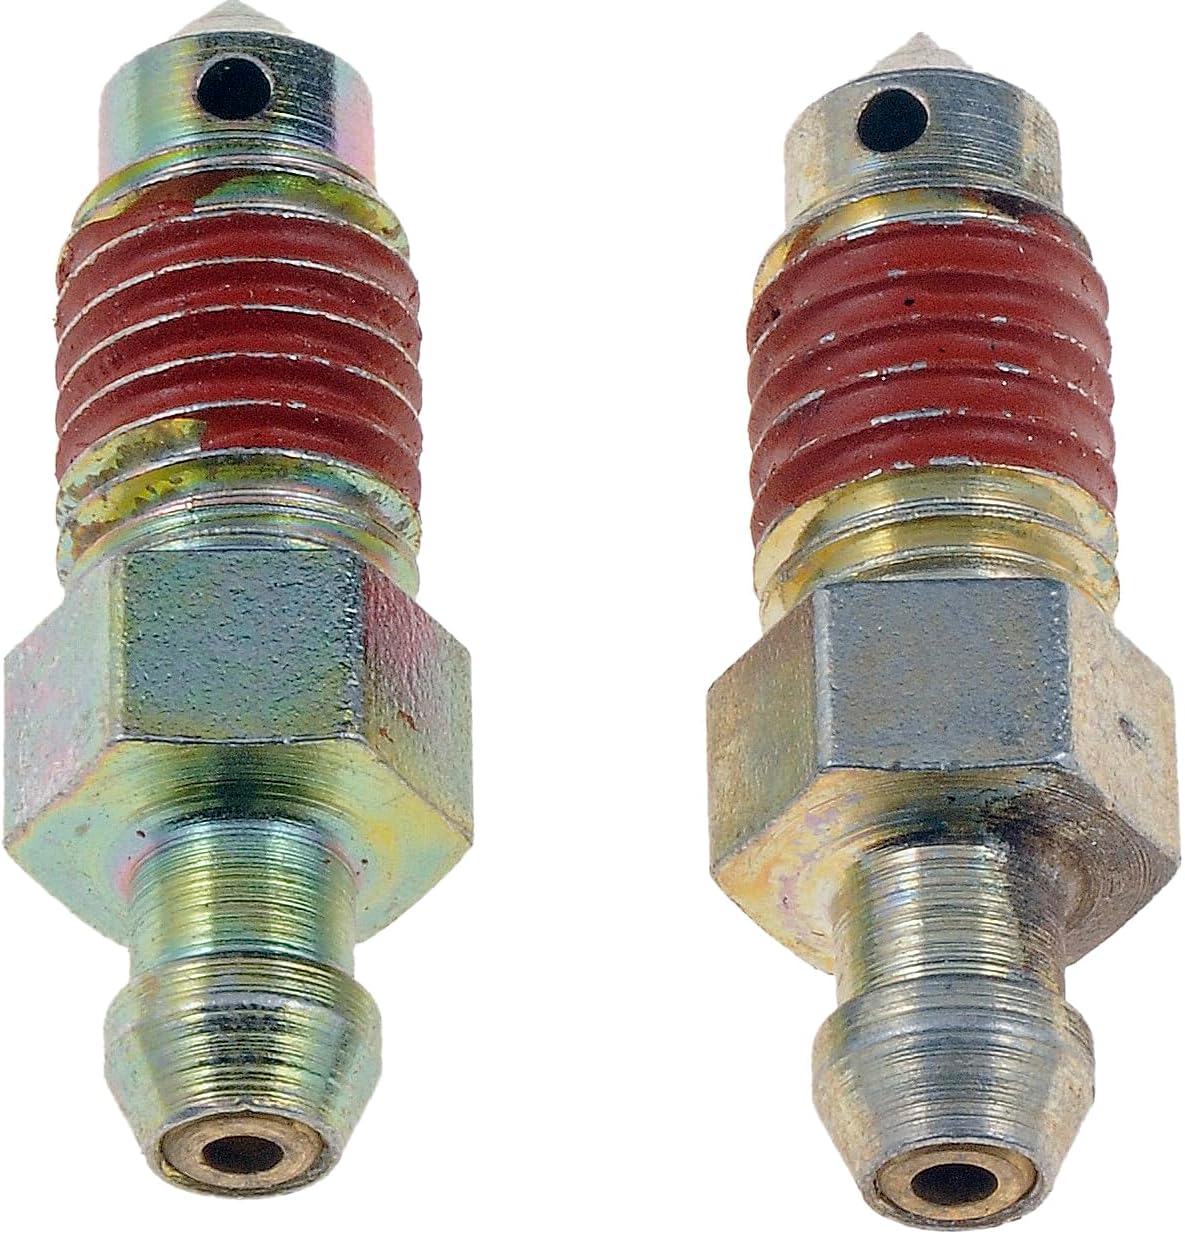
A front view of the Dorman 12702 brake bleeder screws, illustrating the hex head for wrench application and the small bleeder port near the tip, which allows air and fluid to escape during the bleeding process.
Brake Bleeding Steps:
- Prepare for Bleeding: Attach a clear hose to the bleeder screw and place the other end into a container with a small amount of fresh brake fluid. This allows visual inspection of air bubbles.
- Open Bleeder Screw: Loosen the bleeder screw approximately 1/2 to 3/4 of a turn.
- Depress Brake Pedal: Slowly and steadily depress the brake pedal. Observe the fluid and air bubbles flowing into the container.
- Release Brake Pedal: Once the pedal is fully depressed, slowly release it. The internal check valve in the bleeder screw will prevent air from being drawn back into the system.
- Repeat: Continue depressing and releasing the brake pedal until no more air bubbles are visible in the fluid flowing through the hose.
- Close Bleeder Screw: Once bleeding is complete, tighten the bleeder screw to the manufacturer's specified torque.
- Check Fluid Level: Regularly check and refill the master cylinder reservoir during the bleeding process to prevent it from running dry.
- Repeat for All Wheels: Bleed each wheel in the sequence recommended by your vehicle manufacturer (typically starting with the wheel furthest from the master cylinder).
Important: Do not press the brake pedal to the floor during bleeding, as this can potentially damage the master cylinder seals.
7. Maintenance
Regular inspection and proper maintenance ensure the longevity and effectiveness of your brake bleeder screws.
- Periodic Inspection: Visually inspect the bleeder screws for any signs of corrosion, damage, or leaks during routine brake maintenance.
- Cleanliness: Keep the bleeder screw area clean to prevent dirt and debris from entering the brake system during future bleeding operations.
- Torque Check: Ensure the bleeder screws are tightened to the vehicle manufacturer's specified torque to prevent leaks.
8. Troubleshooting
- Brake Fluid Leakage: If you observe brake fluid leaking from around the bleeder screw, ensure it is properly torqued. Check for any damage to the bleeder screw threads or the caliper/wheel cylinder threads. A small amount of thread sealant (often pre-applied) helps create a seal.
- Difficulty Bleeding: If air continues to be present in the system after repeated bleeding attempts, verify that the master cylinder reservoir is consistently full. Ensure the bleeder screw is opened sufficiently (1/2 to 3/4 turn) and that the hose connection is secure.
- Incompatibility with Vacuum Bleeders: Some users have reported that these specific quick bleeder screws may not work effectively with certain vacuum bleeding tools due to their internal check valve design. If using a vacuum bleeder, traditional bleeder screws or a different bleeding method may be required.
- Incorrect Fitment: Confirm that the M10-1.5 thread size is correct for your specific brake caliper or wheel cylinder. Some vehicles may use different sizes for front and rear applications.
9. Warranty Information
Dorman products are backed by a commitment to quality. For specific warranty details regarding the Dorman 12702 Brake Bleeder Screws, please refer to the official Dorman product warranty statement available on their website or contact Dorman customer service directly. Generally, Dorman offers a limited lifetime warranty on many of its automotive replacement parts, covering defects in material and workmanship under normal use and service.
10. Support
For further assistance, technical support, or to inquire about product compatibility, please visit the official Dorman website or contact their customer service department.
Dorman Official Store: Visit Dorman Store on Amazon