
LUX PSPA711
LuxPRO PSPA711 Auto Changeover Deluxe Programmable Thermostat User Manual
Model: PSPA711 | Brand: LUX
Product Overview
The LuxPRO PSPA711 is a fully programmable, digital thermostat designed for precise control of single-stage heating and cooling systems. It features an auto changeover function, allowing seamless transition between heating and cooling modes based on programmed settings and ambient temperature.
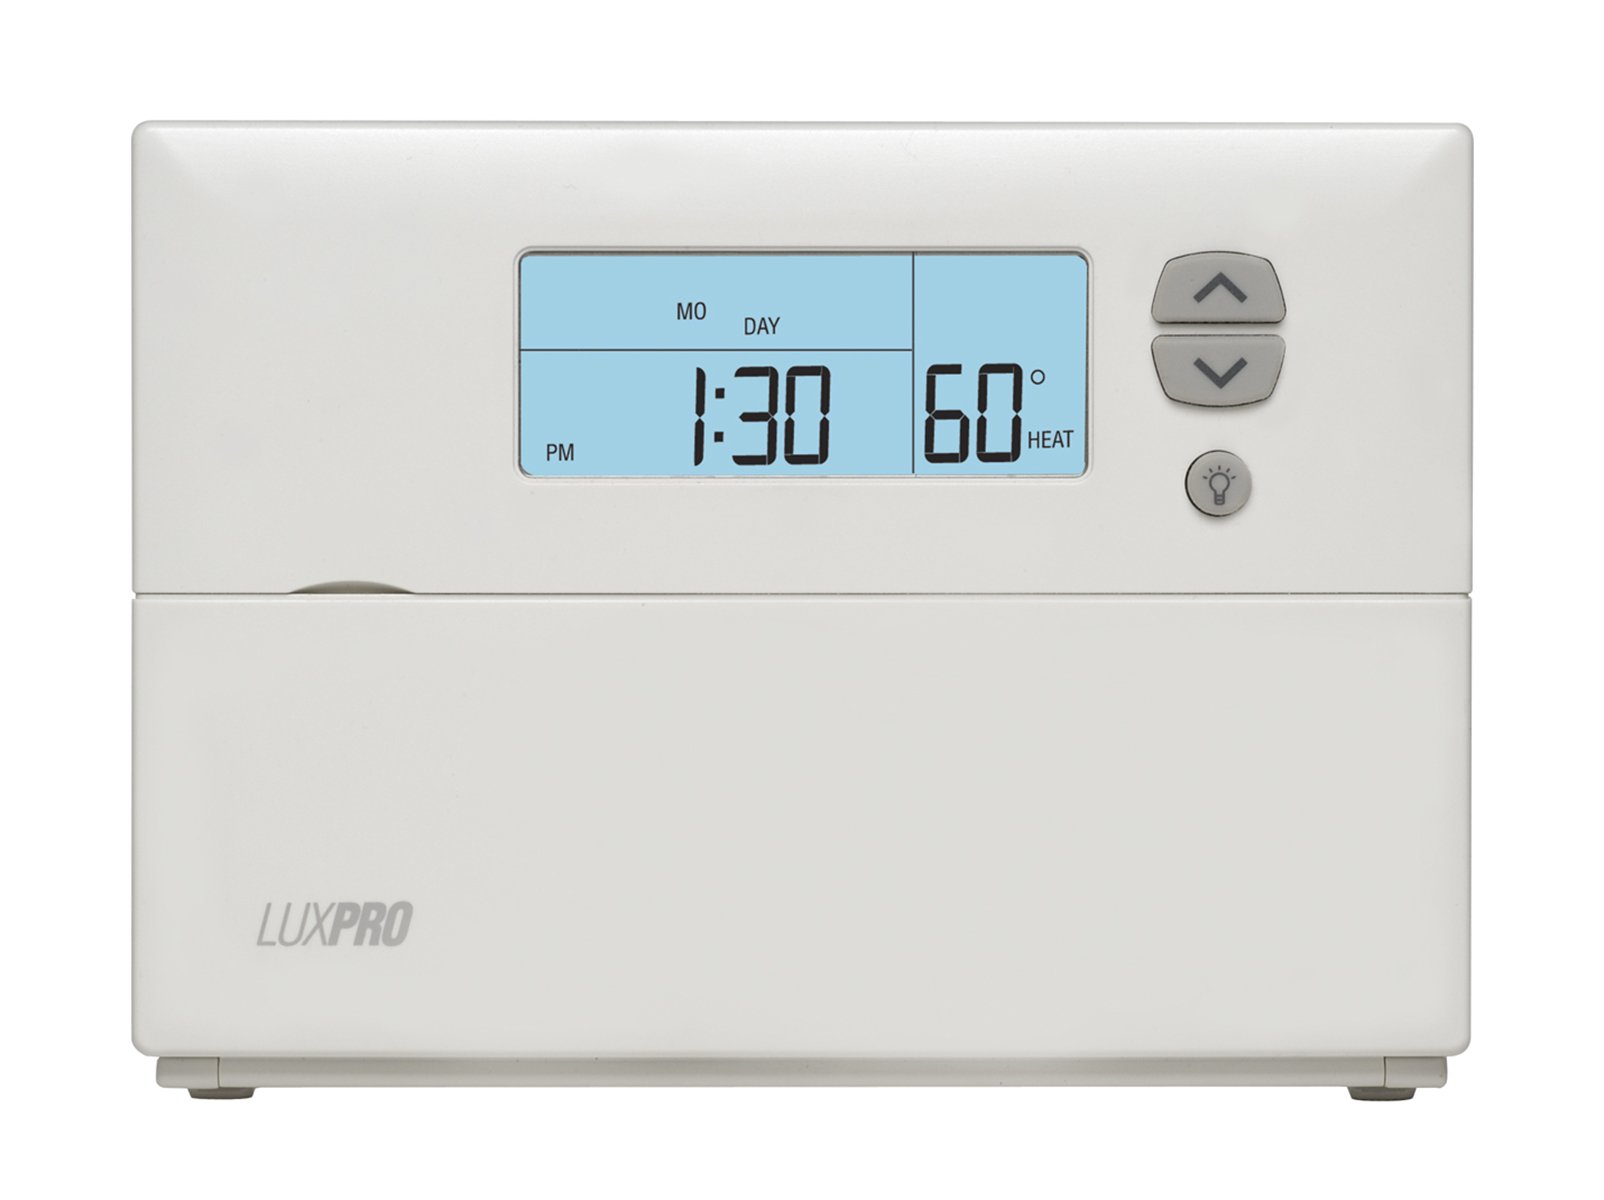
Figure 1: Front view of the LuxPRO PSPA711 Thermostat, displaying the digital screen with current time and temperature, along with control buttons.
Key Features:
- 7-Day programming capability for customized schedules.
- Supports 4 programmable periods per day.
- Automatic or manual changeover between heating and cooling modes.
- Integrated energy usage monitor.
- Temporary temperature override function for immediate adjustments.
- Backlit digital display for improved visibility.
- Battery powered (2 AA batteries included).
Installation and Setup
Safety Precautions:
- Turn off power to the heating/cooling system at the main fuse or circuit breaker box before installation.
- Ensure wiring is performed by a qualified individual if you are unsure.
- This thermostat is designed for 24-volt systems. Do not use on line voltage systems (120/240V).
Mounting the Thermostat:
- Carefully remove the old thermostat from the wall.
- Mark and drill new mounting holes if necessary, using the new thermostat's base as a template.
- Pull the existing wires through the opening in the new thermostat's base.
- Secure the thermostat base to the wall using the provided screws.
Wiring Instructions:
Connect the wires from your HVAC system to the corresponding terminals on the LuxPRO PSPA711 thermostat. Refer to the wiring diagram provided with your specific unit for detailed connections. Common terminals include R (power), C (common), W (heat), Y (cool), G (fan).
Initial Power-Up and Configuration:
- Insert 2 AA alkaline batteries into the battery compartment.
- Restore power to the heating/cooling system.
- The thermostat will power on. Follow the on-screen prompts to set the current time and day.
- Configure system type (e.g., Heat Pump, Conventional) and fan operation (e.g., Gas/Oil, Electric) as per your HVAC system requirements.
Operating the Thermostat
Setting the Time and Day:
Use the dedicated buttons (e.g., "SET TIME", "SET DAY") to adjust the current time and day of the week. The display will guide you through the process.
Programming a Schedule (7-Day, 4 Periods):
The PSPA711 allows for 7-day programming with 4 distinct periods per day (e.g., Wake, Leave, Return, Sleep). Each period can have a different temperature setting for heating and cooling.
- Press the "PROGRAM" button.
- Select the day of the week you wish to program.
- Adjust the start time and desired temperature for each of the four periods using the up/down arrows.
- Repeat for all desired days.
- Save the settings once complete.
System Mode Selection:
Use the "MODE" button to cycle through available system modes:
- HEAT: Thermostat controls heating only.
- COOL: Thermostat controls cooling only.
- AUTO: Thermostat automatically switches between heating and cooling as needed to maintain the set temperature range.
- OFF: Heating and cooling systems are turned off.
Fan Mode Selection:
Use the "FAN" button to select fan operation:
- AUTO: Fan runs only when the heating or cooling system is active.
- ON: Fan runs continuously, regardless of heating or cooling system activity.
Temporary Temperature Override:
To temporarily adjust the temperature without changing the program, use the up/down arrow buttons. The new setting will remain active until the next programmed period begins.
Backlight Function:
Press the light bulb button to illuminate the display for better visibility in low-light conditions.
Maintenance
Battery Replacement:
The thermostat is powered by 2 AA alkaline batteries. Replace batteries annually or when the low battery indicator appears on the display. To replace, open the battery compartment, remove old batteries, and insert new ones, observing polarity.
Cleaning:
Clean the thermostat's exterior with a soft, damp cloth. Do not use abrasive cleaners or solvents. Ensure no moisture enters the internal components.
Air Filter Reminder:
The thermostat may include an air filter reminder. When activated, change or clean your HVAC system's air filter as indicated. Reset the reminder after maintenance.
Troubleshooting
| Problem | Possible Cause | Solution |
|---|---|---|
| Display is blank or dim. | Low or dead batteries. | Replace the 2 AA alkaline batteries. |
| Heating/Cooling system not responding. | Power off at circuit breaker; incorrect wiring; system mode set to OFF. | Check circuit breaker; verify wiring connections; ensure system mode is set to HEAT, COOL, or AUTO. |
| Thermostat loses time/date settings. | Batteries are low or depleted. | Replace batteries immediately. |
| Temperature readings seem inaccurate. | Thermostat located near heat source/draft; sensor obstruction. | Relocate thermostat if possible; ensure no obstructions around the unit. |
| Thermostat beeps with every button press. | This is a normal operational sound for the PSPA711 model. | No action required; this feature cannot be disabled. |
If problems persist after attempting these solutions, contact customer support or a qualified HVAC technician.
Specifications
| Feature | Detail |
|---|---|
| Model Name | PSPA711 |
| Brand | LUX |
| Controller Type | Push Button |
| Special Feature | Programmable, Auto Changeover |
| Color | White |
| Power Source | Battery Powered (2 AA batteries included) |
| Voltage | 24 Volts |
| Display Type | Digital |
| Mounting Type | Wall Mount |
| Dimensions (L x W x H) | 6 x 4.25 x 1.25 inches |
| Item Weight | 4 ounces |
| UPC | 021079047116 |
Warranty and Support
Warranty Information:
Specific warranty details for the LuxPRO PSPA711 thermostat are typically provided with the product packaging or can be found on the manufacturer's official website. Please retain your proof of purchase for warranty claims.
Customer Support:
For technical assistance, troubleshooting, or further inquiries, please visit the official LUX website or contact their customer support department. Contact information is usually available in the product packaging or on the manufacturer's website.
Note: Product specifications and features are subject to change without notice. Always refer to the latest documentation provided by the manufacturer.
Related documentsPSPA711


Ask a question about this manual
Ask about setup, troubleshooting, compatibility, parts, safety, or missing instructions. Manuals+ will review the question and use this page’s manual context to help answer it.