1. Introduction
This manual provides comprehensive instructions for the safe and efficient use of your Denon AV Surround Amplifier AVC-3920SP. Please read this manual thoroughly before operating the unit and retain it for future reference. This amplifier is designed to deliver high-quality audio and video performance for your home entertainment system.
2. Safety Information
To ensure safe operation and prevent damage, observe the following precautions:
- Power Supply: Connect the unit only to an AC outlet of the specified voltage.
- Ventilation: Ensure adequate ventilation. Do not block ventilation openings or place the unit on soft surfaces that may impede airflow.
- Moisture: Do not expose the unit to rain or moisture. Avoid placing objects filled with liquids, such as vases, on the unit.
- Foreign Objects: Do not insert any foreign objects into the unit's openings.
- Servicing: Do not attempt to service the unit yourself. Refer all servicing to qualified service personnel.
- Placement: Place the unit on a stable, level surface away from direct sunlight, heat sources, and excessive dust.
3. Package Contents
Verify that all items are present in the package:
- Denon AV Surround Amplifier AVC-3920SP Main Unit
- Remote Control Unit
- Power Cord
- User Manual (this document)

Figure 3.1: Included accessories: remote control, power cord, and user manual. These items are essential for the basic operation and setup of the amplifier.
4. Setup
4.1 Physical Placement
Place the amplifier on a sturdy, level surface with adequate space around it for ventilation. Avoid enclosed cabinets without proper airflow.

Figure 4.1: Top view of the AVC-3920SP, highlighting the ventilation grilles. Ensure these grilles are not obstructed to prevent overheating.
4.2 Connecting Speakers
The AVC-3920SP supports a 7.1 channel speaker configuration. Connect your speakers to the corresponding terminals on the rear panel. Ensure correct polarity (+ to + and - to -) for optimal sound.
- Connect Front Left (FL) and Front Right (FR) speakers.
- Connect Center (C) speaker.
- Connect Surround Left (SL) and Surround Right (SR) speakers.
- Connect Surround Back Left (SBL) and Surround Back Right (SBR) speakers for 7.1 channel audio.
- Connect a powered subwoofer to the PRE OUT SW terminal.
4.3 Connecting Audio/Video Sources
Use appropriate cables to connect your audio and video devices to the amplifier.
- HDMI Connections: Connect HDMI output from your source devices (e.g., Blu-ray player, game console) to the HDMI IN 1 or HDMI IN 2 ports. Connect the HDMI MONITOR OUT to your TV or projector.
- Digital Audio Connections: For devices with optical or coaxial digital outputs, connect them to the OPTICAL IN (OPT-1 to OPT-4) or COAXIAL IN (COAX-1, COAX-2) ports.
- Analog Audio Connections: Use RCA cables for analog audio sources (e.g., CD player, tape deck) to the AUDIO IN ports.
- Component Video Connections: Connect component video sources (Y, Pb/Cb, Pr/Cr) to the COMPONENT VIDEO IN ports.
- S-Video/Composite Video Connections: Connect S-Video or composite video sources to the respective IN ports.

Figure 4.2: Overview of the rear panel connections. This image displays the comprehensive array of inputs and outputs, including HDMI, digital audio, analog audio, and speaker terminals.

Figure 4.3: Detailed view of the rear panel's HDMI, digital audio, and speaker connections. This close-up helps in identifying specific ports for accurate wiring.
4.4 Power Connection
After all audio and video connections are made, connect the supplied power cord to the AC IN terminal on the rear of the amplifier and then to a wall outlet.
5. Operating Instructions
5.1 Basic Operation
- Power On/Off: Press the ON/STANDBY button on the front panel or the remote control to turn the unit on or off.
- Input Selection: Use the SOURCE knob on the front panel or the input selector buttons on the remote control to choose your desired audio/video source (e.g., DVD, CD, TV).
- Volume Control: Adjust the MASTER VOLUME knob on the front panel or the VOLUME +/- buttons on the remote control.

Figure 5.1: Front view of the Denon AVC-3920SP. This image shows the main controls including the power button, input selector, and master volume knob.
5.2 Front Panel Controls
The front panel provides direct access to essential functions.
- FUNCTION Knob: Selects various operational modes or settings.
- SOURCE Knob: Selects the input source.
- REC SELECT Button: Selects the source for recording.
- VIDEO SELECT Button: Selects the video input.
- ON/STANDBY Button: Powers the unit on or off.
- MASTER VOLUME Knob: Adjusts the overall sound level.
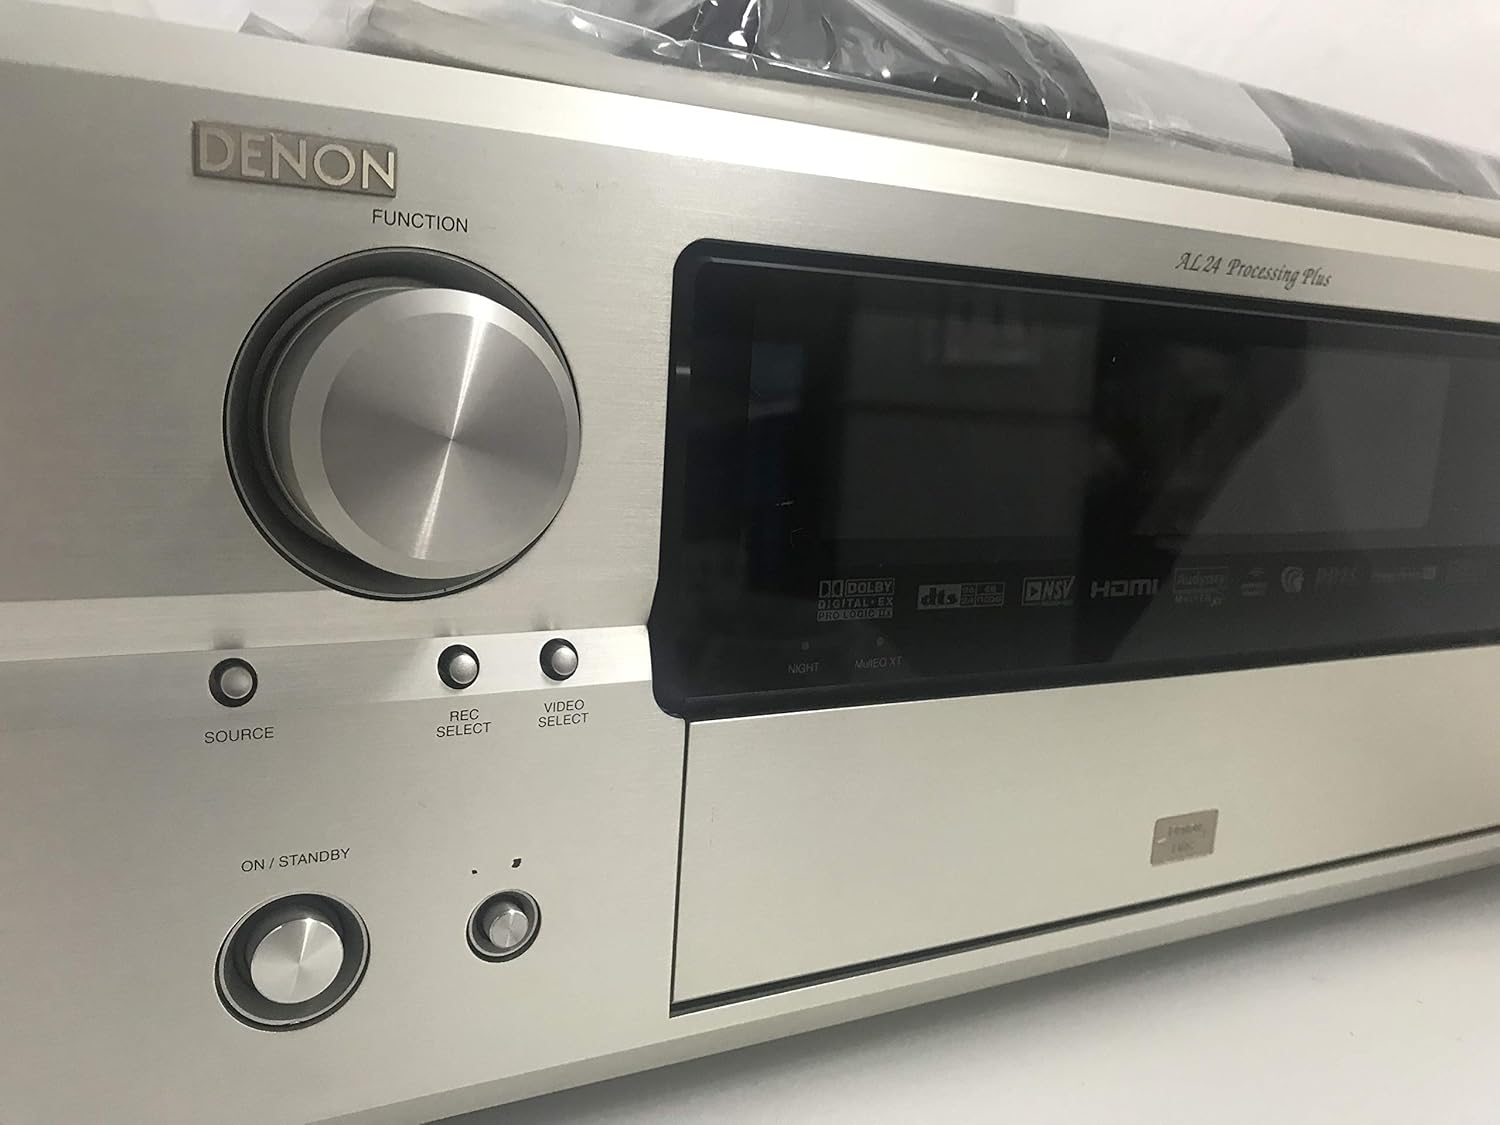
Figure 5.2: Left front panel controls, including the FUNCTION knob, SOURCE, REC SELECT, VIDEO SELECT buttons, and the ON/STANDBY button.

Figure 5.3: Right front panel controls, featuring the MASTER VOLUME knob and USER MODE buttons.
A hidden panel on the front provides access to advanced controls:

Figure 5.4: Front panel with the hidden compartment open. This reveals controls for sound modes, system setup, and a headphone jack.
5.3 Remote Control Functions
The supplied remote control allows convenient operation from a distance. Refer to the remote control diagram in the separate remote control manual for detailed button functions.
5.4 Sound Modes
The AVC-3920SP supports various surround sound formats:
- DOLBY DIGITAL EX: Provides enhanced surround sound with an additional rear center channel.
- DTS-ES: Offers discrete or matrixed surround back channels for a more immersive experience.
- Other sound modes can be selected via the front panel or remote control.
6. Maintenance
6.1 Cleaning
Wipe the unit with a soft, dry cloth. For stubborn dirt, lightly dampen the cloth with water or a mild, non-abrasive cleaner. Do not use strong solvents or abrasive pads.
6.2 Storage
If storing the unit for an extended period, disconnect the power cord and place it in a cool, dry place away from direct sunlight and extreme temperatures.
7. Troubleshooting
If you experience problems with your amplifier, consult the table below for common issues and solutions.
| Problem | Possible Cause | Solution |
|---|---|---|
| No power | Power cord disconnected; Unit in standby mode; Power outage | Check power cord connection; Press ON/STANDBY button; Check household circuit breaker |
| No sound | Incorrect input selected; Volume too low; Speakers not connected properly; Mute function active | Select correct input source; Increase volume; Check speaker connections and polarity; Deactivate mute function |
| No video | Incorrect input selected; Video cables not connected properly; TV/projector input incorrect | Select correct input source; Check video cable connections; Select correct input on TV/projector |
| Remote control not working | Batteries depleted; Obstruction between remote and unit; Incorrect remote mode | Replace batteries; Remove obstruction; Ensure remote is in the correct operating mode |
8. Specifications
Technical specifications for the Denon AV Surround Amplifier AVC-3920SP:
| Feature | Specification |
|---|---|
| Product Model Number | AVC-3920SP |
| Brand | Denon |
| Manufacturer | D&M |
| Color | Premium Silver |
| Connectivity Technology | HDMI |
| Controller Type | App Control (Not Supported), Remote |
| Number of Channels | 7.1ch |
| Maximum Output Power | 180W x 7 |
| Rated Output Power | 120W x 7 |
| DOLBY Surround | DOLBY DIGITAL EX |
| DTS Surround | DTS-ES |
| AAC Support | Supported |
| Digital Audio Input | Optical x2 / Coaxial x2 |
| HDMI Input | 2 |
| HDMI Output | 1 |
| HDMI Link | Not Supported |
| Audio Output Type | HDMI |
9. Warranty and Support
For warranty information and technical support, please refer to the warranty card included with your product or visit the official Denon website. Keep your purchase receipt as proof of purchase.


