
1. Introduction
This manual provides detailed instructions for the setup, operation, maintenance, and troubleshooting of your Sony DVPCX995V 400-Disc DVD Mega Changer/Player. This unit is designed to simplify the management of large DVD and CD collections, offering high-quality video and audio performance.
Key features include video upscaling to high definition (1080i/720p) resolution, high-quality audio transmission via HDMI, Precision Cinema Progressive circuitry, Dolby Digital and DTS 5.1 channel outputs, and compatibility with various disc formats including DVD-RW/-R/+RW/+R, MP3, JPEG, CD-RW/-R, VCD, and SVCD.
2. Safety Information
- Power Source: Ensure the unit is connected to an AC 120V, 60Hz power supply.
- Ventilation: Do not block ventilation openings. Allow adequate space around the unit for proper airflow to prevent overheating.
- Liquid and Moisture: Do not expose the unit to rain or moisture. Do not place objects filled with liquids, such as vases, on the unit.
- Foreign Objects: Never insert any metal objects or liquids into the unit. This may cause electric shock or malfunction.
- Servicing: Do not attempt to service the unit yourself. Refer all servicing to qualified service personnel.
- Placement: Place the unit on a stable, level surface. Avoid placing it in direct sunlight, near heat sources, or in excessively dusty or humid environments.
- Disc Handling: Handle discs by their edges to avoid fingerprints or scratches. Do not use cracked, warped, or irregularly shaped discs.
3. Setup
3.1 Unpacking
Carefully remove the DVPCX995V unit from its packaging. Inspect the unit for any signs of damage. Ensure all accessories are present.
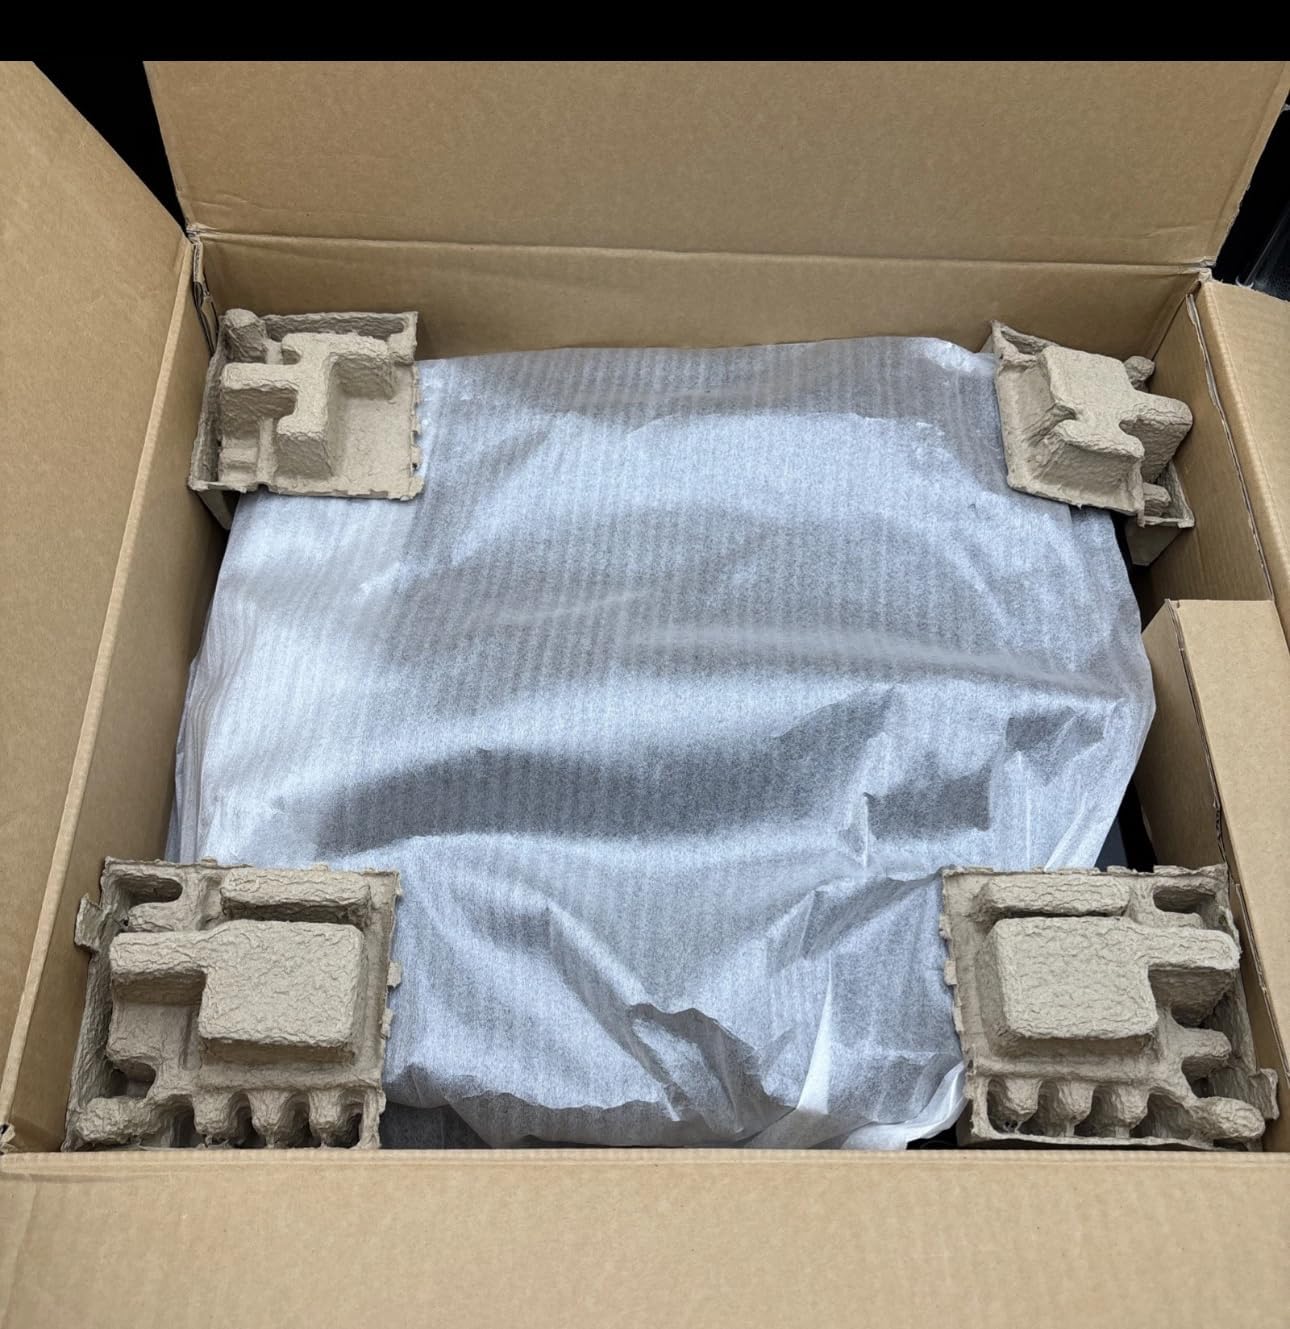
Figure 3.1: Sony DVPCX995V unit as received in its packaging.

Figure 3.2: Closer view of the Sony DVPCX995V unit during unpacking.
3.2 Connecting to Your System
The DVPCX995V offers multiple connection options for video and audio output. Choose the connection type that best suits your television or audio receiver.
- HDMI Output: For the highest quality video (up to 1080i/720p upscaling) and digital audio, connect an HDMI cable from the unit's HDMI OUT port to an HDMI input on your TV or receiver.
- Component Video Output: For high-definition analog video, connect component video cables (Y, Pb, Pr) from the unit's COMPONENT VIDEO OUT ports to corresponding inputs on your TV.
- S-Video Output: Connect an S-Video cable from the S-VIDEO OUT port to an S-Video input on your TV for improved standard definition video.
- Composite Video Output: Connect a composite video cable (yellow RCA) from the VIDEO OUT port to a composite video input on your TV.
- Digital Audio Outputs (Coaxial/Optical): For digital audio to an audio receiver, use either a coaxial digital audio cable or an optical digital audio cable from the respective ports on the unit to your receiver.
- Multi-Channel Audio Output: For discrete 5.1 channel analog audio, connect RCA cables from the MULTI-CHANNEL OUT ports to the corresponding inputs on your audio receiver.
- Analog Audio Output (Line Out): Connect RCA audio cables (red and white) from the LINE OUT ports to analog audio inputs on your TV or receiver for stereo sound.
Ensure all connections are secure before powering on the unit.
4. Operating Instructions
4.1 Loading Discs
- Press the OPEN/CLOSE button on the front panel or remote control to open the disc tray.
- Place up to 400 discs into the available slots on the disc tray. Ensure discs are placed correctly with the label side facing up.
- Press the OPEN/CLOSE button again to close the disc tray. The unit will begin scanning the discs.
- Use the DISC CHANGE dial or buttons to select a specific disc slot.
The unit allows for organization and cataloging of your discs. Refer to the on-screen display for options to label and categorize your media.
4.2 Playback
- DVD/CD/SA-CD Playback: Select the desired disc using the DISC CHANGE dial. Press the PLAY button to start playback.
- MP3/JPEG Playback: The unit supports MP3 audio files and JPEG image files on compatible discs (CD-R/RW, DVD-R/RW). Navigate through files using the arrow buttons on the remote and press ENTER to select.
- Video Upscaling: The DVPCX995V automatically upscales standard definition DVD content to 1080i/720p resolution when connected via HDMI or Component Video, enhancing picture quality on compatible displays.
- Audio Formats: The unit supports Dolby Digital and DTS 5.1 channel outputs, providing immersive surround sound when connected to a compatible audio receiver.
4.3 Remote Control Functions
The included remote control provides full functionality for the DVPCX995V. Key functions include:
- Power: Turns the unit on/off.
- Disc Change: Navigates between disc slots.
- Play/Pause/Stop: Controls media playback.
- Skip/Search: Skips tracks/chapters or fast forwards/rewinds.
- Menu/Top Menu: Accesses disc menus.
- Display: Shows playback information on screen.
- Audio/Subtitle: Selects audio tracks or subtitle languages.
- Parental Control: Allows setting restrictions on disc playback.
5. Maintenance
- Cleaning the Unit: Wipe the exterior of the unit with a soft, dry cloth. Do not use abrasive cleaners or solvents.
- Disc Cleaning: Use a soft, lint-free cloth to wipe discs from the center outwards. Do not use harsh chemicals.
- Dust Prevention: Keep the unit in a clean, dust-free environment to prevent dust accumulation in the disc mechanism.
- Ventilation: Regularly check that the ventilation openings are not obstructed.
6. Troubleshooting
Before contacting customer support, please refer to the following common issues and solutions:
| Problem | Solution |
|---|---|
| No power | Ensure the power cord is securely plugged into both the unit and a working electrical outlet. Check the power switch. |
| No picture | Verify video cables (HDMI, Component, S-Video, Composite) are correctly connected to both the player and the TV. Ensure the correct input is selected on your TV. |
| No sound | Check audio cable connections (HDMI, Digital Coaxial/Optical, Analog RCA) to your TV or audio receiver. Ensure the correct audio input is selected on your receiver/TV and volume is up. |
| Disc does not play or loads slowly | Ensure the disc is clean and free of scratches. Verify the disc type is compatible with the player (DVD, CD, SA-CD, MP3, JPEG, VCD, SVCD). The 400-disc mechanism may take a few seconds to locate and load a disc. |
| Remote control not working | Check and replace batteries if necessary. Ensure there are no obstructions between the remote and the unit's IR sensor. |
7. Specifications
- Model Name: DVPCX995V
- Brand: Sony
- Disc Capacity: 400 discs (DVD, CD, SA-CD)
- Compatible Media Types: SACD, DVD-RW/-R/+RW/+R, MP3, JPEG, CD-RW/-R, VCD, SVCD
- Video Upscaling: 1080i/720p (via HDMI)
- Video Outputs: 1 HDMI, 1 Component (Y, Pb, Pr), 2 S-Video, 2 Composite Video
- Audio Outputs: 1 Coaxial Digital Audio, 1 Optical Digital Audio, 1 Multi-channel (5.1), 1 Stereo Analog (Line Out)
- Audio Output Mode: Surround (Dolby Digital, DTS 5.1-channel output)
- Special Features: High Definition (upscaling), Precision Cinema Progressive circuitry
- Color: Black
- Product Dimensions (WxHxD): Approximately 17 x 7.8 x 21.1 inches (43.2 x 19.8 x 53.6 cm)
- Item Weight: Approximately 18 pounds (8.16 kg)
- Power Requirements: AC 120V, 60Hz
- Batteries (Remote): 2 AA batteries required (not included)
8. Warranty and Support
For warranty information, please refer to the warranty card included with your product or visit the official Sony support website. If you encounter issues not covered in this manual or require further assistance, please contact Sony customer support.
Please note that unauthorized servicing or modifications may void your warranty.