
KRUPS XP4050
KRUPS XP4050 Programmable Espresso Machine User Manual
Model: XP4050
1. Important Safeguards
When using electrical appliances, basic safety precautions should always be followed to reduce the risk of fire, electric shock, and/or injury to persons, including the following:
- Read all instructions before using the appliance.
- Do not touch hot surfaces. Use handles or knobs.
- To protect against fire, electric shock, and injury to persons, do not immerse cord, plugs, or appliance in water or other liquid.
- Close supervision is necessary when any appliance is used by or near children.
- Unplug from outlet when not in use and before cleaning. Allow to cool before putting on or taking off parts, and before cleaning the appliance.
- Do not operate any appliance with a damaged cord or plug or after the appliance malfunctions, or has been damaged in any manner. Return appliance to the nearest authorized service facility for examination, repair, or adjustment.
- The use of accessory attachments not recommended by the appliance manufacturer may result in fire, electric shock, or injury to persons.
- Do not use outdoors.
- Do not let cord hang over edge of table or counter, or touch hot surfaces.
- Do not place on or near a hot gas or electric burner, or in a heated oven.
- Always attach plug to appliance first, then plug cord into the wall outlet. To disconnect, turn any control to "off", then remove plug from wall outlet.
- Do not use appliance for other than intended use.
- Scalding may occur if the water reservoir cover is removed during the brewing cycle.
2. Product Overview
Familiarize yourself with the components of your KRUPS XP4050 Espresso Machine before operation.
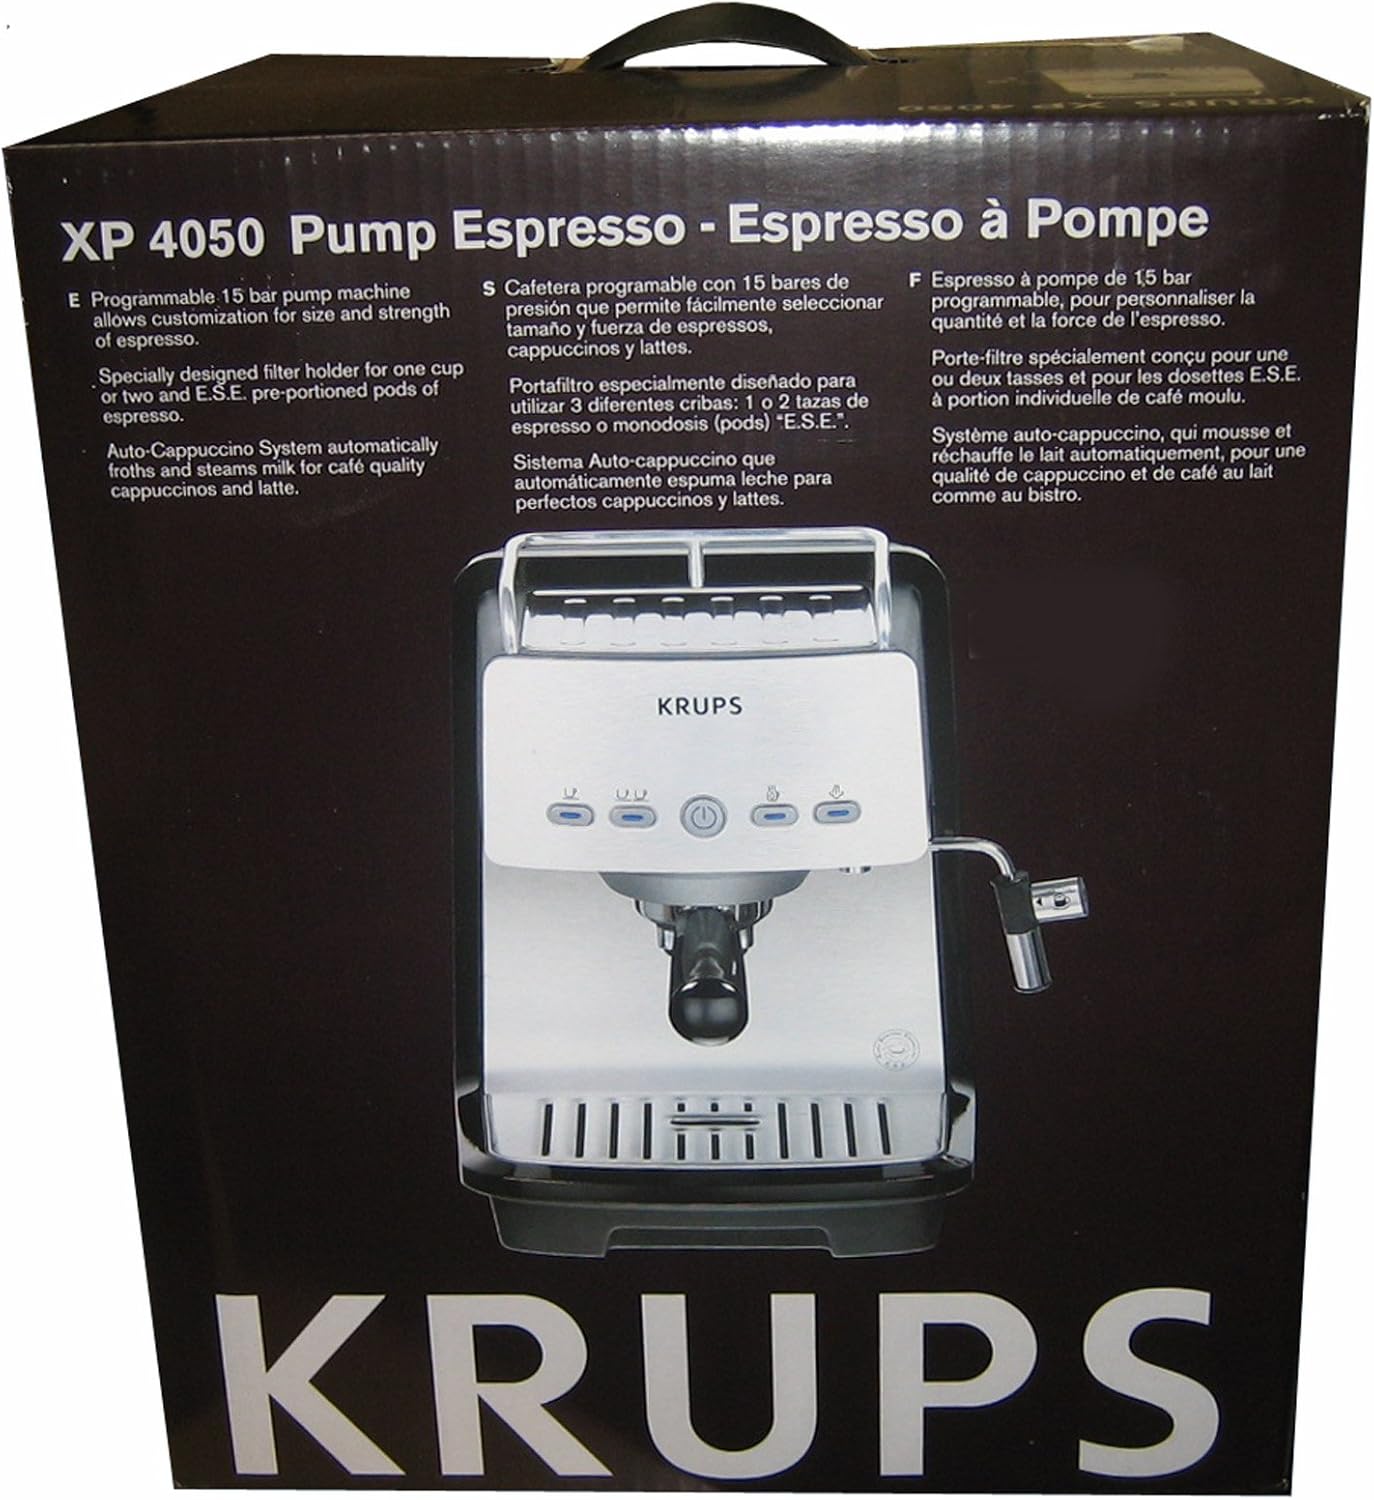
Figure 1: Front view of the KRUPS XP4050 Espresso Machine, showing the control panel, steam wand, and drip tray.
Key Components:
- Water Tank: Removable, located at the back, with a capacity of 32 ounces (1.2 liters).
- Control Panel: Features push-buttons for power, espresso shot selection (single/double), steam, and hot water.
- Filter Holder (Portafilter): Holds interchangeable inserts for ground coffee (single/double) or E.S.E. pods.
- Steam Wand/Frother: Used for frothing milk for cappuccinos and lattes, and dispensing hot water.
- Drip Tray: Removable tray at the base to collect excess liquids.
- Cup Warming Tray: Located on top of the machine to preheat espresso cups.
3. Setup and First Use
3.1 Unpacking and Initial Cleaning
- Remove all packaging materials and stickers from the machine.
- Wipe the exterior of the machine with a damp cloth.
- Wash the water tank, filter holder, and drip tray in warm, soapy water. Rinse thoroughly and dry.
3.2 Filling the Water Tank
- Remove the water tank from the back of the machine.
- Fill the tank with fresh, cold water up to the "MAX" level indicator. Do not use distilled water.
- Replace the water tank securely into its position.
3.3 Priming the Pump (First Use or After Extended Storage)
- Ensure the water tank is filled.
- Place a container under the steam wand.
- Turn on the machine by pressing the power button. The indicator light will illuminate.
- Press the steam button. Once the steam indicator light is steady, turn the steam knob to release steam/hot water until water flows continuously.
- Turn the steam knob off and press the steam button again to stop the steam function.
- Place a container under the filter holder. Press the single espresso button. Water will flow through the filter holder. Let it run for about 30 seconds.
- The machine is now primed and ready for use.
4. Operating Instructions
4.1 Making Espresso
The machine uses a 15-bar pump system for optimal espresso extraction.
Using Ground Coffee:
- Select the appropriate filter insert for a single or double shot and place it into the filter holder.
- Add finely ground espresso coffee to the filter insert. For a single shot, use one level scoop (approx. 7g); for a double shot, use two level scoops (approx. 14g).
- Tamp the coffee firmly with the tamper. Ensure the rim of the filter is clean of any loose grounds.
- Attach the filter holder to the brewing head by aligning it and turning it firmly to the right until it is secure.
- Place one or two espresso cups on the drip tray beneath the filter holder spouts.
- Press the single or double espresso button. The machine will begin brewing.
- The machine will automatically stop when the programmed volume is reached. To stop manually, press the button again.
- Carefully remove the filter holder after brewing, as it will be hot. Discard used coffee grounds.
Using E.S.E. Pods:
- Use the specific filter insert designed for E.S.E. pods.
- Place one E.S.E. pod into the filter insert.
- Attach the filter holder to the brewing head.
- Place an espresso cup beneath the spouts.
- Press the single espresso button to brew.
Programming Espresso Volume:
You can customize the volume for single and double espresso shots.
- Prepare the filter holder with coffee as usual.
- Place your cup(s) under the spouts.
- Press and hold the desired espresso button (single or double) until the desired volume of espresso is dispensed.
- Release the button. The new volume is now programmed for that button.
4.2 Frothing Milk
The automatic cappuccino system precisely combines steam and air to froth milk.
- Fill a pitcher with cold milk (dairy or non-dairy) to about one-third full.
- Press the steam button. Wait for the steam indicator light to become steady, indicating the machine has reached frothing temperature.
- Position the steam wand just below the surface of the milk in the pitcher.
- Turn the steam knob to release steam. Move the pitcher up and down gently to create foam.
- Once desired foam and temperature are achieved, turn the steam knob off.
- Press the steam button again to turn off the steam function.
- Immediately clean the steam wand with a damp cloth to prevent milk residue from drying.
4.3 Hot Water Dispensing
- Place a cup under the steam wand.
- Press the hot water button (often the same as the steam button, or a dedicated button if available).
- Turn the steam knob to dispense hot water.
- Turn the steam knob off when done. Press the hot water button again to stop the function.
5. Maintenance and Cleaning
Regular cleaning ensures optimal performance and extends the life of your espresso machine.
5.1 Daily Cleaning
- Drip Tray: Empty and rinse the drip tray daily or when the indicator shows it's full.
- Filter Holder: After each use, remove the filter holder, discard coffee grounds, and rinse the filter insert and holder under running water.
- Steam Wand: Immediately after frothing milk, wipe the steam wand with a damp cloth. Periodically, purge steam through the wand to clear any internal milk residue.
- Water Tank: Rinse the water tank daily and refill with fresh water.
5.2 Descaling
Mineral deposits from water can build up inside the machine, affecting performance. Descale your machine every 2-3 months, or more frequently if you have hard water.
- Empty the water tank.
- Prepare a descaling solution according to the descaler manufacturer's instructions (or use a mixture of white vinegar and water, typically 1:1 ratio). Fill the water tank with this solution.
- Place a large container under the filter holder and another under the steam wand.
- Turn on the machine.
- Run approximately half of the descaling solution through the filter holder by pressing the double espresso button multiple times.
- Run the remaining half of the solution through the steam wand by activating the steam function.
- Turn off the machine and let it sit for 15-20 minutes.
- Empty and thoroughly rinse the water tank. Fill it with fresh water.
- Repeat steps 5 and 6 with fresh water to rinse the machine thoroughly.
- Your machine is now descaled.
6. Troubleshooting
| Problem | Possible Cause | Solution |
|---|---|---|
| No water flows through the filter holder. | Water tank empty; pump not primed; coffee too finely ground or tamped too hard; machine clogged. | Fill water tank; prime the pump (Section 3.3); use coarser grind or less pressure; descale the machine (Section 5.2). |
| Espresso is too weak or watery. | Coffee not tamped enough; coffee too coarse; not enough coffee; machine needs descaling. | Tamp coffee more firmly; use finer grind; use correct amount of coffee; descale the machine. |
| No steam from the steam wand. | Steam wand clogged; machine not at steam temperature; machine needs descaling. | Clean steam wand hole with a pin; wait for steam indicator light to be steady; descale the machine. |
| Water leaking from the machine. | Water tank not properly seated; drip tray full; filter holder not securely attached. | Ensure water tank is correctly placed; empty drip tray; secure filter holder firmly. |
7. Specifications
- Model: XP4050
- Power: 1200 Watts
- Pump Pressure: 15 Bar
- Water Tank Capacity: 1.2 Liters (32 oz)
- Dimensions (D x W x H): 9.67" x 9.5" x 12.25"
- Input Type: Ground Coffee, E.S.E. Pods
- Material: Stainless Steel (front panel), Plastic
- Color: Black
8. Warranty and Support
This KRUPS XP4050 Espresso Machine comes with a 1-year limited warranty from the date of purchase.
For warranty service, technical support, or to order replacement parts, please contact KRUPS customer service. Keep your proof of purchase for warranty claims.
For more information, visit the official KRUPS website or refer to the contact information provided with your product packaging.
KRUPS Official Website: www.krups.com
Related documentsXP4050


Ask a question about this manual
Ask about setup, troubleshooting, compatibility, parts, safety, or missing instructions. Manuals+ will review the question and use this page’s manual context to help answer it.