1. Introduction
This manual provides essential instructions for the safe and effective use of your ersa Fine Soldering Iron 30S 30 Watt. This soldering iron is designed for precision work in radio, television technology, and general electronics. Please read this manual thoroughly before initial operation and retain it for future reference.

Image 1: The ersa Fine Soldering Iron 30S 30 Watt, showing the iron and its power plug.
2. Safety Instructions
Always observe the following safety precautions to prevent injury or damage to the soldering iron:
- Ensure the operating voltage of the soldering iron (230 Vac) matches your power supply.
- The soldering iron tip reaches temperatures up to 380 °C. Avoid direct contact with the tip.
- Use the soldering iron in a well-ventilated area to avoid inhaling solder fumes.
- Always place the hot soldering iron in a suitable, heat-resistant stand when not in use.
- Do not leave the soldering iron unattended when powered on.
- Keep out of reach of children.
- Do not use the soldering iron near flammable materials.
- Disconnect the power plug from the outlet before cleaning or performing maintenance.
- Inspect the power cord for damage before each use. Do not use if the cord is damaged.
3. Product Overview
The ersa 30S is a reliable 30-watt hand soldering iron known for its robustness and durability. It features a comfortable pencil-style design for fine soldering tasks.

Image 2: Key features of the ersa 30S soldering iron, highlighting its 3.1 mm chisel-shaped tip, 120-second heat-up time, maximum temperature of 380°C, and flexible hybrid plug.
Key Features:
- Power: 30 Watts
- Operating Voltage: 230 V/AC
- Maximum Temperature: 380 °C
- Heat-up Time: Approximately 2 minutes (120 seconds)
- Included Solder Tip: Chisel shape (3.1 mm, ERSA 0032KD)
- Design: Pencil style, practical for fine work
- Weight: Approximately 80 g (without power lead)

Image 3: Dimensions of the ersa 30S soldering iron, showing an approximate total length of 240 mm and a cable length of 140 cm.
4. Setup
- Unpack: Carefully remove the soldering iron from its packaging. Retain packaging for storage or transport.
- Placement: Position a heat-resistant soldering stand on a stable, non-flammable surface. Ensure adequate ventilation in your workspace.
- Power Connection: Insert the power plug into a grounded 230 V/AC electrical outlet. The soldering iron will begin to heat immediately as it does not have an on/off switch.
- Initial Heat-up: Allow approximately 2 minutes for the soldering iron to reach its operating temperature of 380 °C.
5. Operation
Follow these steps for effective soldering:
- Prepare the Tip: Before first use and periodically during operation, "tin" the soldering tip. Apply a small amount of solder to the hot tip to coat it evenly. This improves heat transfer and prevents oxidation.
- Clean the Tip: Use a damp sponge or brass wool to clean the tip of any excess solder or residue.
- Apply Heat: Place the hot soldering tip against both the component lead and the PCB pad you wish to solder. Ensure good contact with both surfaces to transfer heat efficiently.
- Apply Solder: Once the component lead and pad are sufficiently heated (typically a few seconds), apply solder to the junction of the tip, lead, and pad. The solder should melt and flow smoothly, forming a shiny, concave joint. Do not apply solder directly to the iron tip.
- Remove Solder and Iron: Remove the solder wire first, then lift the soldering iron away from the joint. Allow the joint to cool undisturbed.
- Resting: When not actively soldering, always return the iron to its heat-resistant stand.

Image 4: A hand demonstrating the ergonomic grip of the ersa 30S soldering iron during use.
6. Maintenance
Proper maintenance ensures the longevity and performance of your soldering iron.
- Tip Cleaning: Regularly clean the soldering tip with a damp sponge or brass wool. For stubborn oxidation, use a tip tinner/cleaner compound.
- Tip Tinning: Always re-tin the tip after cleaning and before storing to protect it from oxidation.
- Tip Replacement: The chisel-shaped tip (ERSA 0032KD) is replaceable. To replace, ensure the iron is unplugged and cool. Loosen the small screw holding the tip in place, remove the old tip, insert the new tip, and tighten the screw. Compatible tips are from the ERSA 0032 ERSADUR series.

Image 5: Illustration showing the process of replacing the soldering tip using a screwdriver to loosen the retaining screw.

Image 6: A close-up view of the soldering iron tip and its connection point, illustrating the replaceable nature of the tip.
- Storage: Store the cooled soldering iron in a dry, safe place, away from moisture and dust.
7. Troubleshooting
| Problem | Possible Cause | Solution |
|---|---|---|
| Iron does not heat up. | No power supply; damaged heating element or cord. | Check power outlet. Inspect power cord for damage. If damaged, discontinue use and seek professional repair or replacement. |
| Solder does not melt or flows poorly. | Tip is not hot enough; tip is oxidized or dirty; incorrect solder type. | Allow full heat-up time (2 minutes). Clean and re-tin the tip. Ensure you are using appropriate solder for electronics. |
| Tip becomes dark or corroded quickly. | Lack of proper tinning; excessive heat exposure without solder; aggressive flux. | Always tin the tip before and after use. Clean the tip regularly. Use appropriate flux. |
8. Specifications
- Brand: ersa
- Model: 30S
- Item Model Number: 4000872354
- Power: 30 Watts
- Operating Voltage: 230 V/AC
- Power Source: Corded Electric
- Style: Pencil
- Max. Temperature: 380 °C
- Heat-up Time: Approx. 2 minutes (120 seconds)
- Included Solder Tip Type: Chisel shape (3.1 mm, ERSA 0032KD)
- Compatible Tip Series: ERSA 0032 ERSADUR
- Weight: Approx. 80 g (without power lead) / 0.28 Kilograms (9.9 ounces)
- Product Dimensions: 5.91 x 3.15 x 7.87 inches
- Cable Length: Approx. 140 cm
- Burner Type: Ceramic
- GTIN: 04003008047004
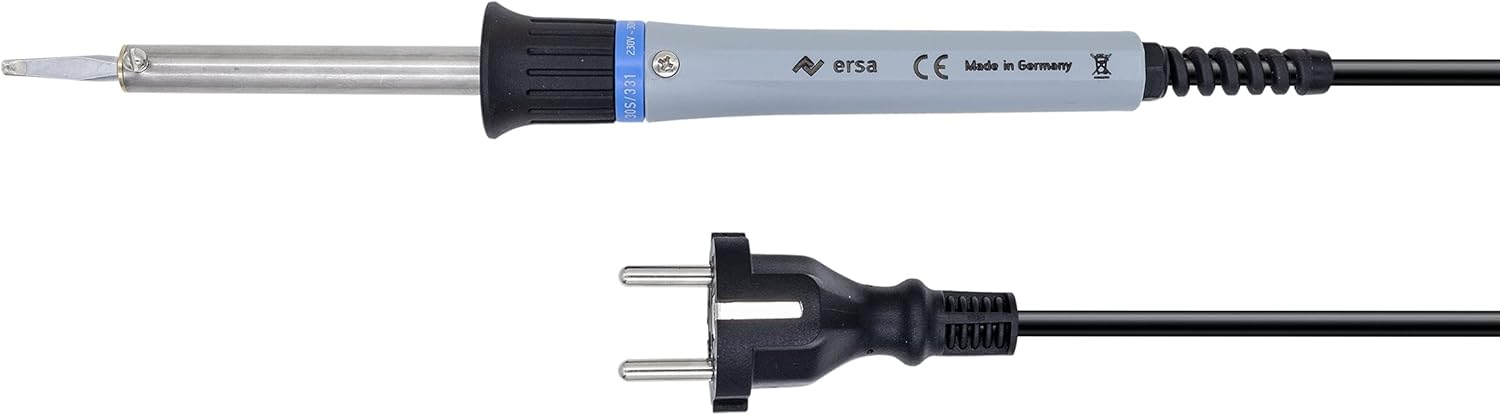
Image 7: Top-down view of the ersa 30S soldering iron and its power plug, illustrating the complete unit.
9. Warranty and Support
For warranty information, technical support, or service inquiries, please refer to the official ersa website or contact your authorized ersa dealer. Keep your purchase receipt as proof of purchase.


