Introduction
This manual provides essential information for the safe and efficient operation of your NEC VT37 1500-Lumen Portable Projector. Please read these instructions thoroughly before using the projector and retain them for future reference.
Package Contents
Verify that all items listed below are included in your package:
- NEC VT37 Projector
- Lens Cap
- Soft Carrying Case
- Power Cable
- RGB Cable (VGA)
- Remote Control
- AAA Batteries (x2)
- Quick Setup Guide
- CD-ROM (User Manual)
- Warranty Card
Safety Information
WARNING: To prevent electric shock, do not open the top cover. No user-serviceable parts are inside. Refer all servicing to qualified service personnel.
WARNING: To reduce the risk of fire or electric shock, do not expose this appliance to rain or moisture.
CAUTION HOT: The lamp and surrounding areas become extremely hot during operation. Allow the projector to cool down for at least 60 minutes after turning off before attempting any maintenance, especially lamp replacement.
CAUTION: Replace with same type number lamp (LAMP TYPE: VT70LP).
Always ensure proper ventilation around the projector. Do not block ventilation openings.

Setup
1. Placement
Place the projector on a stable, level surface. Ensure there is adequate space around the projector for ventilation. The versatile projection distance ranges from approximately 2 feet to 24 feet.
2. Connecting Power
- Connect the power cable to the 'AC IN' port on the rear of the projector.
- Plug the other end of the power cable into a grounded electrical outlet.
3. Connecting Input Sources
The NEC VT37 offers multiple input options. Connect your source device (computer, DVD player, etc.) to the appropriate port on the projector's rear panel.

- COMPUTER IN (VGA): Connect a computer using the supplied RGB (VGA) cable.
- S-VIDEO IN: Connect devices with S-Video output.
- VIDEO IN: Connect devices with composite video output.
- AUDIO IN: Connect audio cables from your source device to the corresponding audio input jacks.
Operating the Projector
1. Powering On/Off
- Press the POWER button on the projector's control panel or remote control to turn on the projector. The power indicator will illuminate.
- To turn off, press the POWER button again. The projector will enter a cool-down cycle before fully shutting down.
2. Basic Controls
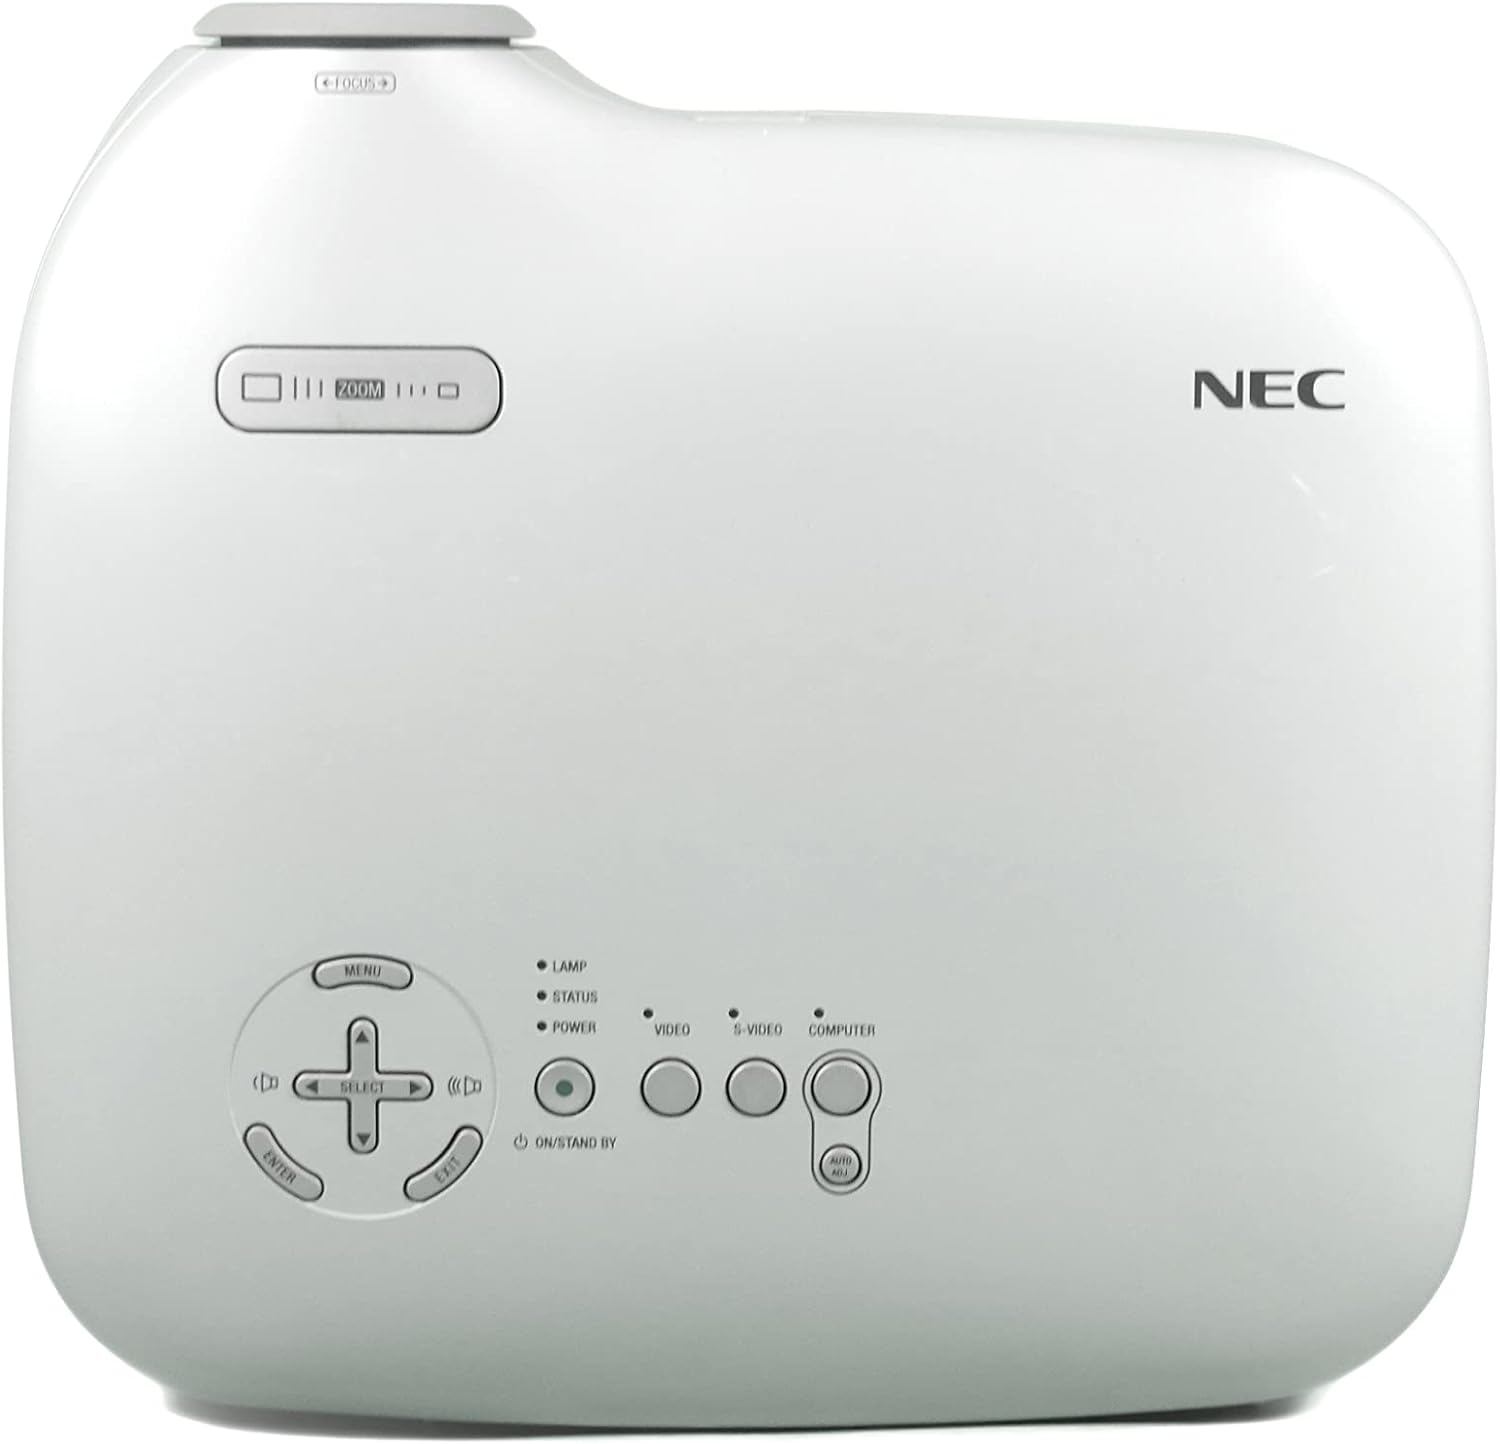
- MENU: Accesses the on-screen display (OSD) menu.
- SELECT / Arrow Buttons: Navigate through menu options.
- ENTER: Confirms selections.
- ZOOM: Adjusts the image size.
- FOCUS: Sharpens the image.
- VIDEO / S-VIDEO / COMPUTER: Selects the input source.
3. Image Adjustment
- Focus: Rotate the focus ring on the lens until the image is sharp.
- Zoom: Use the zoom lever near the lens to adjust the image size.
- Keystone Correction: The projector features Square Shot Keystone Correction to instantly project a square image, even when the projector is set up at a steep offset angle to the screen. Access this function via the OSD menu.

Maintenance
1. Lamp Replacement
The lamp has an estimated life of 4,000 hours in eco-mode or 3,000 hours in normal mode. When the lamp life is nearing its end, a warning message may appear, or the lamp indicator may illuminate.
- Turn off the projector and unplug the power cable.
- Allow the projector to cool down for at least 60 minutes. The lamp compartment becomes extremely hot.
- Refer to the detailed instructions in the full user manual (on CD-ROM) for specific steps on how to open the lamp cover and replace the lamp.
- Always use a genuine NEC replacement lamp (Type: VT70LP).
2. Cleaning the Air Filter
Regular cleaning of the air filter is crucial for maintaining optimal performance and preventing overheating. The bottom label provides a reminder to clean the air filter.
- Turn off the projector and unplug the power cable.
- Locate the air filter cover, typically on the side or bottom of the projector.
- Remove the filter and gently clean it with a vacuum cleaner or soft brush. Do not wash the filter with water or any liquid.
- Reinsert the clean filter and close the cover securely.
3. Cleaning the Lens
Use a soft, lint-free cloth specifically designed for optical lenses. Do not use abrasive cleaners or solvents.
Troubleshooting
If you encounter issues with your projector, refer to the following common solutions:
- No Power: Ensure the power cable is securely connected to both the projector and a working electrical outlet. Check the power indicator light.
- No Image:
- Verify the input source is correctly selected (e.g., COMPUTER, VIDEO).
- Check the connection cable between the source device and the projector.
- Ensure the source device is powered on and outputting a signal.
- Image is Blurry: Adjust the focus ring on the lens.
- Image is Distorted (not square): Use the keystone correction feature in the OSD menu.
- Overheating Warning: Ensure the air filter is clean and ventilation openings are not blocked. Allow the projector to cool down.
For more detailed troubleshooting, consult the full user manual provided on the CD-ROM.
Specifications
| Feature | Specification |
|---|---|
| Model Number | VT37 |
| Brightness | 1500 ANSI Lumens |
| Contrast Ratio | 400:1 |
| Display Resolution | 1920 x 1080 (Native, likely supports lower resolutions like SVGA) |
| Lamp Life | 3,000 hours (Normal Mode), 4,000 hours (Eco-Mode) |
| Projection Distance | Approx. 2 to 24 feet |
| Projection Angles | 14-14.6 degrees |
| Color Reproduction | 16.7 million simultaneous colors |
| Audio | Built-in Monaural Speaker |
| Noise Level | As low as 28 dB |
| Connectivity Technology | HDMI, VGA (Note: HDMI is listed in specifications, but not explicitly on the rear panel image. Please verify actual unit.) |
| Item Weight | 11 pounds (Package Weight) |
| Package Dimensions | 15 x 14.6 x 11.3 inches |
Warranty and Support
Warranty Information
The manufacturer provides a two-year warranty covering parts and labor for the projector. A separate three-month warranty is provided for the lamp.
Customer Support
For technical assistance, warranty claims, or inquiries about accessories, please refer to the contact information provided on your warranty card or the official NEC website.


