Introduction
This manual provides detailed instructions for the assembly, integration, and care of your Piko G Scale TEXACO Filling Station model, item number 62251. This highly detailed model building is designed for G Scale model train layouts and dioramas, offering a realistic addition to your miniature world. Constructed from robust materials, it ensures durability and a high level of detail for enthusiasts aged 14 and up.
Setup and Assembly
The Piko G Scale TEXACO Filling Station model 62251 is supplied as a kit requiring assembly. Careful attention to detail during this process will ensure the best results and longevity of your model.
Required Tools and Materials:
- Hobby knife or precision cutters
- Plastic model cement (suitable for polystyrene)
- Small files or sandpaper (fine grit)
- Tweezers (for small parts)
- Clean work surface
Assembly Steps:
- Unpack and Inspect: Carefully remove all components from the packaging. Verify that all parts are present and undamaged by comparing them with the included parts list or diagram.
- Prepare Parts: Gently remove parts from their sprues using a hobby knife or cutters. Clean any excess plastic (flash) from the edges using a hobby knife or fine sandpaper.
- Follow Instructions: Refer to the detailed assembly diagrams provided with your kit. Assemble components in the sequence indicated to ensure proper fit and structural integrity.
- Apply Adhesive: Use plastic model cement sparingly. Apply a thin bead to the joining surfaces and hold the parts together firmly until the adhesive sets. Allow adequate drying time between steps.
- Detailing: Once the main structure is assembled, attach smaller detail parts such as signs, pumps, and decorative elements.
- Placement: Position the assembled filling station on your G Scale layout or diorama. Ensure it is placed on a stable, level surface.
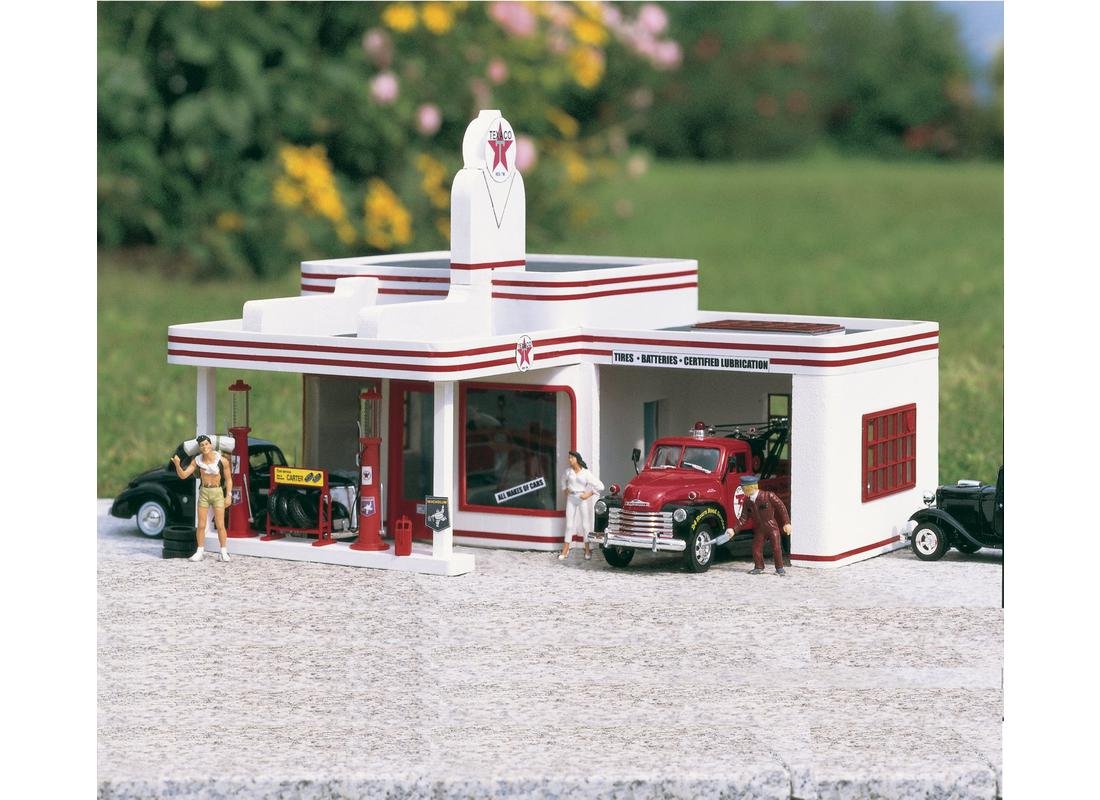
Figure 1: The fully assembled Piko G Scale TEXACO Filling Station, model 62251. This image illustrates the realistic details and overall appearance of the model when integrated into a layout.
Integration and Operation
As a static model building, the TEXACO Filling Station does not have operational components in the traditional sense. Its "operation" involves its integration into your model train environment and interaction with other elements.
- Layout Integration: Place the filling station in a location that complements your G Scale railway tracks and other buildings. Consider road access for miniature vehicles and pedestrian flow.
- Landscaping: Enhance the realism by adding miniature landscaping elements around the station, such as grass, trees, bushes, and gravel for the driveway.
- Figures and Vehicles: Populate the scene with G Scale figures and vehicles to bring the filling station to life. Position figures interacting with the pumps or inside the station.
- Lighting (Optional): If you wish to add interior or exterior lighting, consult with a qualified model railway electrician. This model is not pre-wired for lighting, and modifications should be performed carefully to avoid damage.
Maintenance and Care
Proper maintenance will preserve the appearance and structural integrity of your Piko G Scale TEXACO Filling Station for many years.
- Dusting: Regularly dust the model using a soft brush, a can of compressed air, or a soft, lint-free cloth. Avoid abrasive materials that could scratch the surface.
- Cleaning: For stubborn dirt, lightly dampen a soft cloth with water (and a tiny amount of mild soap if necessary), then gently wipe the surface. Avoid harsh chemicals or solvents, as these can damage the plastic and paint.
- Storage: If storing the model, place it in a protective box away from direct sunlight, extreme temperatures, and high humidity.
- Handling: Always handle the model by its base or sturdy sections to prevent damage to delicate details.
Troubleshooting
Most issues with model kits relate to assembly. Here are some common concerns and solutions:
- Parts Not Fitting:
- Ensure you are using the correct parts for the step. Refer to the assembly diagrams.
- Check for excess plastic (flash) on the edges of the parts that might be preventing a flush fit. Carefully trim with a hobby knife.
- If parts are slightly warped, gentle pressure or temporary clamping during gluing may be necessary.
- Broken Small Parts:
- For clean breaks, use plastic model cement to reattach. Hold firmly until set.
- If a part is lost or severely damaged, contact Piko customer support for potential replacement parts, if available.
- Adhesive Issues:
- Ensure you are using the correct type of adhesive for plastic models.
- Allow sufficient drying time. Humidity and temperature can affect curing times.
Specifications
| Model Number: | 62251 |
| Brand: | Piko |
| Product Dimensions: | 23.82 x 15.94 x 3.94 inches (approximate assembled size) |
| Item Weight: | 8.91 pounds |
| Scale: | G Scale |
| Recommended Age: | 14 years and up |
| Material: | Robust materials (typically high-quality plastic for model kits) |
Warranty and Support
Specific warranty information for the Piko G Scale TEXACO Filling Station model 62251 is not provided in the product details. For warranty inquiries, technical support, or replacement parts, please contact Piko directly through their official website or customer service channels.
You can typically find contact information on the manufacturer's packaging or their official website: www.piko.de