1. Introduction
This manual provides detailed instructions for the assembly, placement, and maintenance of your Piko 62232 G Scale Kit Track Inspection Shed. Please read these instructions carefully before beginning assembly to ensure correct construction and safe use of the model.
The Piko 62232 is a highly detailed model kit designed for G scale model train layouts and dioramas. It is intended for adult model enthusiasts and is not a toy.
2. Product Overview
The Piko 62232 G Scale Track Inspection Shed is a realistic miniature structure designed to enhance your model railway scenery. It features robust materials and realistic detail, making it a valuable addition to any G scale layout.
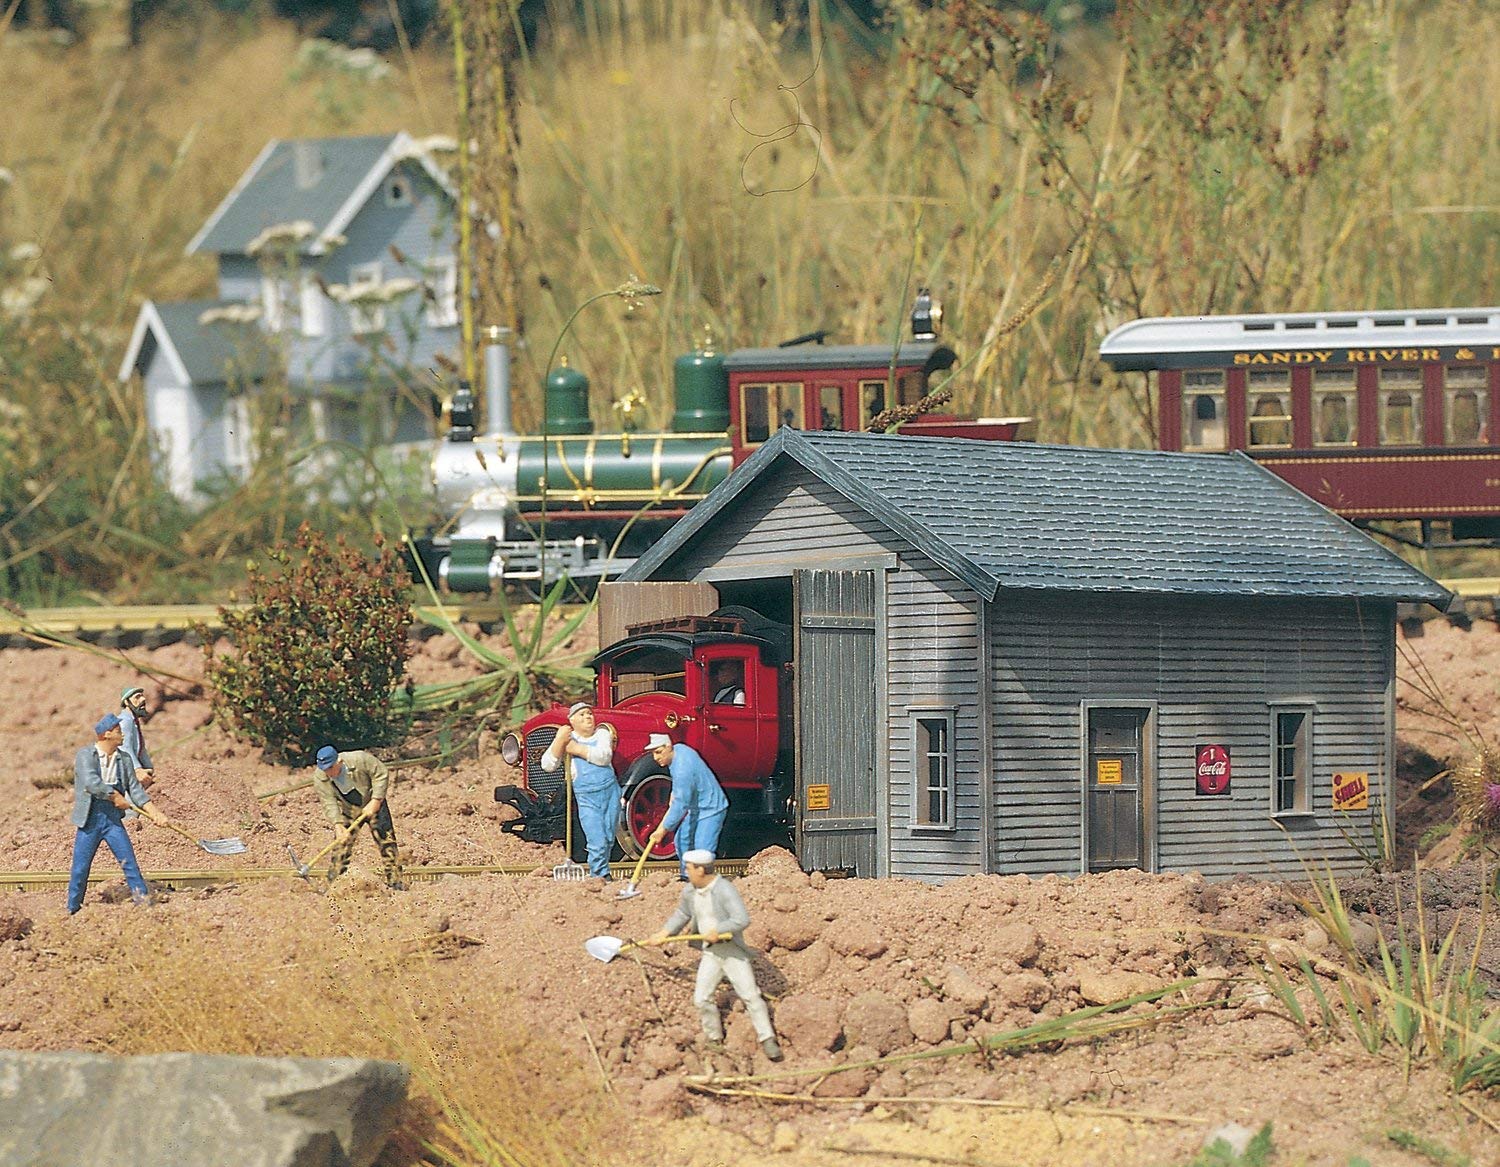
Figure 1: Assembled Piko 62232 G Scale Kit Track Inspection Shed. This image shows the completed model, highlighting its detailed structure and realistic appearance, ready for integration into a model train layout.
Key Features:
- Realistic Detail: Designed to replicate a real-world track inspection shed.
- Robust Materials: Constructed from durable plastic for longevity.
- G Scale Miniature: Perfectly scaled for G gauge model railways.
- Kit Format: Provides an engaging assembly experience for model builders.
3. Safety Instructions
Please observe the following safety guidelines during assembly and handling:
- Adult Product: This product is a model kit intended for adults (age 14+). It is not a toy.
- Small Parts: The kit contains small parts that may pose a choking hazard. Keep out of reach of small children.
- Sharp Edges: Some components may have sharp edges. Handle with care during assembly.
- Adhesives/Paints: If using adhesives or paints (not included), ensure adequate ventilation and follow the manufacturer's safety instructions for those products.
- Tools: Use appropriate modeling tools safely.
4. Package Contents
Before beginning assembly, please verify that all components are present and undamaged. The Piko 62232 kit typically includes:
- Plastic sprues with various structural components (walls, roof, windows, doors, etc.)
- Clear plastic parts for windows
- Detailed instruction sheet (this manual serves as a general guide)
- Decals (if applicable)
Note: Adhesives, paints, and modeling tools are not included and must be purchased separately.
5. Setup and Assembly
The Piko 62232 is a model kit requiring assembly. Follow these general steps, referring to the specific diagrams and instructions provided within your kit packaging for precise component identification and placement.
- Preparation:
- Unpack all components and lay them out on a clean, well-lit work surface.
- Familiarize yourself with the parts and the assembly diagrams.
- Gather necessary tools: hobby knife, plastic cement (for polystyrene), small files or sandpaper, tweezers.
- Part Removal: Carefully cut or snap parts from their sprues using a hobby knife or sprue cutters. Trim any excess plastic (flash) with a hobby knife or file.
- Sub-Assembly: Begin by assembling smaller sections as indicated in the kit instructions. This typically includes walls, roof sections, doors, and windows.
- Main Structure Assembly: Once sub-assemblies are complete, join them to form the main structure of the inspection shed. Ensure all joints are square and secure.
- Detailing: Attach smaller detail parts such as vents, railings, and other architectural elements.
- Window Installation: Carefully install clear plastic window panes into their designated frames.
- Finishing (Optional): If desired, paint the model using appropriate model paints. Apply decals according to the kit's instructions.
- Drying Time: Allow sufficient drying time for all adhesives and paints before handling or placing the model on your layout.
6. Placement and Integration
Once assembled, the Piko 62232 Track Inspection Shed is ready for integration into your G scale model railway layout or diorama.
- Location: Choose a suitable location on your layout, typically adjacent to tracks where locomotives or rolling stock would undergo inspection or light maintenance.
- Stability: Ensure the shed is placed on a stable, level surface. You may wish to secure it permanently to your baseboard using model adhesive or small screws (not included) for added stability.
- Scenery Integration: Blend the shed into its surroundings using appropriate scenery materials such as ballast, ground cover, and miniature figures to create a realistic scene.
7. Maintenance
Proper care will ensure the longevity and appearance of your Piko 62232 Track Inspection Shed.
- Cleaning: Dust the model regularly with a soft brush or a can of compressed air. For stubborn dirt, gently wipe with a slightly damp cloth. Avoid harsh chemicals or abrasive cleaners.
- Handling: Always handle the model carefully, grasping it by its base or robust sections to avoid damaging delicate details.
- Storage: If storing the model, keep it in a cool, dry place away from direct sunlight to prevent fading or warping. Use its original packaging or a protective container.
- Repairs: In case of accidental damage, use plastic cement to reattach broken parts.
8. Troubleshooting
This section addresses common issues you might encounter during assembly or use.
- Missing or Damaged Parts:
If you discover missing or damaged parts upon opening the kit, please contact the retailer or Piko customer support immediately. Provide proof of purchase and details of the missing/damaged components.
- Parts Not Fitting Correctly:
Ensure you are using the correct parts as indicated in the assembly diagrams. Check for any excess plastic (flash) on the edges of the parts that might prevent a flush fit. Carefully trim or sand these areas. Do not force parts together, as this can cause breakage.
- Adhesive Issues:
Ensure you are using plastic cement specifically designed for polystyrene models. Apply sparingly to avoid damaging the plastic or creating visible residue. Allow adequate drying time as per the adhesive manufacturer's instructions.
9. Specifications
| Feature | Detail |
|---|---|
| Brand Name | Piko |
| Model Number | 62232 |
| Scale | G Scale |
| Material Type | Plastic |
| Item Dimensions (L x W x H) | 15.94 x 12.01 x 3.94 inches (approximate assembled size) |
| Item Weight | 2.3 Kilograms (packaged) |
| Age Range Description | Adult (Manufacturer Minimum Age: 14 years) |
| Theme | Vehicles / Model Trains |
| Color | Multiple (as per kit components) |
10. Warranty and Support
Piko products are manufactured to high-quality standards. For specific warranty information, please refer to the documentation included with your purchase or visit the official Piko website.
If you require technical assistance, have questions about assembly, or need to report missing/damaged parts, please contact Piko customer support directly. Contact information can typically be found on the product packaging or the manufacturer's official website.
Please retain your proof of purchase for any warranty claims or support inquiries.


