1. Important Safety Information
Read and understand all safety instructions before operating this work light. Failure to follow these instructions may result in electric shock, fire, or serious personal injury.
- Electrical Safety: Ensure the power outlet matches the voltage requirements of the light. Do not operate with a damaged cord or plug. Do not immerse the light in water.
- Heat Warning: Halogen bulbs generate significant heat. Allow bulbs to cool completely before handling or replacing. Keep flammable materials away from the light heads.
- Stable Placement: Always place the tripod on a stable, level surface to prevent tipping. Extend legs fully for maximum stability.
- Indoor/Outdoor Use: This work light is designed for both indoor and outdoor use. Ensure all connections are dry when used outdoors. The power switches are weatherproof.
- Bulb Handling: Avoid touching halogen bulbs with bare hands. Oils from skin can cause hot spots and reduce bulb life. Use a clean cloth or gloves when installing or removing bulbs.
- Eye Protection: Do not stare directly into the illuminated bulbs. The intense light can cause eye strain or damage.
2. Setup and Assembly
Follow these steps to assemble and prepare your Woods L13 Twin Head Work Light for use.
- Unpack Components: Carefully remove all parts from the packaging. Verify that all components are present: tripod stand, crossbar with two lamp heads, two 500-watt quartz halogen bulbs, and cord storage bracket.
- Assemble Tripod: Extend the tripod legs fully until they lock into position, ensuring a wide and stable base.
- Attach Lamp Assembly: Mount the crossbar with the two lamp heads onto the top of the tripod pole. Secure it using the provided locking mechanism.
- Install Bulbs:
- Open the hinged face of each lamp head.
- Using a clean cloth or gloves, carefully insert one 500-watt quartz halogen bulb into each lamp socket. Ensure the bulb is seated firmly.
- Close the hinged face and secure it.
- Adjust Height: Loosen the locking nuts on the tripod pole to extend the light to your desired height, up to 42 inches. Tighten the locking nuts with a 1/4 turn to secure the pole.
- Position Lamp Heads: The twin head lamps can rotate 360 degrees. Adjust each lamp head to direct light as needed.
- Attach Cord Storage Bracket: Secure the cord storage bracket to the tripod pole at a convenient height.

Image 1: The Woods L13 Twin Head Work Light fully assembled on its adjustable tripod stand.
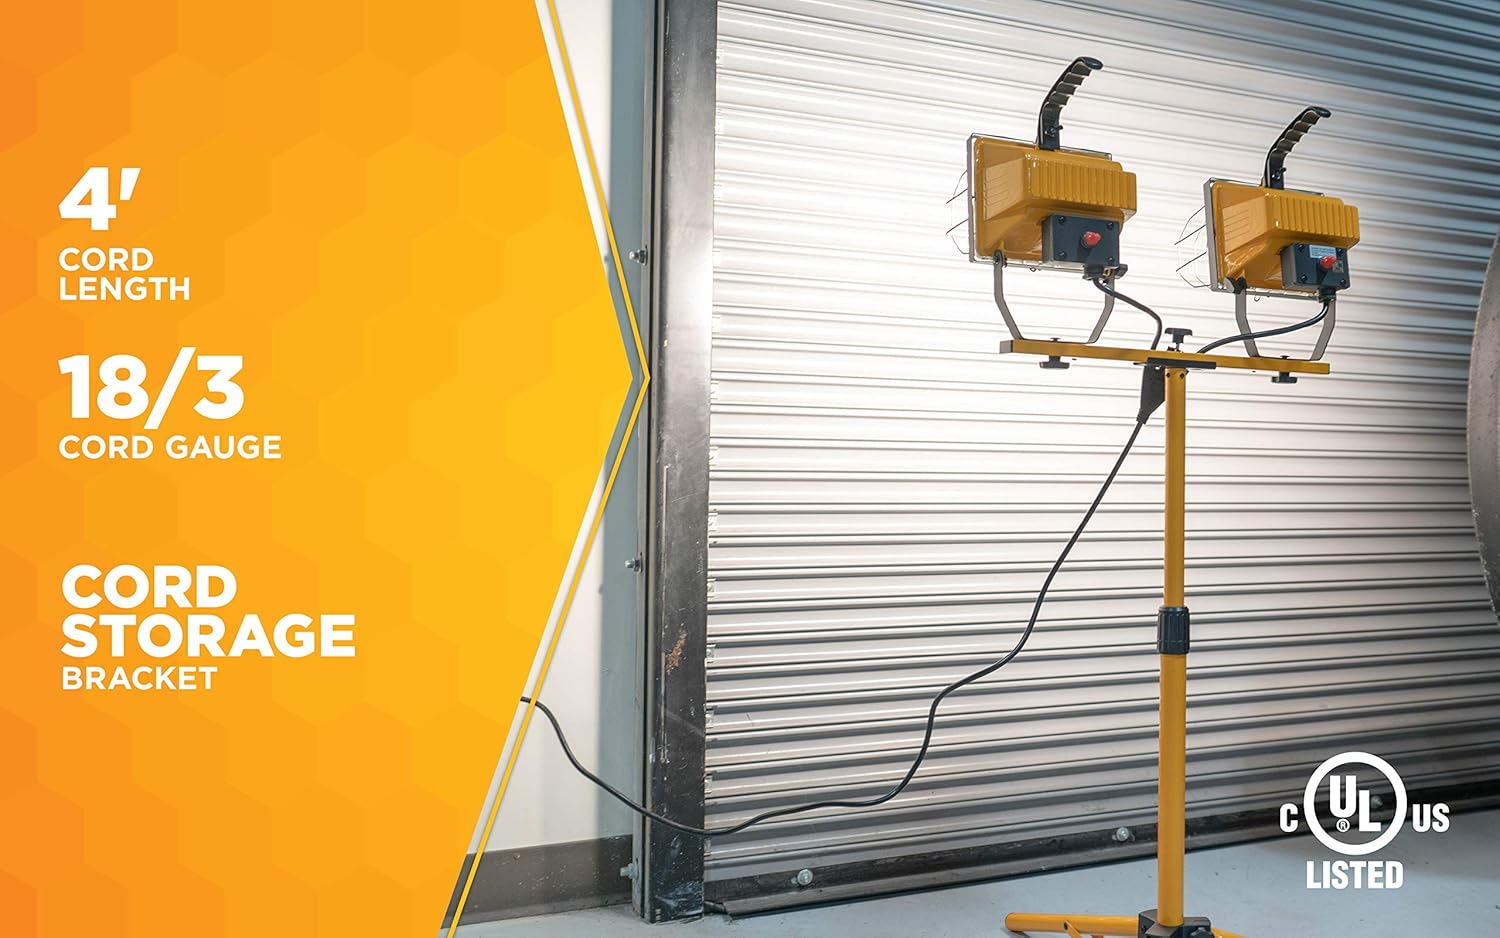
Image 2: Illustration of the adjustable tripod, extending up to 42 inches for varied lighting needs.

Image 3: Detail of the all-metal construction and hinged face, allowing access for bulb installation and maintenance.
3. Operation
Once assembled, operating your work light is straightforward.
- Connect Power: Plug the 4-foot 18/3-gauge power cord into a suitable electrical outlet.
- Turn On/Off: Each lamp head has an individual weatherproof power switch. Press the switch on each lamp to turn it on or off independently.
- Adjust Light Direction: The twin head lamps can be rotated 360 degrees horizontally and tilted vertically to direct light precisely where it is needed.
- Cord Management: Use the integrated cord storage bracket to keep the power cord organized and prevent tripping hazards.
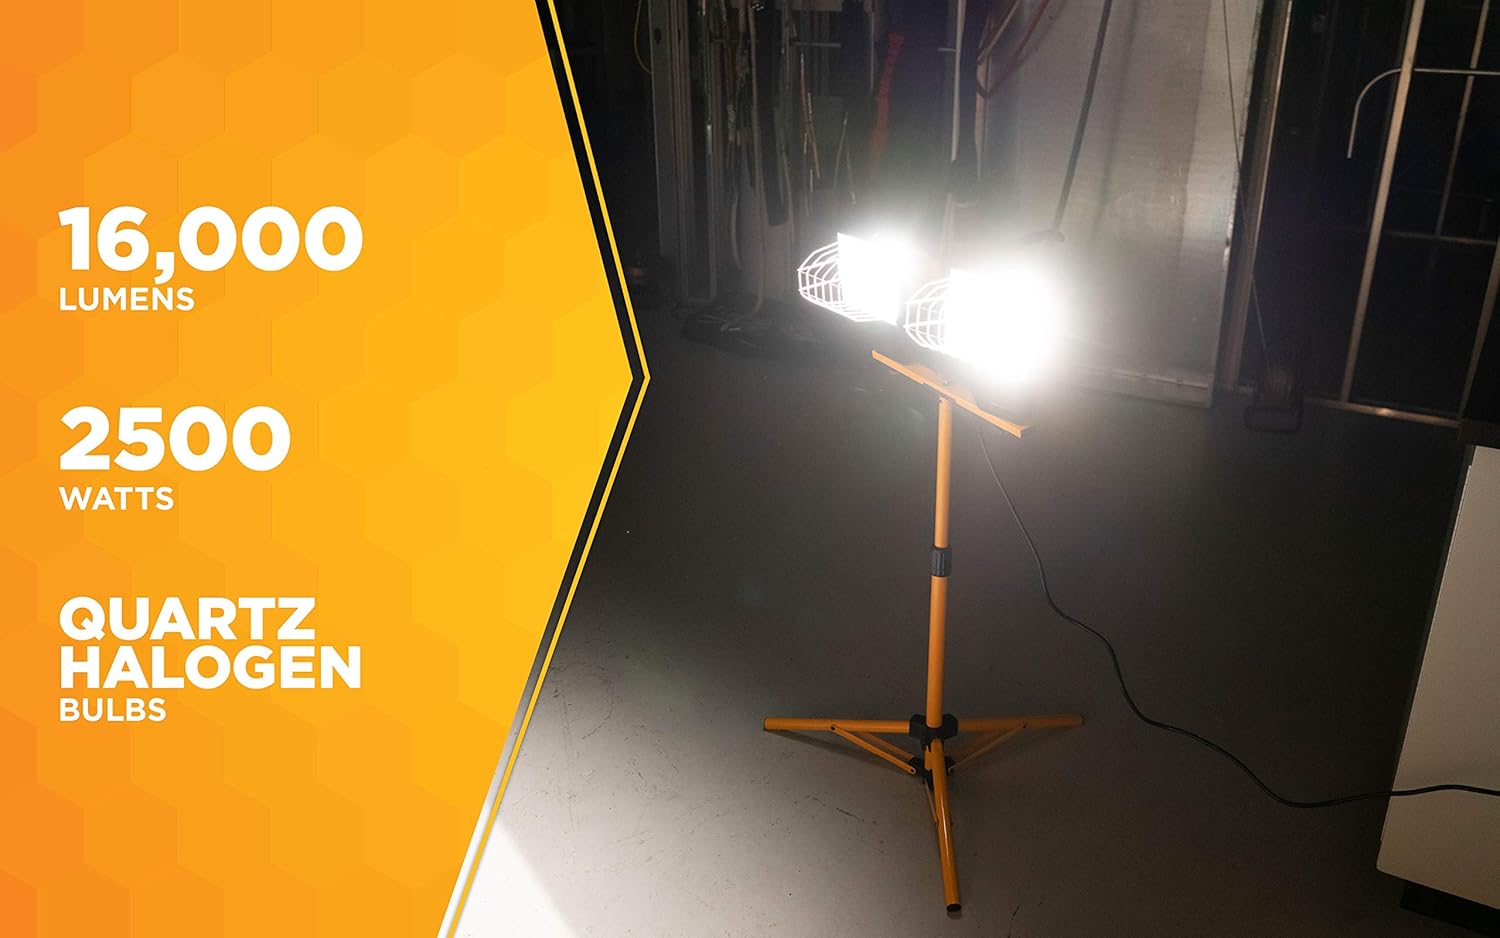
Image 4: Demonstrates the 360-degree rotational capability of the twin lamp heads for flexible light positioning.
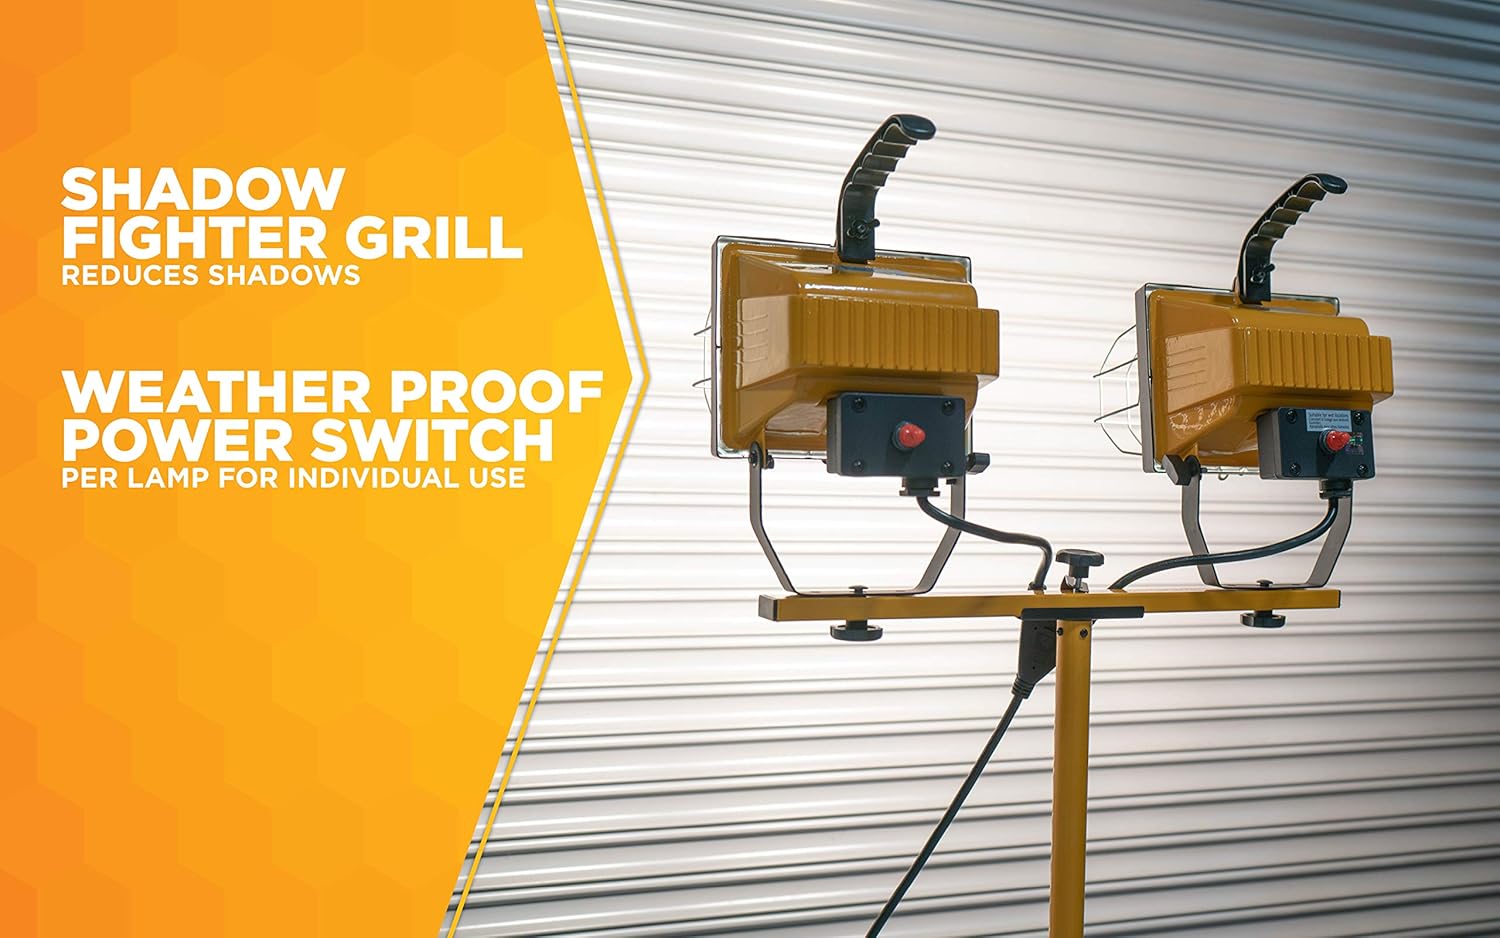
Image 5: Close-up view of the weatherproof power switches, allowing individual control for each lamp head, and the shadow fighter grill.

Image 6: Illustrates the 4-foot power cord and the convenient cord storage bracket on the tripod pole.
4. Maintenance
Regular maintenance ensures optimal performance and extends the lifespan of your work light.
- Bulb Replacement:
- Always disconnect power and allow bulbs to cool completely before attempting replacement.
- Open the hinged face of the lamp head.
- Carefully remove the old bulb.
- Install a new 500-watt quartz halogen bulb (type J-type T3, 118mm is a common compatible type) using a clean cloth or gloves to avoid skin oils.
- Close and secure the hinged face.
- Cleaning: Wipe down the metal surfaces and tempered safety glass with a soft, damp cloth. Do not use abrasive cleaners or solvents. Ensure the light is unplugged and cool before cleaning.
- Cord Inspection: Periodically inspect the power cord for any cuts, fraying, or damage. If damaged, discontinue use and replace the cord or have it repaired by a qualified electrician.
- Storage: When not in use, collapse the tripod and secure the cord using the storage bracket. Store the work light in a dry, protected area.
5. Troubleshooting
If you encounter issues with your work light, refer to the following common problems and solutions.
| Problem | Possible Cause | Solution |
|---|---|---|
| Light does not turn on. | No power to outlet, bulb burned out, switch off, loose connection. | Check power outlet with another device. Ensure power cord is fully plugged in. Verify individual lamp switches are in the "ON" position. Replace burned-out bulb. |
| Light is dim or flickering. | Bulb nearing end of life, incorrect bulb wattage, loose bulb. | Replace bulb with a new 500-watt quartz halogen bulb. Ensure bulb is securely seated in the socket. |
| Tripod is unstable. | Legs not fully extended, locking nuts loose, uneven surface. | Ensure tripod legs are fully extended and locked. Tighten all locking nuts. Place the tripod on a flat, stable surface. |
6. Specifications
- Model: L13
- Light Output: Up to 16,000 Lumens
- Bulbs: 2 x 500-watt Quartz Halogen (included)
- Max Height: 42 inches (adjustable tripod)
- Cord: 4-foot, 18/3-gauge
- Construction: All metal with hinged face and UV protected tempered safety glass
- Features: Twin head lamps rotate 360 degrees, shadow fighter grill, weatherproof power switch per lamp, cord storage bracket.
- Color: Yellow
- Finish Type: Painted
- Light Source Type: Halogen
7. Warranty and Support
For warranty information, please refer to the documentation included with your product at the time of purchase. For further assistance or support, please visit the official Woods brand website or contact their customer service department.
You can also find more information about Woods products on their Amazon store: Woods Amazon Store


