
Introduction
This manual provides detailed instructions for the installation and proper use of your Scosche GM1583B Single DIN Dash Kit. This kit is designed to facilitate the installation of an aftermarket single DIN car stereo into compatible 1992-2012 General Motors vehicles, providing a factory-like appearance.
Please read all instructions carefully before beginning the installation process. Ensure all necessary tools and components are available.
Vehicle Compatibility
The Scosche GM1583B Dash Kit is specifically designed for a range of 1992-2012 GM vehicles. To ensure proper fitment, verify your vehicle's make, model, and year against the compatibility list provided below. Always cross-reference with the detailed fit guide images.

Image: Scosche GM1583B Fit Guide - Page 1. This image displays a table listing compatible Buick, Cadillac, and Chevrolet vehicle models and their respective years.

Image: Scosche GM1583B Fit Guide - Page 2. This image displays a table listing compatible Hummer, Isuzu, Oldsmobile, and Pontiac vehicle models and their respective years.
Note: Some oversized car radios, though listed as Single DIN, may require minor trimming of the dash kit for proper fit. Always measure your stereo's dimensions (standard DIN cutout is 50mm x 180mm) and compare them to the kit's opening before purchase and installation.

Image: Scosche GM1583B Dash Kit with dimensions. The image shows the dash kit with measurements indicating a standard DIN opening of 1-3/4 inches (50mm) in height and 7-3/32 inches (180mm) in width.
Package Contents
Please verify that all items are present in your package:
- Scosche GM1583B Dash Kit
- Installation Hardware
- Instruction Manual (this document)
Note: Wire harnesses, interfaces, and antenna adapters are typically sold separately and are required for a complete installation. Refer to the "Complete Your Installation" section for more details.
Installation Guide
Tools and Materials Required (Not Included):
- Panel Removal Tools
- Screwdrivers (Phillips and Flathead)
- Wire Strippers/Crimpers (if installing a new wire harness)
- Electrical Tape or Heat Shrink Tubing
- Aftermarket Single DIN Car Stereo
- Vehicle-Specific Wire Harness (sold separately)
- Antenna Adapter (if required, sold separately)
General Installation Steps:
- Safety First: Disconnect the negative terminal of your vehicle's battery before starting any electrical work to prevent short circuits.
- Remove Factory Radio: Carefully remove the factory radio and any surrounding trim panels. Use appropriate panel removal tools to avoid damaging your vehicle's interior. Refer to your vehicle's service manual for specific instructions on trim and radio removal.
- Disconnect Wiring: Unplug all wiring harnesses and the antenna cable from the back of the factory radio.
- Prepare Aftermarket Radio: Attach the mounting sleeves or brackets from your new single DIN stereo to the Scosche dash kit as per the stereo manufacturer's instructions.
- Wire Harness Connection: Connect the aftermarket stereo's wiring to the vehicle-specific wire harness (sold separately). Match wire colors and functions carefully. Solder connections or use crimp connectors for secure and reliable connections.
- Antenna Connection: Connect the antenna adapter (if needed) to your vehicle's antenna cable and then to your new stereo.
- Test Connections: Before fully reassembling, temporarily connect the new stereo's wiring to the vehicle's harness and reconnect the battery. Turn on the vehicle and test all functions of the new stereo (power, audio, balance, fade, radio, CD/USB/Bluetooth, etc.).
- Secure Stereo: Once tested, slide the aftermarket stereo, now integrated with the Scosche dash kit, into the vehicle's dashboard opening. Secure it using the provided hardware or the stereo's mounting screws.
- Reassemble Dash: Reinstall all removed trim panels, ensuring they snap securely into place.
- Final Check: Reconnect the negative battery terminal. Perform a final test of the stereo and all vehicle functions.
Visual Installation Aid:
Video: Scosche Dash Kits Overview. This video provides a general overview of Scosche dash kits and their installation process, demonstrating typical steps involved in replacing a factory radio with an aftermarket unit using a dash kit.
Complete Your Installation:
For a successful and complete installation, you will typically need the following components:

Image: Illustration of complete installation components. This image shows the dash kit, a wire harness/interface, and an antenna adapter, explaining their roles in connecting an aftermarket stereo.
- Dash Kit: Provides a secure mounting solution and a finished look for your aftermarket stereo.
- Wire Harness or Interface: Connects the new stereo to the vehicle's factory wiring. An interface may also retain steering wheel controls or other factory features.
- Antenna Adapter: Ensures proper connection between the new stereo and the vehicle's antenna.
Operation
The Scosche GM1583B Dash Kit serves as a mounting and aesthetic trim piece for your aftermarket single DIN car stereo. Once installed, the operation of your audio system will be controlled entirely by your aftermarket stereo unit. Refer to your stereo's instruction manual for specific operating procedures.
The kit accommodates both standard single DIN radios with the included storage pocket and floating screen radios that utilize a single DIN mounting frame.

Image: Scosche GM1583B Dash Kit accommodating different radio types. The image shows the dash kit installed with a traditional single DIN radio on the left and a modern floating screen radio on the right.
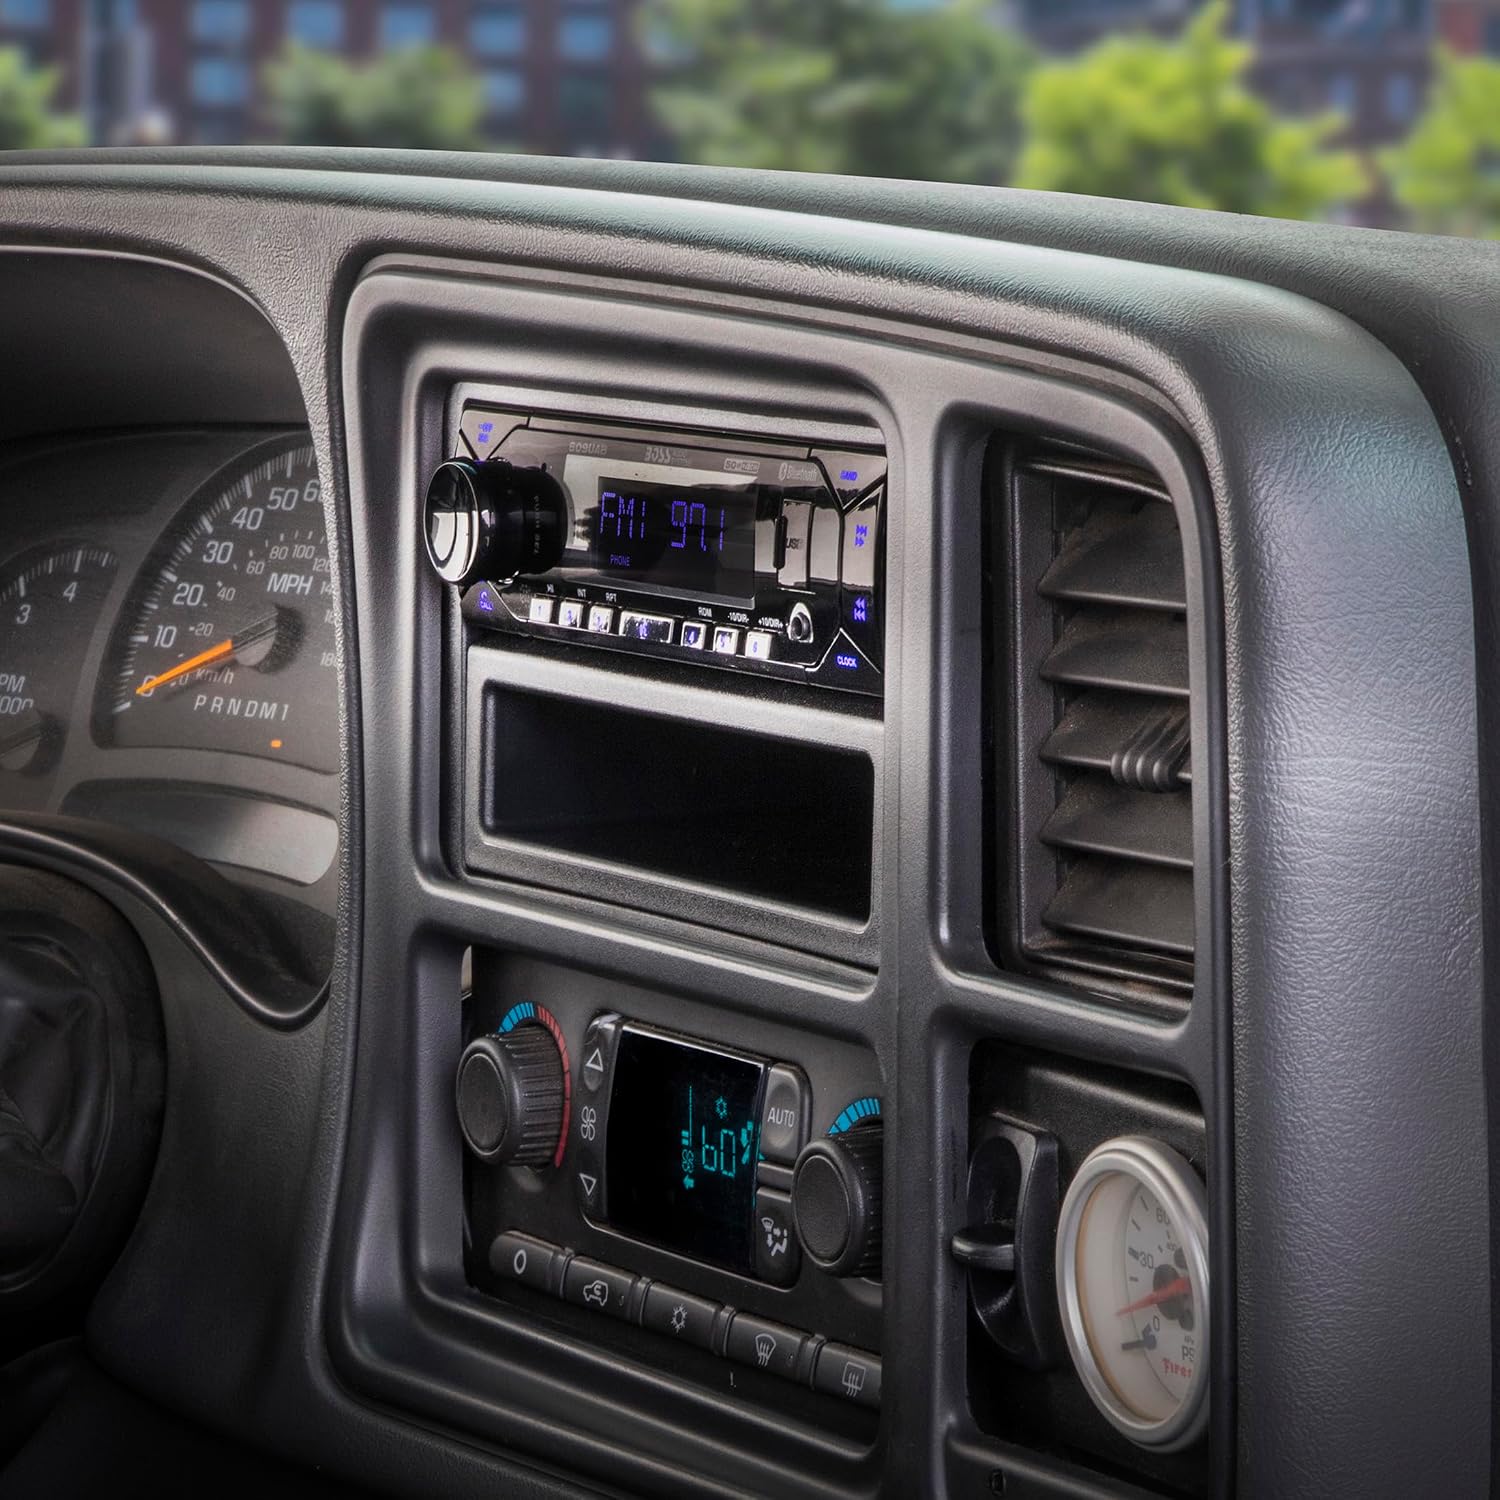

Images: Examples of installed radios. The left image shows a traditional single DIN radio installed in a vehicle dashboard. The right image shows a floating screen aftermarket radio installed in a vehicle dashboard.
Maintenance and Care
The Scosche GM1583B Dash Kit is constructed from durable automotive-grade ABS plastic, designed for longevity and to match your vehicle's interior texture.
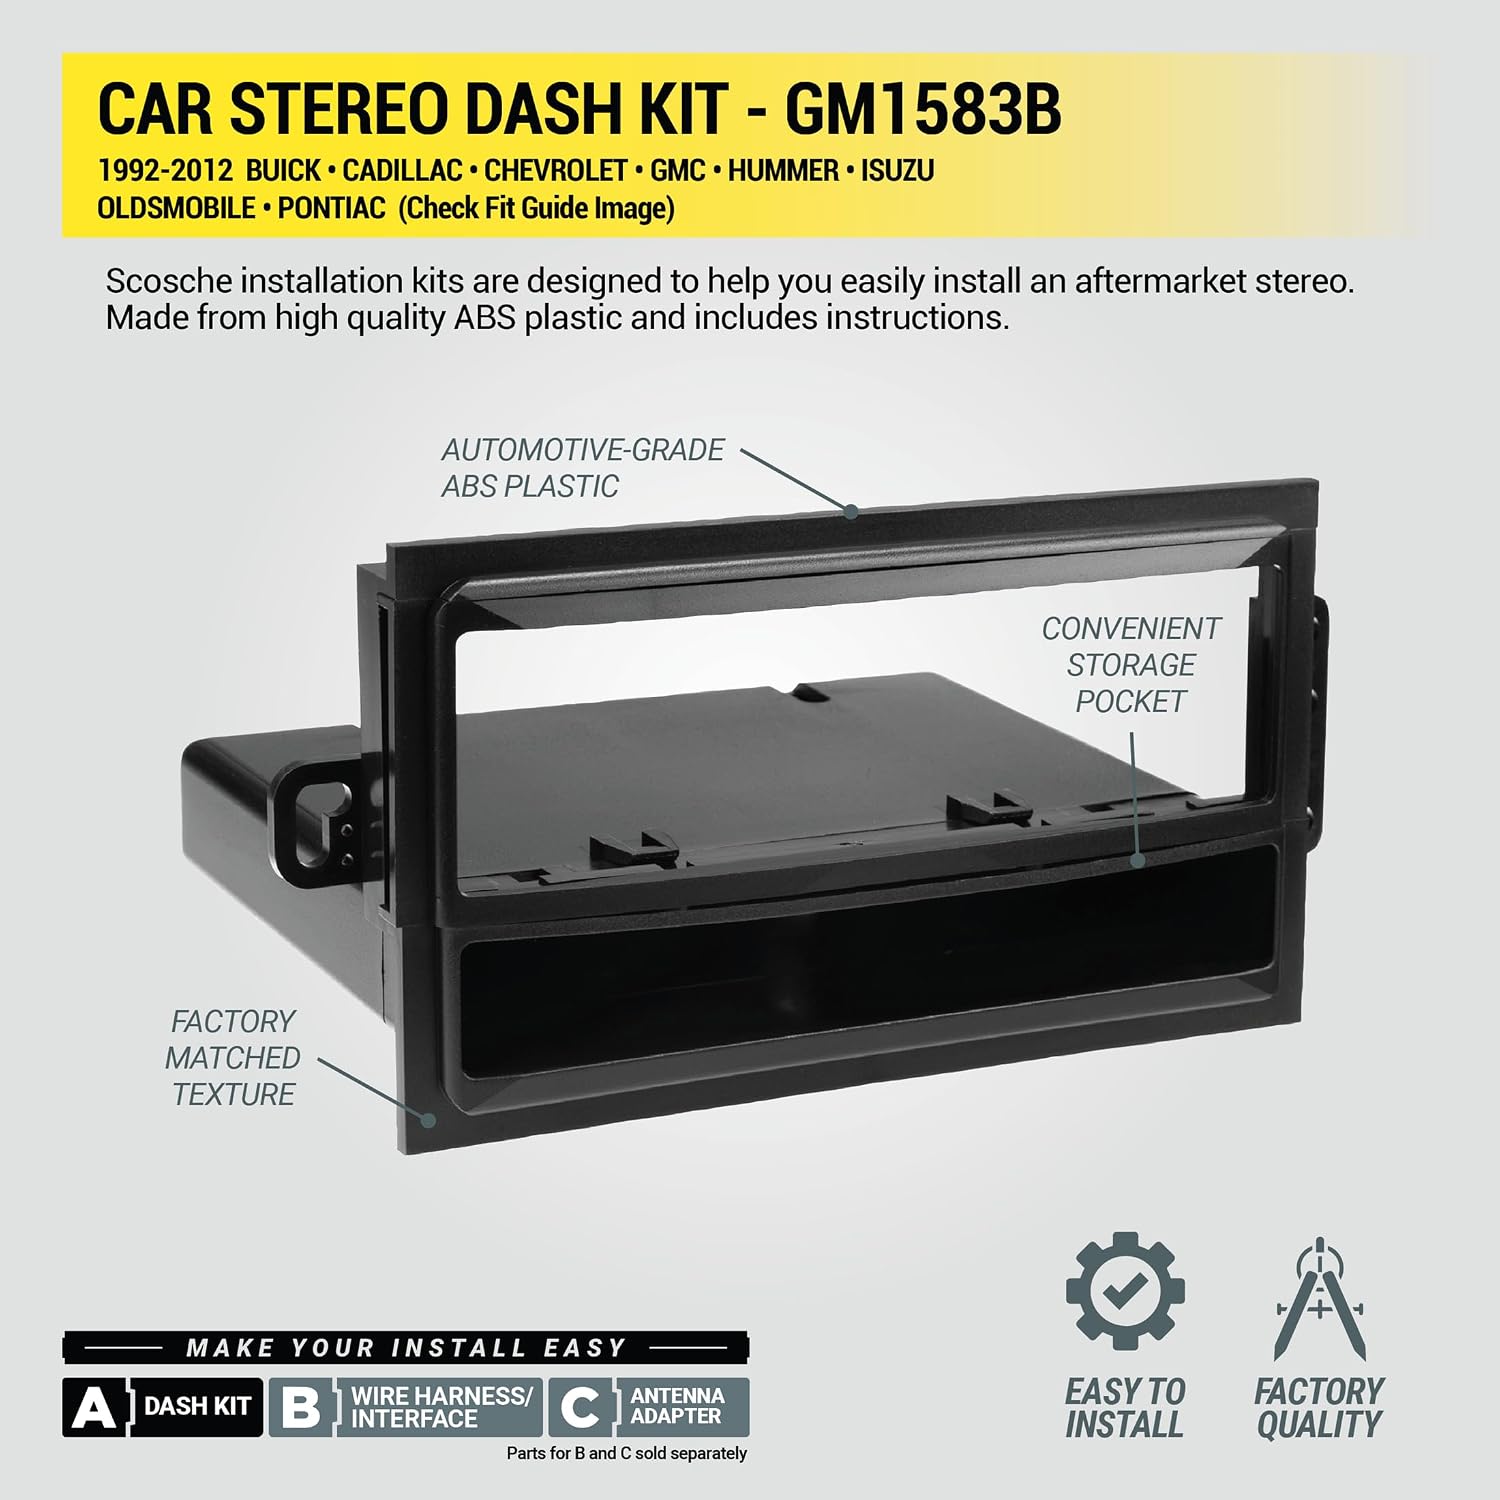
Image: Scosche GM1583B Dash Kit highlighting features. The image points out the automotive-grade ABS plastic construction, convenient storage pocket, and factory-matched texture.
- Cleaning: To clean the dash kit, use a soft, damp cloth. For stubborn dirt, a mild automotive interior cleaner can be used. Avoid abrasive cleaners or solvents, as these can damage the finish.
- Durability: The kit is designed to withstand daily use. Avoid applying excessive force or impact to the installed stereo or dash kit.
Troubleshooting
If you encounter issues during or after installation, consider the following:
- Stereo Not Powering On: Double-check all wiring connections, especially the constant 12V (yellow), accessory 12V (red), and ground (black) wires. Ensure the vehicle's fuse for the radio is intact.
- No Sound: Verify speaker wire connections (positive and negative for each speaker). Ensure the amplifier (if external) is powered on. Check stereo settings for mute or volume levels.
- Poor Radio Reception: Ensure the antenna adapter is correctly connected and fully seated. Check the antenna cable for damage.
- Dash Kit Does Not Fit: Re-verify vehicle compatibility (make, model, year). Ensure the aftermarket stereo is indeed a standard single DIN size and not oversized. Minor trimming may be required for some larger single DIN units.
- Loose Fit: Ensure all mounting screws and clips are properly secured.
If problems persist, consult a professional car audio installer or contact Scosche customer support.
Specifications
| Model Number | GM1583B |
| Brand | Scosche |
| Material | Acrylonitrile Butadiene Styrene (ABS) |
| Item Dimensions (L x W x H) | 9 x 6 x 6 inches |
| Item Weight | 9.6 ounces |
| Connector Type | DIN |
| Recommended Use | Radio Installation |
Warranty and Support
Warranty Information:
The Scosche GM1583B Dash Kit is backed by a Limited Lifetime Warranty. This warranty covers defects in materials and workmanship under normal use. Please retain your proof of purchase for warranty claims.
Technical Support:
Scosche offers Lifetime Tech Support for its products. If you have any questions regarding the installation, compatibility, or operation of your dash kit, please contact Scosche's knowledgeable technical support team. Contact information can typically be found on the official Scosche website or product packaging.
For further assistance, visit the official Scosche website: www.scosche.com