
1. Setup
This section provides instructions for the initial setup of your Polycom SoundStation2 conference phone. Ensure all components are present before proceeding.
1.1 Unpacking and Component Identification
Carefully remove all items from the packaging. The standard package includes:
- Polycom SoundStation2 Conference Phone Unit
- Power Supply Unit
- Phone Line Cable
- (Optional) External Microphones (for expandable models)
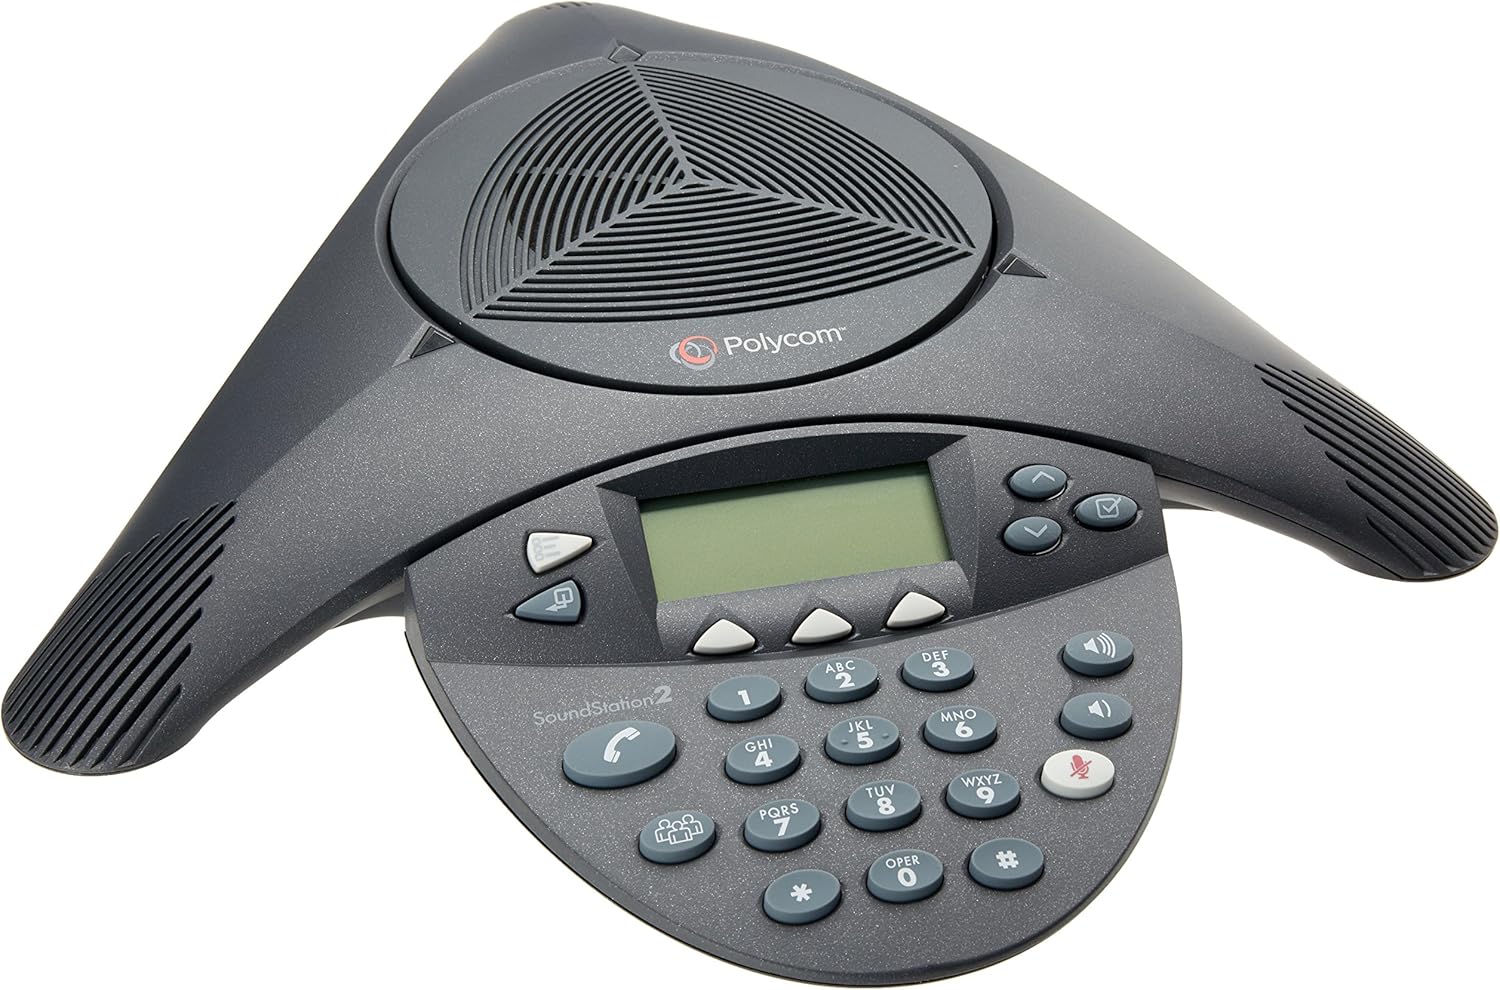
Figure 1.1: Main Polycom SoundStation2 Conference Phone Unit. This image displays the triangular-shaped conference phone with its central speaker, keypad, and display screen.
1.2 Connecting the Phone
- Connect the Phone Line: Plug one end of the phone line cable into the wall telephone jack.
- Connect to the Phone Unit: Plug the other end of the phone line cable into the port labeled with a telephone icon on the underside of the SoundStation2 unit.
- Connect the Power Supply: Plug the small connector of the power supply unit into the power port on the underside of the SoundStation2 unit. Plug the power supply's AC adapter into a standard electrical outlet.

Figure 1.2: Polycom SoundStation2 Power Supply Unit. This image shows the compact power supply unit with its power prongs and the connection port for the phone unit, illustrating how it connects to the device.
Once connected, the phone will power on and display the Polycom logo, followed by the main screen indicating readiness for use.
2. Operating the Phone
The Polycom SoundStation2 is designed for intuitive operation, providing clear audio for conference calls.
2.1 Basic Call Functions
- Making a Call: Press the On/Off button (green phone icon) to get a dial tone. Enter the desired phone number using the 12-key telephone keypad.
- Answering a Call: When the phone rings, press the On/Off button (green phone icon).
- Ending a Call: Press the On/Off button (red phone icon) during an active call.
- Mute: Press the Mute button (microphone with a slash) to mute your microphone. The button will illuminate red when muted. Press again to unmute.
- Volume Adjustment: Use the Volume Up (+) and Volume Down (-) buttons to adjust the speaker volume during a call.
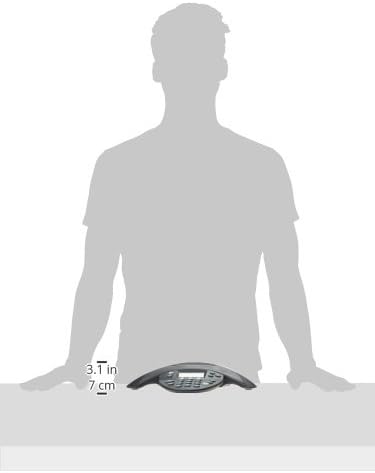
Figure 2.1: Close-up of the Polycom SoundStation2 Control Panel. This image highlights the phone's backlit LCD, keypad, and function buttons, including mute and volume controls.
2.2 Conference Features
The SoundStation2 supports natural, simultaneous two-way conversation with its Acoustic Clarity full duplex technology.
- Adding Participants: During an active call, press the Conference button (three people icon). Dial the number of the new participant and press the Conference button again to merge the calls.
- Caller ID: Incoming call information is displayed on the graphical backlit LCD.
- User Selectable Ring Tones: Customize the ring tone through the phone's menu settings.
3. Maintenance
Proper care and maintenance will ensure the longevity and optimal performance of your Polycom SoundStation2.
3.1 Cleaning Instructions
- Use a soft, lint-free cloth slightly dampened with water or a mild, non-abrasive cleaner to wipe down the exterior of the unit.
- Avoid using harsh chemicals, abrasive cleaners, or solvents, as these can damage the phone's surface and internal components.
- Do not spray liquids directly onto the phone.
3.2 Storage
If storing the unit for an extended period, disconnect all cables and store it in a cool, dry place away from direct sunlight and extreme temperatures.
4. Troubleshooting
This section addresses common issues you might encounter with your SoundStation2. For more detailed troubleshooting, refer to the complete User Manual PDF.
4.1 Common Issues and Solutions
- No Dial Tone:
- Check all cable connections, ensuring they are securely plugged into the phone unit, wall jack, and power outlet.
- Verify that the phone line is active by testing it with another phone.
- Power cycle the unit by unplugging the power supply for 10 seconds and then plugging it back in.
- Poor Audio Quality (Echo, Distortion, Low Volume):
- Adjust the volume using the Volume Up and Volume Down buttons.
- Ensure the microphone is not muted.
- Check for excessive background noise in the conference room. The SoundStation2 features dynamic noise reduction, but extreme noise can still impact clarity.
- Verify that the phone is placed centrally in the room for optimal microphone pickup (3 cardioid microphones with 10-foot pickup range).
- Display Not Working:
- Ensure the power supply is correctly connected and the unit is receiving power.
- Power cycle the unit.
5. Specifications
| Feature | Description |
|---|---|
| Product Dimensions | 14.49 x 12.24 x 2.52 inches |
| Item Weight | 1.76 pounds (800 Grams) |
| Model Number | 2200-16200-001 |
| Audio Technology | Acoustic Clarity full duplex for natural, simultaneous 2-way conversation |
| Microphones | 3 cardioid microphones with intelligent mic mixing and 10-foot pickup range |
| Volume Control | Adjustable volume with dynamic noise reduction |
| Display | Graphical backlit LCD with Caller ID |
| Keypad | 12-Key telephone keypad with mute, volume up/down keys |
| Material | Polycarbonate (PC) |
| Power Source | Corded Electric |
6. Warranty and Support
The Polycom SoundStation2 Expandable Conference Phone is covered by a manufacturer's warranty. For specific warranty terms and conditions, please refer to the official documentation provided with your purchase or contact Poly support directly.
6.1 Official User Manual
For comprehensive information, detailed setup diagrams, and advanced features, please download the official User Manual in PDF format:
6.2 Customer Support
If you require further assistance or have questions not covered in this manual, please contact Poly customer support through their official website or designated support channels.


