1. Introduction and Overview
The Estes Alpha III is a classic model rocket designed for beginners, offering simple assembly and reliable performance. It is part of the E2X (Easy to Assemble) series, making it an ideal choice for first-time rocketeers. This manual provides detailed instructions for assembling, preparing, launching, and maintaining your Alpha III rocket, ensuring a safe and enjoyable experience.
The Alpha III features a black body tube, a fluorescent orange nose cone, and a one-piece fin unit, contributing to its ease of assembly and distinctive appearance. It is capable of soaring to altitudes over 1,100 feet (335 meters) and returns gently to Earth via its brightly colored 12-inch orange parachute.

Image 1: Estes Alpha III Flying Model Rocket Kit.
Product Overview Video
Video 1: An overview of the Estes Alpha III model rocket kit, demonstrating its features and assembly process.
2. What's in the Box (Components)
Your Estes Alpha III kit includes the following components:
- Shock cord mount
- Nose cone
- Launch lug
- Body tube
- Nose cone fastener
- Shock cord
- Parachute
- Mylar retainer ring
- Green adapter ring
- Engine mount tube
- Green split adapter ring
- Engine hook
- Plastic fin unit
- Self-stick decals
- Instructions
Note: Estes engines, a launch system, and 4 AA alkaline batteries for the launch controller are required and sold separately.

Image 2: All components of the Estes Alpha III kit.
3. Assembly Instructions
The Estes Alpha III is designed for easy assembly, typically taking about 1 hour (excluding painting and glue drying time). Follow these general steps:
- Prepare the Fin Unit: The kit includes a pre-colored, one-piece plastic fin unit. Ensure it is clean and free of any molding flash.
- Attach the Engine Mount: Assemble the engine mount tube, green adapter rings, and engine hook according to the detailed instructions provided in your kit. Secure with glue as specified.
- Install the Fin Unit: Carefully attach the assembled fin unit to the body tube, aligning it correctly. Use glue to secure it firmly.
- Assemble the Nose Cone and Recovery System: Attach the nose cone fastener to the nose cone. Connect the shock cord to the nose cone and the shock cord mount inside the body tube.
- Prepare the Parachute: Fold the 12-inch orange parachute according to the instructions and attach it to the shock cord.
- Apply Decals: Once the glue is dry, apply the self-stick decals to personalize your rocket.
Refer to the detailed instructions included in your kit for specific steps and diagrams. Only household supplies and glue are needed for assembly.
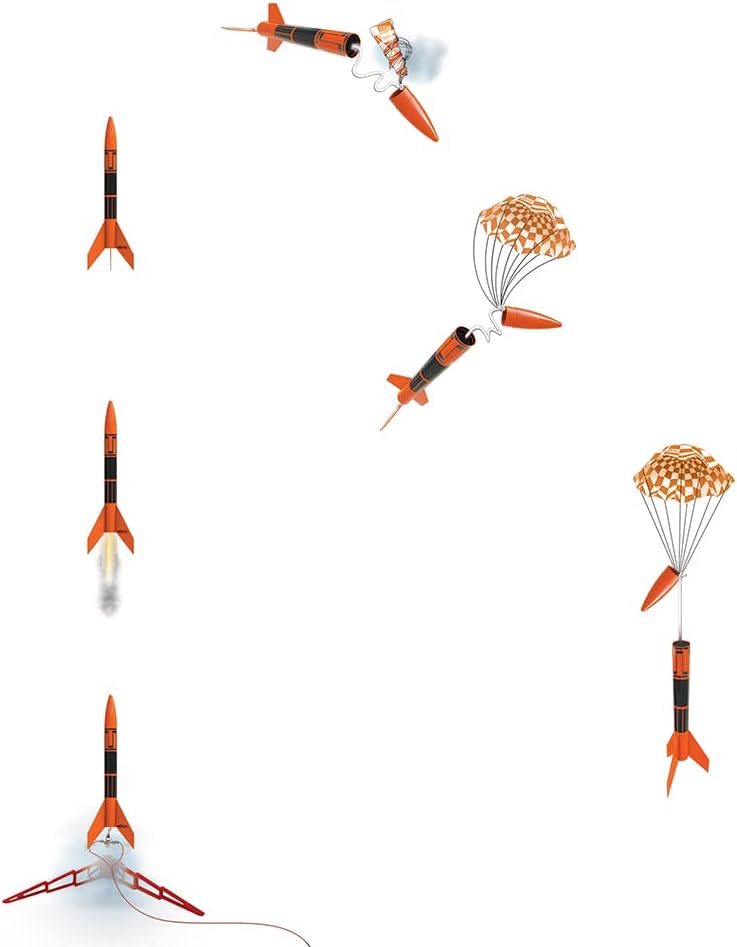
Image 3: Illustrative image of fin unit assembly.
4. Setup (Pre-Launch Checklist)
Before each launch, ensure your rocket and launch equipment are properly prepared:
- Engine Selection: Choose an appropriate Estes engine from the recommended list: 1/2A6-2, A8-3, A8-5, B4-4, B6-4, B6-6, C6-5, C6-7. The first letter indicates power level (A being the lowest, suitable for beginners). The numbers indicate delay and thrust.
- Recovery Wadding: Insert fresh recovery wadding into the body tube before each flight. This protects the parachute from the hot ejection charge.
- Igniter Installation: Carefully install the igniter into the engine nozzle and secure it with the igniter plug, ensuring good contact.
- Launch Pad Setup: Set up your launch pad in a large, open area, away from buildings, trees, and power lines. Ensure the launch rod is vertical and securely anchored.
- Launch Controller: Connect the launch controller to the igniter clips. Ensure the safety key is removed until ready to launch.

Image 4: Alpha III rocket on launch pad.
5. Operating (Launch Procedure)
Once your rocket is prepared and the launch pad is set up in a safe location, follow these steps for a successful launch:
- Place Rocket on Launch Rod: Slide the rocket onto the launch rod, ensuring the launch lug glides freely.
- Connect Igniter Clips: Attach the igniter clips from the launch controller to the igniter wires, ensuring they do not touch each other or the metal engine casing.
- Clear the Launch Area: Ensure all spectators are at least 15 feet away from the launch pad. Announce your countdown clearly.
- Insert Safety Key: Insert the safety key into the launch controller.
- Initiate Countdown: Begin your countdown (e.g., "5, 4, 3, 2, 1, LAUNCH!").
- Press Launch Button: At "LAUNCH!", press and hold the launch button until the rocket ignites and lifts off.
- Observe Flight: Watch your rocket ascend. It will reach its peak altitude and then deploy its parachute for recovery.
6. Recovery and Maintenance
After a successful launch, the Alpha III will deploy its parachute for a gentle descent. Follow these guidelines:
- Retrieve Your Rocket: Locate and retrieve your rocket. Be mindful of where it lands and avoid hazardous areas.
- Inspect for Damage: Check the rocket for any damage to the fins, body tube, nose cone, or recovery system. Repair any damage before the next flight.
- Replace Wadding: Always replace the recovery wadding with fresh wadding before each subsequent flight to protect the parachute.
- Store Properly: Store your rocket in a cool, dry place, away from direct sunlight and extreme temperatures.

Image 5: Alpha III rocket descending with parachute.
7. Troubleshooting
If you encounter issues, consider the following:
- Rocket Fails to Launch: Check the igniter connection to the engine and the launch controller clips. Ensure the launch controller batteries are fresh (4 AA alkaline batteries required). Verify the safety key is fully inserted and the launch button is pressed firmly.
- Parachute Fails to Deploy: Ensure sufficient recovery wadding was used and properly inserted to protect the parachute. Check the shock cord and parachute for tangles or damage.
- Unstable Flight: Verify that the fins are securely attached and properly aligned. Ensure the nose cone is firmly seated.
- Missing Components: If any components were missing from your kit upon purchase, contact Estes customer support for assistance.
8. Specifications
- Model Number:
- 1256
- Skill Level:
- Beginner (E2X - Easy to Assemble)
- Projected Altitude:
- 1150 ft. (351 m) on a C6-7 engine
- Recommended Engines:
- 1/2A6-2, A8-3, A8-5, B4-4, B6-4, B6-6, C6-5, C6-7
- Estimated Assembly Time:
- 1 Hour (excluding painting and glue drying time)
- Product Dimensions:
- 0.98 x 12 x 12 inches
- Item Weight:
- 2.88 ounces
- Manufacturer Recommended Age:
- 10 years and up
9. Safety Guidelines
Model rocketry is an exciting hobby, but safety must always be the top priority. Adhere to these guidelines:
- Adult Supervision: Children under 12 years of age must be supervised by an adult.
- Launch Area: Always launch in a large, open field free of dry grass, buildings, power lines, and trees. Ensure the area is clear of people and animals.
- Weather Conditions: Do not launch in high winds, during thunderstorms, or in extremely dry conditions where fire hazards exist.
- Engine Use: Use only Estes brand model rocket engines. Never attempt to modify or reload engines.
- Recovery Wadding: Always use recovery wadding to prevent the ejection charge from igniting the parachute.
- Launch Controller: Maintain a safe distance from the rocket during launch using the remote launch controller. Keep the safety key removed until immediately before launch.
- Eye Protection: Always wear eye protection during assembly and launch.
10. Warranty and Support
The Estes Alpha III Flying Model Rocket Kit comes with a Full One-Year Warranty. For warranty claims, missing parts, or technical support, please refer to the contact information provided in your product packaging or visit the official Estes Rockets website.


