
Introduction
This manual provides essential information for the safe and efficient operation, installation, and maintenance of your Lifegard Aquatics Quiet One Aquarium Pump 5000. Please read these instructions thoroughly before use and retain for future reference. This pump is designed for both freshwater and saltwater aquarium applications.
Safety Instructions
To prevent injury, basic safety precautions should be observed, including the following:
- Read and follow all instructions carefully.
- DANGER: To avoid possible electric shock, special care should be taken since water is used in the use of aquarium equipment. For each of the following situations, do not attempt repairs yourself; return the appliance to an authorized service facility for service or discard the appliance.
- If the appliance falls into the water, DO NOT reach for it. First, unplug it and then retrieve it. If electrical components get wet, unplug the appliance immediately.
- Carefully examine the appliance after installation. It should not be plugged in if there is water on parts not intended to be wet.
- Do not operate any appliance if it has a damaged cord or plug, or if it is malfunctioning or has been dropped or damaged in any manner. The power cord of this appliance cannot be replaced; if the cord is damaged, the appliance should be discarded.
- To avoid the possibility of the appliance plug or receptacle getting wet, position the aquarium stand and tank to one side of a wall-mounted receptacle to prevent water from dripping onto the receptacle or plug. A "drip loop" should be arranged by the user for each cord connecting an aquarium appliance to a receptacle. The "drip loop" is the part of the cord below the level of the receptacle, or the connector if an extension cord is used, to prevent water from traveling along the cord and coming into contact with the receptacle. If the plug or receptacle does get wet, DO NOT unplug the cord. Disconnect the fuse or circuit breaker that supplies power to the appliance. Then unplug and examine for the presence of water in the receptacle.
- Close supervision is necessary when any appliance is used by or near children.
- To avoid injury, do not contact moving parts or hot parts such as heaters, reflector, lamp bulbs, and the like.
- Always unplug an appliance from an outlet when not in use, before putting on or taking off parts, and before cleaning.
- Never pull the cord to pull the plug from the outlet. Grasp the plug and pull to disconnect.
- Do not use an appliance for other than its intended use.
- Do not install or store the appliance where it will be exposed to the weather or to temperatures below freezing.
- Ensure the appliance is securely installed before operating it.
- Read and observe all important notices on the appliance.
- If an extension cord is necessary, a cord with a proper rating should be used. A cord rated for less amperes or watts than the appliance rating may overheat. Care should be taken to arrange the cord so that it will not be tripped over or pulled.
- This pump must be connected to a circuit protected by a Ground Fault Circuit Interrupter (GFCI).
- Do not run dry.
- For household indoor use only.
Package Contents
Verify that all components are present and in good condition.
- Quiet One Aquarium Pump 5000
- Pre-filter Grill with Flow Control Valve (for submersible applications)
- Hose barb fittings (various sizes)
- Instruction Manual (this document)

Image: The Quiet One Aquarium Pump 5000, shown with its main body, pre-filter cover, and various hose barb fittings for connection.
Setup and Installation
Submersible Installation
- Ensure the pump is clean and free of debris.
- Attach the desired hose barb fitting to the pump's outlet. Ensure a tight seal.
- For submersible use, attach the pre-filter grill to the pump's inlet. The flow control valve on the pre-filter grill can be adjusted to regulate water flow.
- Place the pump securely at the bottom of your aquarium or sump. Ensure it is fully submerged before powering on.
- Connect the outlet hose to your filter system or desired water return.
- Create a drip loop with the power cord before plugging into a GFCI-protected outlet.
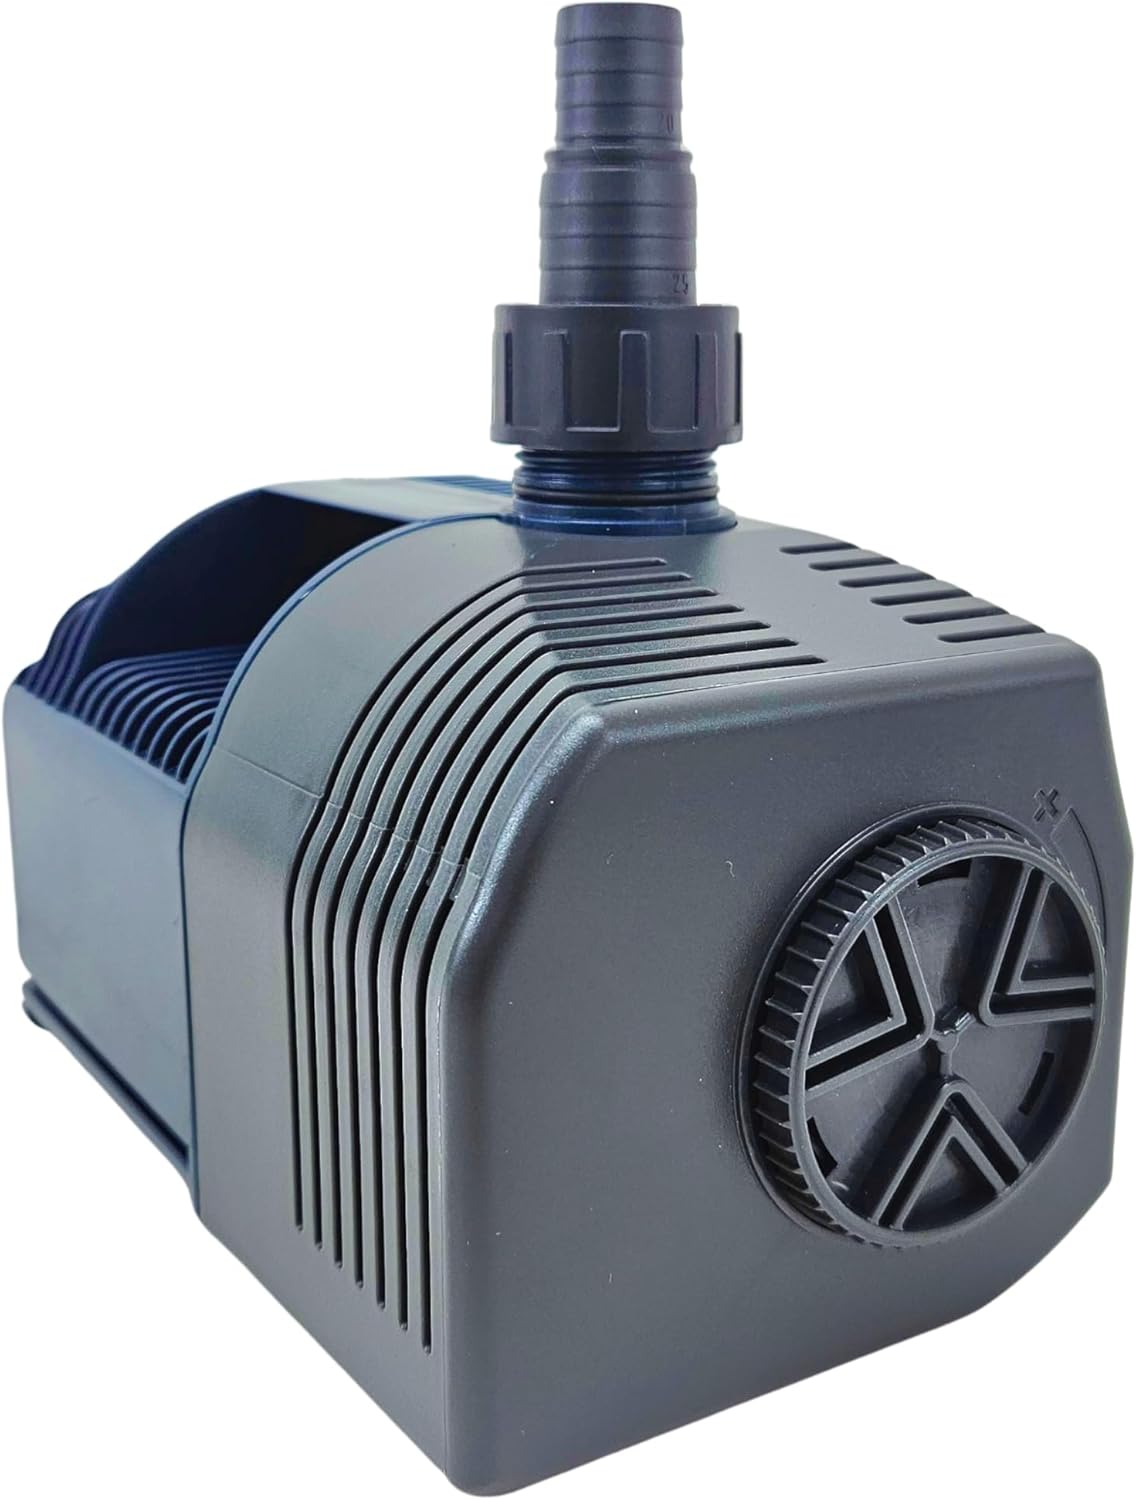
Image: The pump assembled for submersible use, showing the pre-filter cover and an attached hose barb fitting on the outlet.
External (Dry) Installation
- Ensure the pump is clean and free of debris.
- Attach appropriate plumbing to both the inlet and outlet of the pump. Ensure all connections are watertight.
- Position the pump on a stable, level surface outside the aquarium or sump, ensuring it is below the water level to facilitate priming.
- Prime the pump by ensuring water flows into the inlet before powering on. Running dry can damage the pump.
- Create a drip loop with the power cord before plugging into a GFCI-protected outlet.
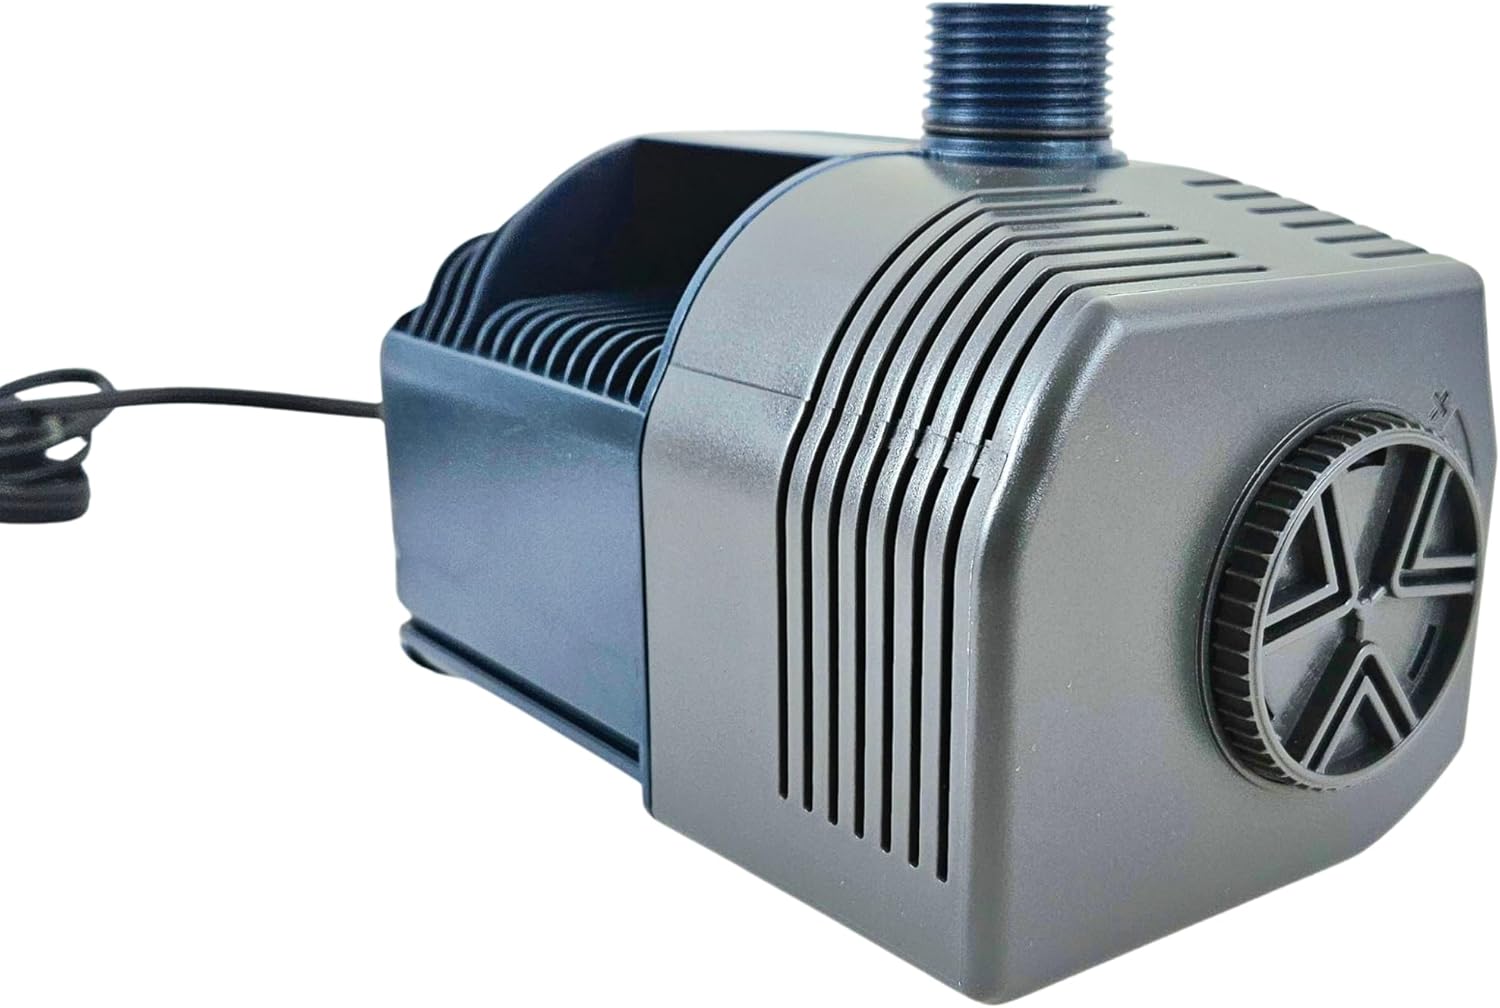
Image: The pump configured for external (dry) installation, showing the threaded inlet and outlet connections.
Operating Instructions
- After installation, ensure all connections are secure and the pump is either fully submerged (for submersible use) or properly primed (for external use).
- Plug the pump into a GFCI-protected electrical outlet. The pump should start immediately.
- For models with flow control (like the 5000), adjust the flow control valve on the pre-filter grill (if used) to achieve the desired water flow rate.
- Monitor the pump for the first few minutes of operation to ensure proper function and no leaks.
- The pump is designed for continuous operation. Unplug only for maintenance or when not in use.
Maintenance
Regular maintenance ensures optimal performance and extends the life of your pump.
- Disconnect Power: Always unplug the pump from the electrical outlet before performing any maintenance.
- Clean Pre-filter Grill: If used, regularly remove and clean the pre-filter grill to prevent clogging and maintain flow. Rinse with clean water.
- Accessing the Impeller: The EZ access cover allows for easy maintenance of the rotor, shaft, and removable impellers. Carefully remove the cover to access these components.
- Clean Impeller and Shaft: Remove the impeller assembly and clean any accumulated debris, algae, or mineral deposits from the impeller and ceramic shaft. Use a soft brush and clean water. Vinegar or a mild acid solution can be used for stubborn mineral deposits, followed by thorough rinsing.
- Inspect Components: Check the impeller, shaft, and O-rings for any signs of wear, cracks, or damage. Replace any worn parts.
- Reassembly: Carefully reassemble the pump, ensuring all parts are correctly seated and the EZ access cover is securely fastened.

Image: The pump with its front cover removed, exposing the impeller housing for cleaning and inspection.
Troubleshooting
| Problem | Possible Cause | Solution |
|---|---|---|
| Pump does not start or runs intermittently. | No power; clogged impeller; air lock (external use); damaged impeller. | Check power connection and GFCI. Clean impeller and housing. For external use, ensure pump is primed. Inspect impeller for damage. |
| Reduced water flow. | Clogged pre-filter or impeller; kinked hose; flow control valve closed; excessive head pressure. | Clean pre-filter and impeller. Check hoses for obstructions. Adjust flow control valve. Ensure plumbing is optimized for pump capacity. |
| Excessive noise or vibration. | Debris in impeller; worn impeller or shaft; pump not securely placed; running dry. | Disconnect power and clean impeller. Inspect impeller and shaft for wear. Securely position the pump. Ensure pump is not running dry. |
| Pump leaks. | Loose connections; damaged O-rings or housing. | Tighten all plumbing connections. Inspect and replace damaged O-rings or housing components. |
| Pump overheats. | Running dry; restricted flow; internal recirculation issue. | Ensure pump is not running dry and has adequate water flow. Check for blockages in the system. The ECO-SAV design includes internal recirculation to prevent overheating. |
| Pump stops working after two months. | Impeller housing broken; general malfunction. | Inspect impeller housing for damage. If damaged, replacement parts or professional service may be required. Refer to warranty information. |
| Pump is very loud. | Debris in impeller; worn impeller or shaft; air trapped in pump; not securely placed. | Clean impeller and housing. Inspect for wear. Ensure pump is fully submerged and free of air. Securely position the pump. |
| Pump keeps starting and stopping. | Intermittent power supply; air in system; internal component issue. | Check power supply stability. Bleed air from the system. If problem persists, contact support. |
Specifications
| Feature | Detail |
|---|---|
| Model | Quiet One 5000 |
| Part No. | R440106 |
| GPH (Gallons Per Hour) | 1458 GPH |
| Max Head Height | 11.8 ft |
| Wattage | 123 Watts |
| Amperage | 1.2 Amps |
| Suction | 1" MPT |
| Discharge | 1" MPT |
| Voltage/Frequency | 120V/60HZ |
| Application | Freshwater or Saltwater |
| Operation | Submersible or External (Dry) |
| Cord Length | 6 feet |
| Safety Certification | UL Listed |
| Item Weight | 16 ounces |
| UPC | 788379300227 |
| ASIN | B0002Z7V6Y |

Image: Back of the product packaging showing detailed specifications for Model 5000 and Model 6000, including GPH, Max Ht.Ft., Watt, Amp, Suction, Discharge, and Voltage.

Image: Back of the product packaging showing flow rate charts for Model 5000 and Model 6000, illustrating GPH at various head heights, along with installation positions.

Image: Close-up of the pump's label showing UL certification, model number (Quiet One 6000), part number, max flow, voltage, and safety warnings.
Warranty and Support
For warranty information or technical support, please contact Lifegard Aquatics directly. Keep your purchase receipt as proof of purchase.
Contact Information:
- Manufacturer: Lifegard Aquatics
- Website: www.lifegardaquatics.com
- Email: info@lifegardaquatics.com
Note: Purchasing from unauthorized third-party sellers may void the manufacturer's warranty.

