
Introduction
The BOSS Audio Systems KIT-ZERO is a comprehensive 10 gauge wiring kit designed to facilitate the installation of car amplifiers. This kit provides all necessary cables and accessories to connect your amplifier to your vehicle's power source, ground, and audio signal, ensuring proper functionality for your radio, subwoofers, and speakers.
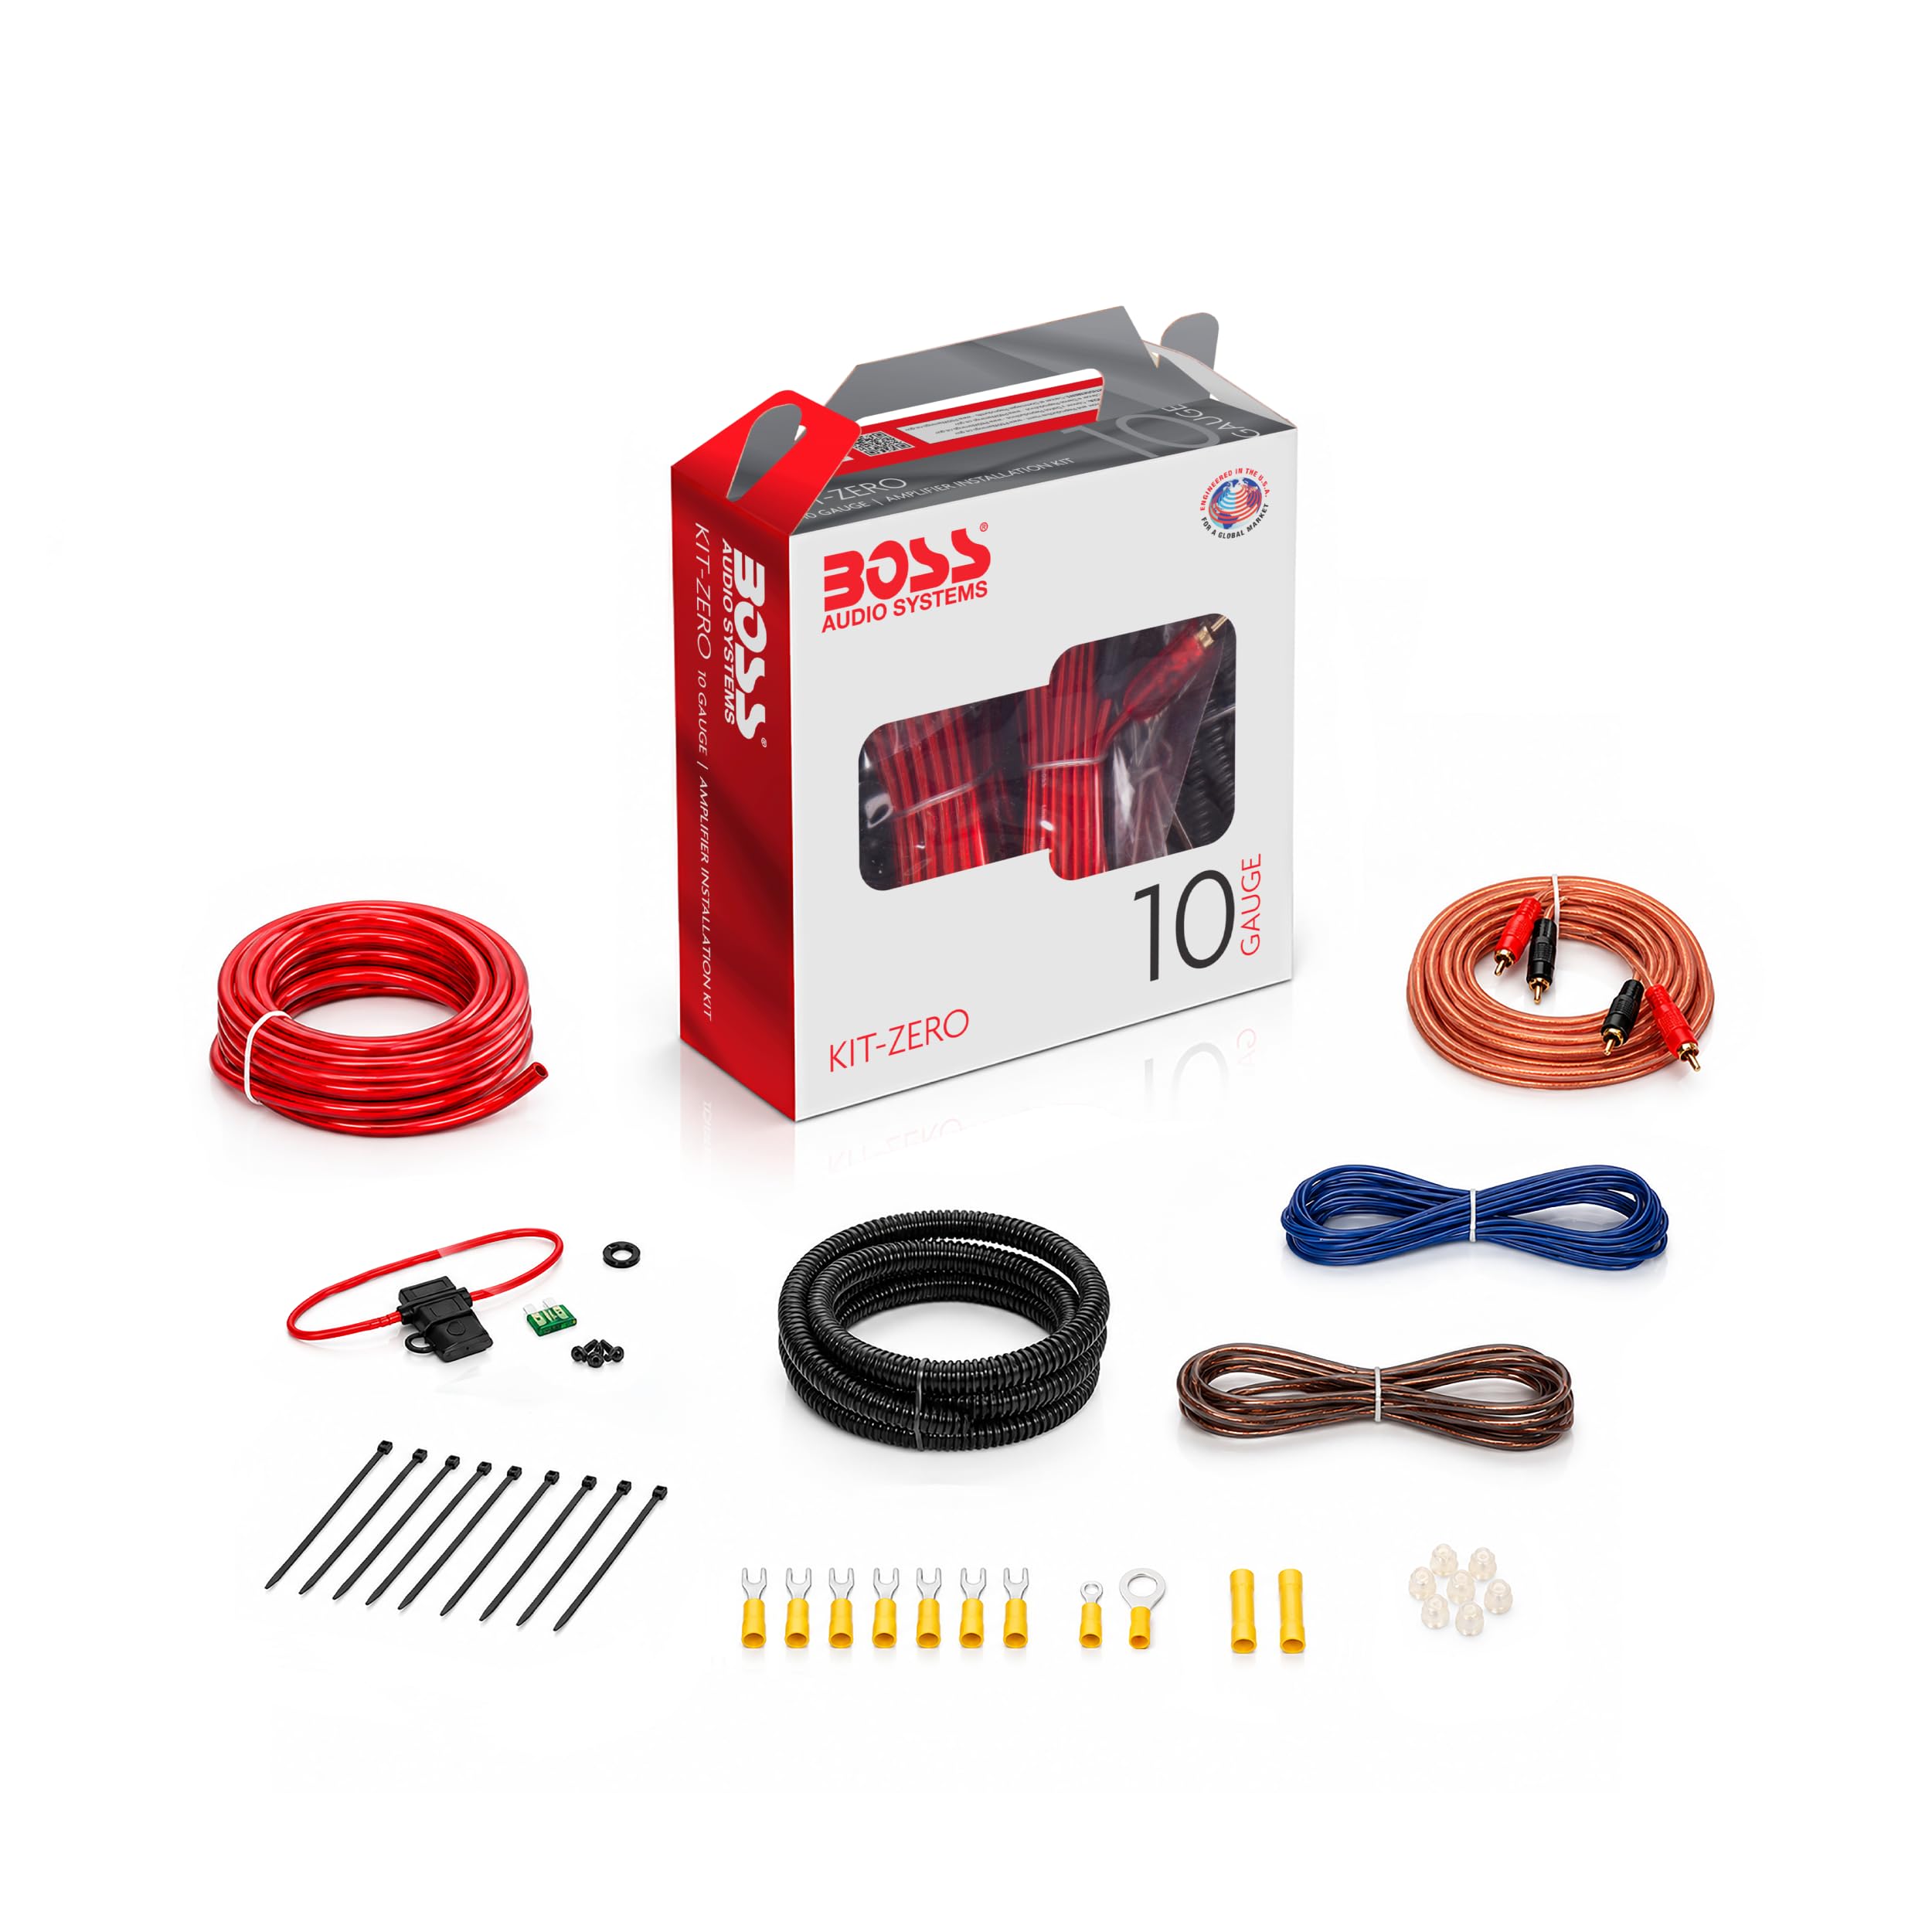
Image: The BOSS Audio Systems KIT-ZERO 10 Gauge Car Amplifier Installation Wiring Kit.
Safety Information
Always prioritize safety during installation. Improper wiring can lead to electrical shorts, damage to your vehicle's electrical system, or personal injury. If you are unsure about any step, consult a professional car stereo installer.
- Disconnect the negative terminal of the vehicle battery before installing any electronic equipment to prevent electrical shorts and damage.
- Use appropriate personal protective equipment, such as safety glasses and gloves.
- Ensure all connections are secure and insulated to prevent accidental contact.
- Never bypass fuses. The included ATC fuse holder is critical for protecting your system.
Package Contents
The KIT-ZERO includes the following components:
- 20 ft. 10 GA Red Power Cable
- ATC Fuse Holder
- 16 Ft. 18 GA Blue Remote Turn-On Wire
- 2 ft. 10 GA Black Ground Cable
- 15 ft. High Performance RCA Interconnect
- 6 ft. Split Loom Tubing
- (10) 4" Wire Ties
- (1) Wire Grommet
- Large Ring Terminal
- Small Ring Terminal
- (4) Spade Terminals

Image: All components included in the KIT-ZERO package.
Installation Guide (Setup)
Follow these steps for a proper installation of your amplifier wiring kit. Refer to the diagram below for visual guidance.
- Battery Disconnection: Before starting, disconnect the negative terminal of your vehicle's battery.
- Power Cable Routing: Route the 20 ft. 10 GA Red Power Cable from the battery compartment through the firewall into the vehicle's interior. Use the supplied wire grommet where the cable passes through metal panels to prevent chafing and short circuits.
- Fuse Holder Installation: Install the ATC Fuse Holder close to the battery (within 18 inches is recommended). Connect one end of the power cable to the battery's positive terminal via the fuse holder and a large ring terminal.
- Ground Cable Connection: Route the 2 ft. 10 GA Black Ground Cable from the amplifier mounting location to a clean, unpainted metal surface on the vehicle's chassis. Secure it with a small ring terminal to create a solid ground point.
- Remote Turn-On Wire: Connect the 16 Ft. 18 GA Blue Remote Turn-On Wire from your head unit's remote output to the amplifier's remote input terminal. This wire signals the amplifier to turn on and off with your head unit.
- RCA Interconnect: Route the 15 ft. High Performance RCA Interconnect cables from your head unit's RCA outputs to the amplifier's RCA inputs. Avoid running RCA cables parallel to power cables to minimize noise.
- Cable Management: Use the 6 ft. Split Loom Tubing to protect exposed wires and the 4" Wire Ties to secure all cables firmly, preventing movement due to vibration. This helps prevent wear and potential short circuits.
- Final Connections: Connect the power, ground, remote, and RCA cables to their respective terminals on the amplifier. Ensure all connections are tight and secure.
- Battery Reconnection: Once all wiring is complete and verified, reconnect the negative terminal of your vehicle's battery.

Image: Suggested application wiring diagram for the KIT-ZERO.
Important: Consult your stereo equipment's Owner Manual for specific installation instructions related to your head unit and amplifier. If you have any questions or encounter difficulties, please see a professional car stereo installer.
Operation
The KIT-ZERO is an installation kit and does not have operational controls itself. Once correctly installed, it provides the necessary power, ground, and signal connections for your car amplifier to function. The amplifier will turn on automatically when your head unit is activated, via the remote turn-on wire, and will process audio signals from the head unit to power your speakers or subwoofers.
Maintenance
Proper maintenance ensures the longevity and performance of your wiring kit and connected audio components:
- Regular Inspection: Periodically check all wiring connections for tightness and corrosion. Loose connections can lead to power loss or intermittent audio.
- Cable Integrity: Inspect cables for any signs of wear, fraying, or damage to the insulation. Replace any damaged cables immediately.
- Fuse Check: If your amplifier loses power, check the ATC fuse in the fuse holder. Replace a blown fuse only with one of the same amperage rating.
- Cleanliness: Keep the area around the amplifier and wiring free from dust and debris.
Troubleshooting
If you experience issues with your car audio system after installing the KIT-ZERO, consider the following:
| Problem | Possible Cause | Solution |
|---|---|---|
| Amplifier does not turn on | Blown fuse, loose power/ground connection, remote wire not connected or faulty. | Check/replace fuse. Verify all power, ground, and remote wire connections are secure. Ensure head unit is on. |
| No sound from speakers | Loose RCA connections, amplifier settings, speaker wiring issues. | Check RCA interconnects at both head unit and amplifier. Verify amplifier settings and speaker wire connections. |
| Engine noise or whining sound | Ground loop, RCA cables too close to power cables, poor ground connection. | Ensure RCA cables are routed away from power cables. Verify ground connection is clean and secure. Consider a ground loop isolator if problem persists. |
If troubleshooting steps do not resolve the issue, contact customer support or a professional installer.
Specifications
- Model: KIT-ZERO
- Gauge: 10 Gauge
- Power Cable Length: 20 ft. (Red)
- Ground Cable Length: 2 ft. (Black)
- Remote Turn-On Wire Length: 16 ft. (Blue)
- RCA Interconnect Length: 15 ft.
- Split Loom Tubing Length: 6 ft.
- Fuse Type: ATC
- Recommended Use: Car audio systems
- Item Dimensions (L x W x H): 8.75 x 7 x 2.5 inches
- Item Weight: 1.1 pounds
Warranty Information
The BOSS Audio Systems KIT-ZERO comes with a 1 YEAR WARRANTY. For specific terms and conditions, please refer to the warranty documentation included with your purchase or visit the official BOSS Audio Systems website.
Customer Support
For technical assistance or any questions regarding your BOSS Audio Systems KIT-ZERO, please contact:
- Phone: 800.999.1236
- Website: www.bossaudio.com