1. Introduction
This instruction manual provides essential information for the proper installation, operation, and maintenance of the Holley 121-125 Accelerator Pump Discharge Nozzle. Adhering to these guidelines will help ensure optimal performance and longevity of the component within your vehicle's fuel system. Please read this manual thoroughly before proceeding with any procedures.
2. Product Overview
The Holley 121-125 Accelerator Pump Discharge Nozzle is a precision-engineered component designed for use in Holley carburetors. Its primary function is to deliver a precise amount of fuel into the carburetor's venturi when the throttle is rapidly opened, preventing a lean condition and ensuring smooth acceleration. This part is a genuine Holley quality component, manufactured to meet original equipment (OE) specifications for vehicle-specific fitment.

Figure 2.1: Holley 121-125 Accelerator Pump Discharge Nozzles with Washers.
3. Setup and Installation
Installation of the accelerator pump discharge nozzle requires careful attention to detail and adherence to safety procedures. It is recommended that this procedure be performed by a qualified technician or an individual with experience in carburetor maintenance.
3.1 Safety Precautions
- Ensure the engine is off and cool before beginning work.
- Disconnect the vehicle's battery to prevent accidental starting or electrical shorts.
- Work in a well-ventilated area.
- Have a fire extinguisher readily available.
- Wear appropriate personal protective equipment, including safety glasses and gloves.
- Be aware of fuel lines and potential fuel spills.
3.2 Required Tools
Specific tools may vary depending on the carburetor model. Generally, you will need:
- Screwdrivers (flathead and Phillips)
- Wrenches (various sizes)
- Carburetor cleaner
- Clean rags
- A container for draining fuel
3.3 Installation Steps
- Prepare the Carburetor: Carefully remove the air cleaner assembly and any other components obstructing access to the carburetor's accelerator pump housing.
- Locate the Existing Nozzle: Identify the current accelerator pump discharge nozzle, typically located in the main body of the carburetor, often secured by a screw or retainer.
- Remove Old Nozzle: Using appropriate tools, carefully remove the screw or retainer and extract the old discharge nozzle. Be mindful of any small gaskets or washers.
- Clean the Area: Clean the nozzle seating area thoroughly with carburetor cleaner to ensure no debris interferes with the new nozzle's seal.
- Install New Nozzle: Place the new Holley 121-125 discharge nozzle into its designated position. Ensure any accompanying washers or gaskets are correctly seated.
- Secure the Nozzle: Reinstall the retaining screw or mechanism, tightening it to the manufacturer's specified torque (refer to your carburetor's service manual for exact specifications). Avoid over-tightening.
- Reassemble: Reinstall any removed carburetor components and the air cleaner assembly.
- Check for Leaks: After installation, reconnect the battery and start the engine. Carefully inspect for any fuel leaks around the newly installed nozzle.

Figure 3.1: Top view of the Holley 121-125 Nozzles and Washers, showing the discharge orifice.
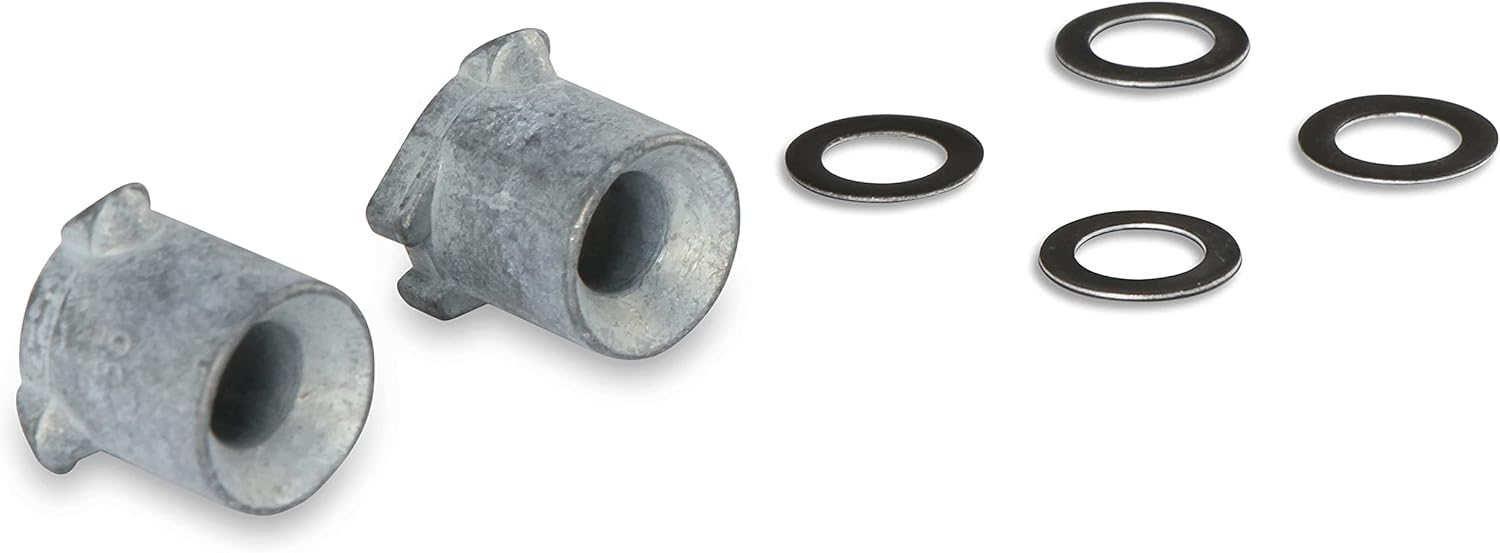
Figure 3.2: Angled view of the Holley 121-125 Nozzles and Washers, highlighting the component's shape.
4. Operating Principles
The Holley 121-125 Accelerator Pump Discharge Nozzle operates as an integral part of the carburetor's accelerator pump system. When the throttle is opened quickly, the accelerator pump forces a small, pressurized stream of fuel through this nozzle directly into the carburetor's air stream. This momentary enrichment of the fuel-air mixture compensates for the sudden increase in airflow and prevents engine hesitation or a lean stumble during acceleration. The size of the nozzle's orifice (0.03 inches for this model) is critical for delivering the correct amount of fuel for optimal engine response.
5. Maintenance
Regular inspection and maintenance of carburetor components, including the accelerator pump discharge nozzle, are crucial for consistent engine performance.
- Inspection: Periodically inspect the nozzle for any signs of clogging, damage, or wear. A clogged nozzle can lead to engine hesitation, while a damaged one may cause improper fuel delivery.
- Cleaning: If clogging is suspected, carefully remove the nozzle and clean it using a fine wire or specialized carburetor jet cleaning tool and carburetor cleaner. Ensure the orifice is completely clear. Avoid using harsh abrasives that could alter the orifice size.
- Replacement: If the nozzle shows signs of damage, corrosion, or if the orifice appears to be altered, it should be replaced with a new Holley 121-125 part to maintain proper fuel delivery.
6. Troubleshooting
Issues related to the accelerator pump discharge nozzle often manifest as drivability problems during acceleration.
- Engine Hesitation/Stumble on Acceleration:
- Possible Cause: Clogged or undersized discharge nozzle.
- Solution: Inspect and clean the nozzle. If necessary, replace it with the correct size (Holley 121-125, 0.03 inches).
- Excessive Black Smoke/Rich Condition on Acceleration:
- Possible Cause: Oversized or damaged discharge nozzle, or accelerator pump issues.
- Solution: Verify the correct nozzle size (0.03 inches). Inspect for damage. If the nozzle is correct and undamaged, investigate other accelerator pump components.
- Fuel Leakage Around Nozzle:
- Possible Cause: Improperly seated nozzle, damaged gasket/washer, or loose retaining screw.
- Solution: Re-seat the nozzle, replace gaskets/washers, and ensure the retaining screw is tightened to specification.
If troubleshooting steps do not resolve the issue, consult a professional automotive technician or refer to a comprehensive carburetor service manual for your specific application.
7. Specifications
| Brand | Holley |
| Model Name | Holley 121-125 Accelerator Pump Discharge Nozzle |
| Part Number | 121-125 |
| Material | Plastic |
| Item Weight | 0.01 Kilograms |
| Item Dimensions (L x W x H) | 5 x 3.45 x 1.2 inches |
| Outlet Connection Size | 0.03 Inches |
| Fit Type | Vehicle Specific Fit |
| OEM Part Number | 121-125 |
| UPC | 090127020746 |
8. Warranty Information
The Holley 121-125 Accelerator Pump Discharge Nozzle is covered by a manufacturer's warranty. For detailed information regarding warranty terms, conditions, and claim procedures, please refer to the official Holley website or contact Holley customer support directly. Keep your purchase receipt as proof of purchase.
9. Customer Support
For technical assistance, product inquiries, or support related to the Holley 121-125 Accelerator Pump Discharge Nozzle, please contact Holley customer service. Visit the official Holley website for current contact information, including phone numbers and online support resources.


