Introduction
Thank you for choosing the Pyle PLBWS210 Dual 10-Inch Bandpass Subwoofer System. This manual provides essential information for the proper installation, operation, and maintenance of your new subwoofer system. Please read this manual thoroughly before installation and retain it for future reference.
Product Features
The Pyle PLBWS210 is engineered for powerful bass reproduction and visual appeal. Key features include:
- Dual 10-Inch High Power Subwoofers: Equipped with two 10-inch subwoofers, each with a 4 Ohm impedance, designed for robust audio output.
- Silver Polypropylene Cones: Durable cones designed for extended product life and consistent performance.
- 2-Inch Aluminum Voice Coils: High-quality voice coils for efficient power handling.
- Specially Treated Black Rubber Edge Suspension: Ensures durability and optimal cone movement for clear bass.
- Bandpass Enclosure Design: Optimized for maximum bass impact and efficiency, utilizing a dual-chambered box with one sealed and one ported section.
- Plexiglass Front Window: A clear viewing panel to showcase the subwoofers.
- Blue Neon Speaker Rings: Integrated neon lighting around the subwoofers for enhanced visual aesthetics.
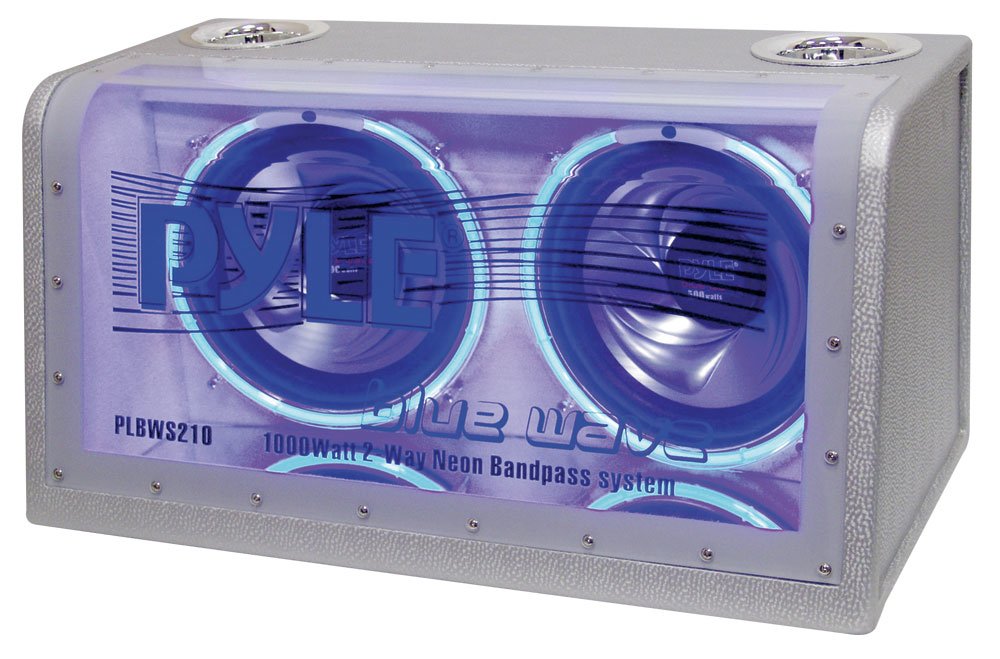
An image showing the Pyle PLBWS210 dual 10-inch bandpass subwoofer system. The enclosure features a clear plexiglass front panel revealing two 10-inch subwoofers with blue neon rings. The Pyle logo and model number PLBWS210 are visible on the front panel.
Setup and Installation
Proper installation is crucial for optimal performance and safety. It is recommended that installation be performed by a qualified professional.
1. Placement Considerations
- Choose a secure location in your vehicle (e.g., trunk or cargo area) where the subwoofer will not shift during driving.
- Ensure adequate ventilation around the enclosure.
- Avoid placing the unit where it could be exposed to direct sunlight, excessive heat, or moisture.
2. Wiring Connections
The PLBWS210 requires an external amplifier (not included) for operation. Ensure your amplifier is capable of providing sufficient power to drive two 4-ohm subwoofers.
- Power Wire: Connect a heavy-gauge power wire (typically 8-gauge or 4-gauge, depending on amplifier power) directly from the vehicle's battery to the amplifier's positive (+) terminal. Include an in-line fuse within 18 inches of the battery.
- Ground Wire: Connect a heavy-gauge ground wire from the amplifier's negative (-) terminal to a clean, unpainted metal surface on the vehicle's chassis. Ensure a solid, low-resistance connection.
- Remote Turn-On Wire: Connect a remote turn-on wire from your head unit's remote output to the amplifier's remote (REM) terminal. This will turn the amplifier on and off with your head unit.
- Audio Input: Connect RCA cables from your head unit's subwoofer output (or full-range output if using an amplifier with a built-in crossover) to the amplifier's input.
- Speaker Output to Subwoofer: Connect the amplifier's speaker output terminals to the corresponding input terminals on the PLBWS210 enclosure. Observe correct polarity (+ to + and - to -) to prevent phase issues.
- Neon Light Power: The blue neon rings typically require a separate 12V power connection. Connect the neon light's positive wire to a switched 12V source (e.g., remote turn-on wire or accessory wire) and the negative wire to a ground point.
Warning: Incorrect wiring can damage your equipment or vehicle's electrical system. Always disconnect the vehicle's battery before performing any wiring.
Operating Instructions
Once installed, follow these steps for initial operation:
- Initial Power-Up: After all connections are secure, reconnect the vehicle's battery. Turn on your head unit. The amplifier and neon lights should power on.
- Gain Adjustment: Start with the amplifier's gain control set to its minimum position. Play a familiar piece of music with strong bass. Gradually increase the gain until the desired bass level is achieved without distortion.
- Crossover Settings: If your amplifier has a low-pass filter (LPF), set it to a frequency appropriate for subwoofers, typically between 80 Hz and 120 Hz. This ensures only low frequencies are sent to the subwoofer.
- Phase Control: Some amplifiers have a phase switch (0°/180°). Experiment with both settings to determine which provides the most impactful and coherent bass response in your vehicle.
- Listening Test: Listen carefully for any signs of distortion or rattling. If distortion occurs, reduce the gain or check your wiring.
Maintenance
Regular maintenance will help ensure the longevity and performance of your subwoofer system.
- Cleaning: Use a soft, dry cloth to wipe down the enclosure and plexiglass window. Avoid abrasive cleaners or solvents that could damage the finish or plastic.
- Inspection: Periodically check all wiring connections for tightness and corrosion. Ensure the enclosure is securely mounted and free from damage.
- Environmental Protection: Protect the subwoofer from extreme temperatures, direct sunlight, and moisture.
Troubleshooting
If you encounter issues with your Pyle PLBWS210, refer to the following common problems and solutions:
- No Sound from Subwoofer:
- Check all power, ground, and remote turn-on connections to the amplifier.
- Verify the amplifier is receiving a signal from the head unit (RCA cables).
- Ensure the amplifier is powered on (indicator light).
- Check the speaker wires from the amplifier to the subwoofer for proper connection and polarity.
- Confirm the head unit's subwoofer output is enabled and volume is up.
- Distorted Sound:
- Reduce the amplifier's gain setting.
- Check for loose wiring connections or damaged speaker wires.
- Ensure the amplifier is not clipping (overdriving).
- Verify the head unit's volume is not set too high, causing distortion in the source signal.
- Neon Lights Not Working:
- Check the 12V power and ground connections for the neon lights.
- Ensure the power source for the neon lights is active when the system is on.
Specifications
| Model Number | PLBWS210 |
| Subwoofer Size | Dual 10-Inch |
| Voice Coil | 2-Inch Aluminum |
| Cone Material | Silver Polypropylene |
| Suspension | Black Rubber Edge |
| Frequency Response | 35 Hz - 1000 Hz (1 kHz) |
| Dimensions (L x W x H) | 68.58 cm x 38.1 cm x 34.93 cm (27" x 15" x 13.75") |
| Weight | 20.48 kg (45.15 lbs) |
Warranty and Support
Pyle products are designed for reliability and performance. For specific warranty details, please refer to the warranty card included with your purchase or visit the official Pyle website. For technical support or service inquiries, please contact Pyle customer service through their official channels.
Please note: Unauthorized modifications or improper installation may void your warranty.


