
Epson R200
Epson Stylus Photo R200 Ink Jet Printer User Manual
Comprehensive guide for setup, operation, and maintenance of your Epson Stylus Photo R200 Ink Jet Printer.
1. Product Overview
The Epson Stylus Photo R200 is designed for high-quality photo printing at home, featuring 6-color ink technology and direct CD/DVD printing capabilities. It utilizes Epson's Micro Piezo printhead for detailed output up to 5760 optimized dpi resolution.
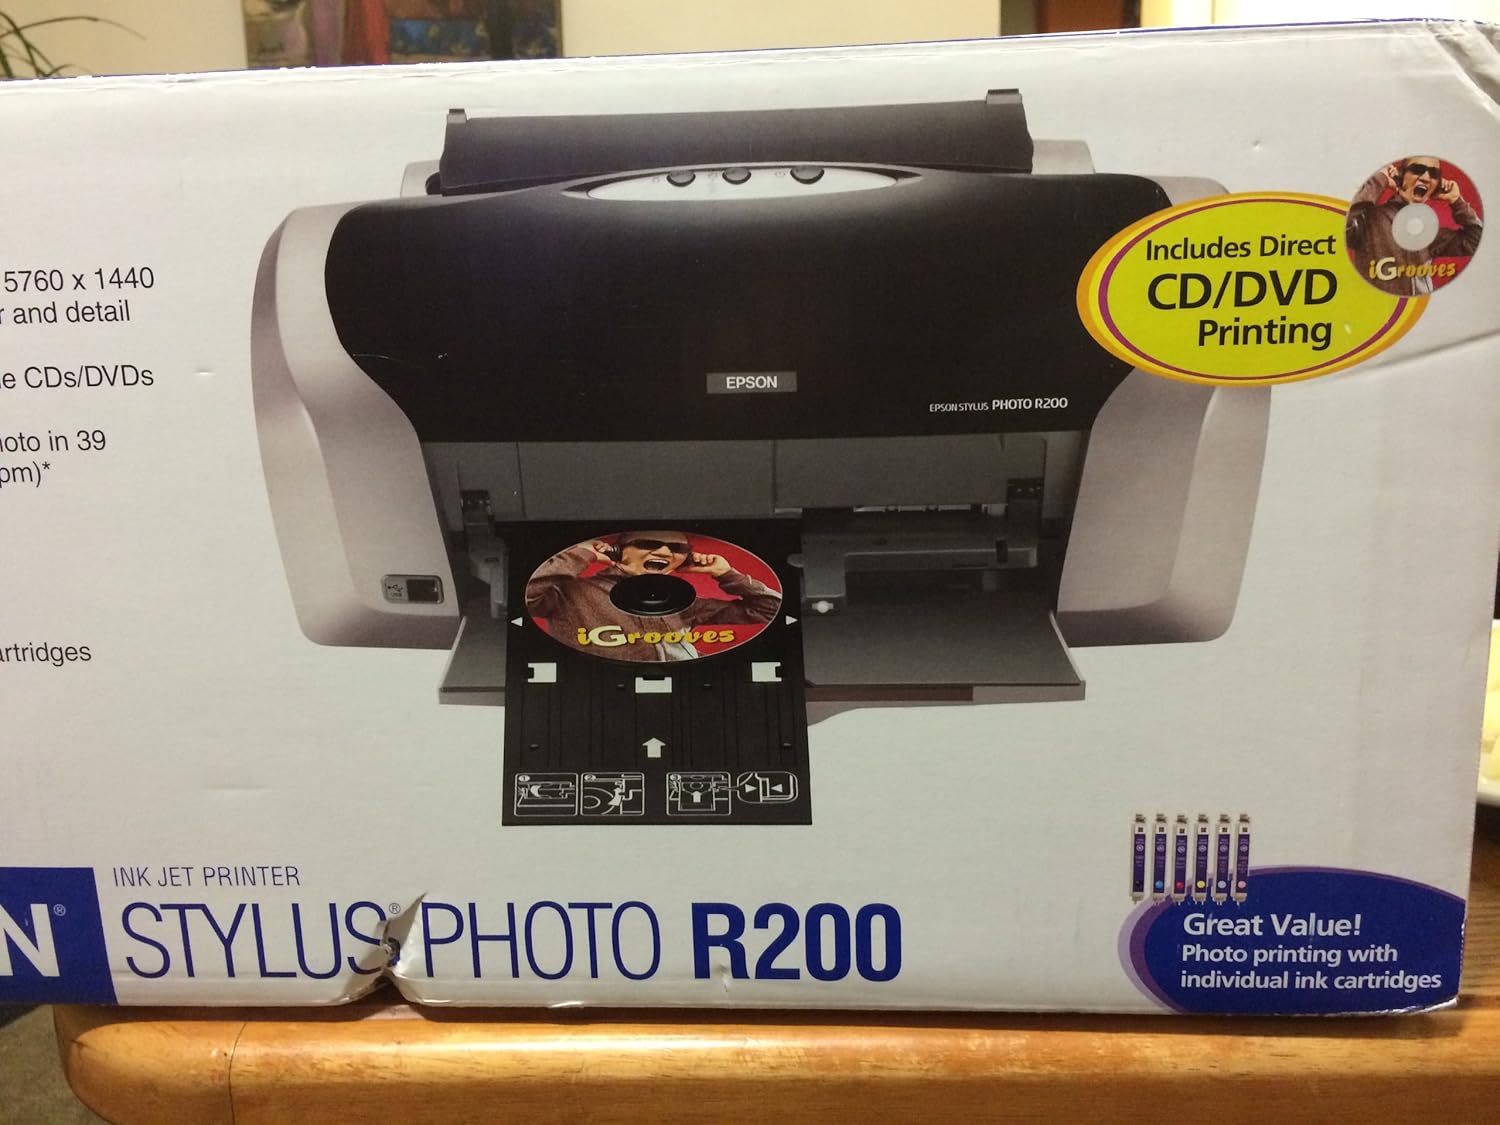
Image: The Epson Stylus Photo R200 Ink Jet Printer, showcasing its direct CD/DVD printing feature with a disc in the tray.
2. Setup Guide
2.1 Unboxing and Component Identification
Carefully remove all components from the packaging. Ensure you have the printer unit, six individual ink cartridges (cyan, light cyan, magenta, light magenta, yellow, black), the CD print tray, and the software CD-ROM.

Image: The Epson Stylus Photo R200 printer as it appears when first unboxed, still wrapped in protective plastic within its styrofoam packaging.
2.2 Connecting the Printer
Connect the printer to your computer using a USB cable (not included). Ensure the printer is placed on a stable, flat surface with adequate space for paper and disc trays.
2.3 Installing Ink Cartridges
- Open the printer cover to access the ink cartridge slots.
- Unpack each individual ink cartridge.
- Insert each cartridge into its corresponding color-coded slot until it clicks into place.
- Close the printer cover. The printer will initiate an ink charging cycle.
2.4 Software Installation
Insert the provided CD-ROM into your computer's drive. Follow the on-screen instructions to install the printer drivers and accompanying software, including PhotoQuicker and Print Image Framer. Ensure your operating system (Windows or Macintosh) is supported.
3. Operating Instructions
3.1 Basic Document and Photo Printing
Load paper into the input tray. From your computer, select the Epson Stylus Photo R200 as your printer. Adjust print settings such as paper type, print quality, and layout as needed. The printer supports various paper types for optimal results.
3.2 Direct CD/DVD Printing
The R200 allows direct printing onto inkjet-printable CDs and DVDs. Use the included CD Print software for personalized designs. Ensure the disc tray is inserted correctly into the printer's dedicated slot. The software guides you through aligning the disc for accurate printing.
3.3 Utilizing Creative Software
The printer comes with software like PhotoQuicker for applying effects and layouts, and Print Image Framer for personalizing photos with frames, calendars, and greeting cards. These tools enhance your printing experience and creative output.
4. Maintenance
4.1 Replacing Ink Cartridges
When an ink cartridge is low or empty, a notification will appear. The R200 uses individual ink cartridges, so only the depleted color needs replacement. Open the printer cover, wait for the print head to move to the replacement position, press the tab on the cartridge to release it, and insert a new genuine Epson cartridge until it clicks.
4.2 Print Head Cleaning and Nozzle Check
If print quality degrades (e.g., missing lines, incorrect colors), perform a nozzle check to identify clogged nozzles. If clogs are present, run the print head cleaning utility from your computer's printer settings. Note that print head cleaning consumes a significant amount of ink from all cartridges. It should only be performed when visibly necessary.
4.3 General Care
Keep the printer clean and free from dust. Avoid exposing it to extreme temperatures or direct sunlight. Regular use helps prevent ink clogs. If the printer is idle for extended periods, print at least one page weekly to maintain ink flow.
5. Troubleshooting
5.1 Common Printing Issues
- No Print Output: Check power connection, USB cable, and ensure ink cartridges are not empty. Verify printer status on your computer.
- Poor Print Quality: Perform nozzle check and print head cleaning. Ensure you are using genuine Epson inks and appropriate paper types.
- Paper Jams: Remove jammed paper carefully, following instructions in the printer's on-screen guide. Ensure paper is loaded correctly and not overfilled.
5.2 CD/DVD Printing Specific Issues
- Disc Tray Jams: Ensure the disc tray is inserted level and not forced. The clear plastic leader on the tray is delicate; avoid bending or breaking it. If jammed, gently remove the tray and reinsert.
- Misaligned Prints on Disc: Verify the alignment arrow on the printer matches the arrow on the disc tray. Ensure correct settings in the CD Print software.
- Printer Stalls During Disc Print: If the tray movement is not smooth, a gentle push may be required. If the printer freaks out, remove the tray, press the middle button, and wait for the reset cycle to complete before reinserting.
5.3 Error Messages
If you encounter an error message such as "A part of this device has reached the end of its service life," this indicates that certain internal components have reached their estimated lifespan. This may require professional servicing or replacement of the unit.
6. Specifications
| Feature | Detail |
|---|---|
| Model Name | Epson Stylus Photo R200 |
| Printing Technology | Inkjet |
| Maximum Color Print Resolution | 5760 x 1440 dpi |
| Maximum Black and White Print Resolution | 5760 x 1440 dpi |
| Print Speed (Color/Black) | Up to 15 ppm |
| Ink Type | 6 individual ink cartridges (Black, Cyan, Light Cyan, Magenta, Light Magenta, Yellow) |
| Connectivity | USB |
| Special Feature | Direct CD/DVD Printing |
| Compatible Devices | PC and Mac compatible |
| Product Dimensions | 18.5 x 10.5 x 7.8 inches |
| Item Weight | 11.4 pounds |
7. Warranty and Support
7.1 Warranty Information
The Epson Stylus Photo R200 Ink Jet Printer typically comes with a 1-year limited warranty. Please refer to your product documentation or Epson's official website for specific warranty terms and conditions.
7.2 Customer Support
For technical assistance, troubleshooting beyond this manual, or to inquire about replacement parts, please contact Epson customer support. Visit the official Epson website for contact information, FAQs, and additional resources.
Related documentsR200


Ask a question about this manual
Ask about setup, troubleshooting, compatibility, parts, safety, or missing instructions. Manuals+ will review the question and use this page’s manual context to help answer it.