1. Introduction
This manual provides detailed instructions for the proper setup, operation, and maintenance of your iRiver SlimX iMP-550 portable CD and MP3 player. Please read this manual thoroughly before using the device to ensure optimal performance and longevity.
1.1 Package Contents
Verify that all items listed below are included in your product package:
- iRiver SlimX iMP-550 Player
- Remote Control
- Earphones
- Carrying Case
- Car Cassette Adapter
- Car Power Adapter
- 2 x NiMH Rechargeable Batteries
- AC Adapter
- AA Battery Adapter
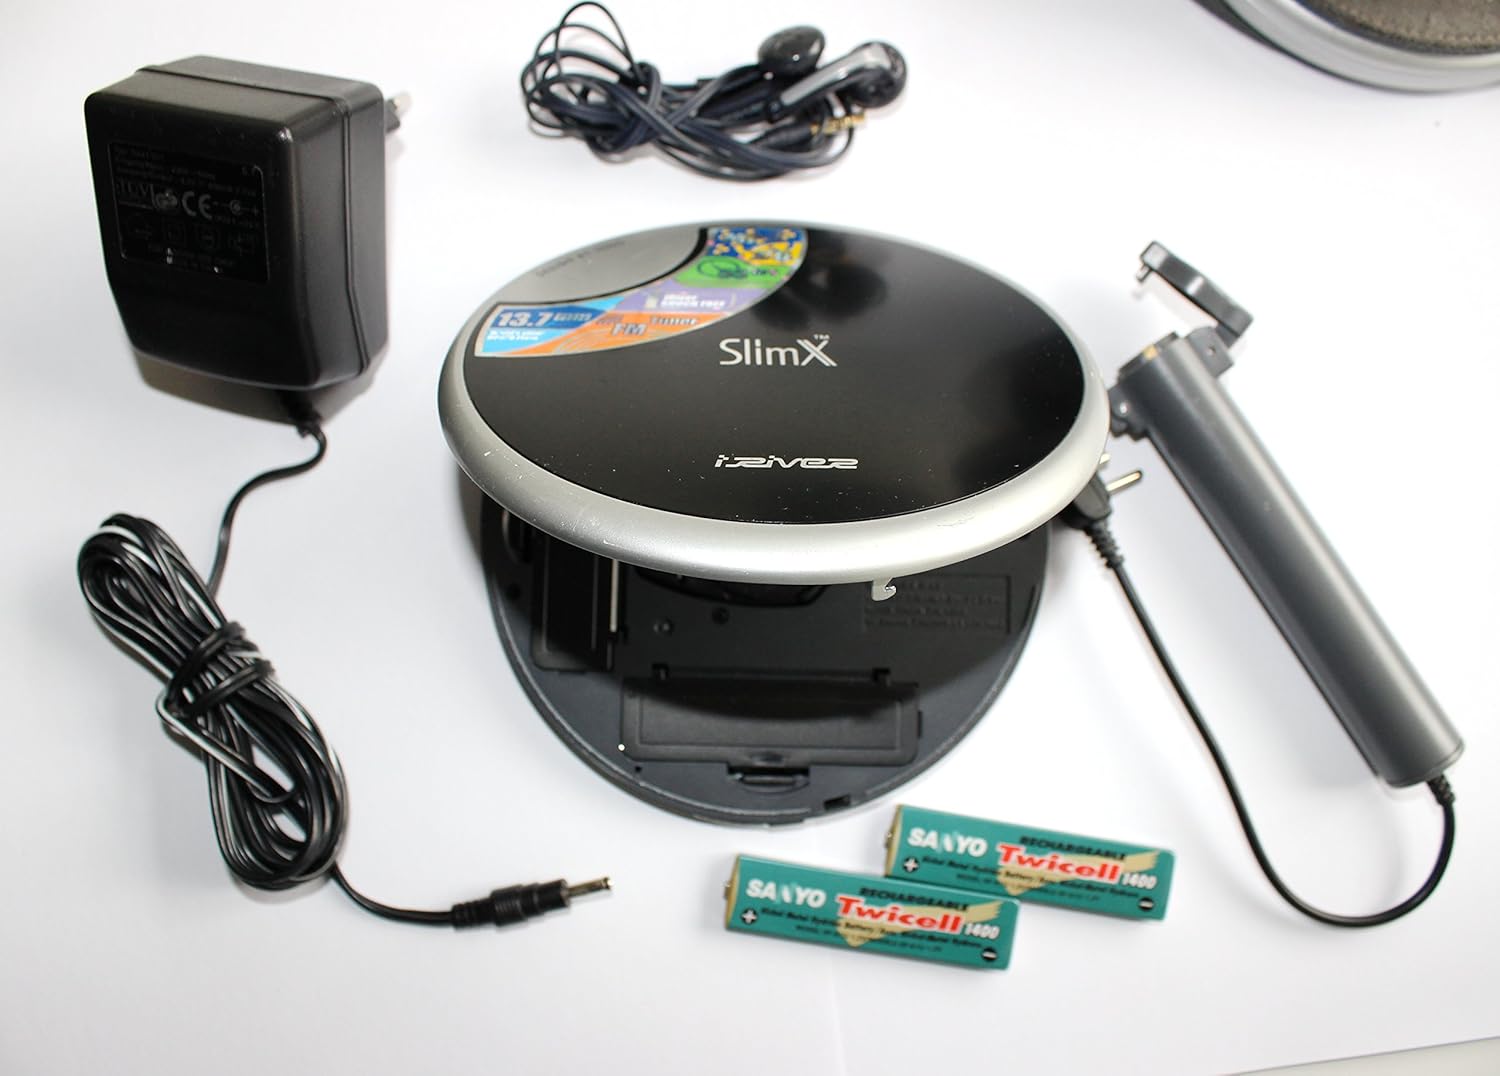
Figure 1.1: iRiver SlimX iMP-550 player with included accessories, including the remote, earphones, AC adapter, car adapters, and rechargeable batteries.
2. Safety Information
To prevent electric shock, fire, or damage to the unit, please observe the following safety precautions:
- Do not expose the unit to rain, moisture, or extreme temperatures.
- Avoid placing the unit near heat sources or in direct sunlight.
- Do not disassemble or attempt to repair the unit yourself. Refer all servicing to qualified personnel.
- Use only the specified power adapters and batteries.
- Dispose of batteries according to local regulations. Do not incinerate batteries.
- Avoid listening at high volume levels for extended periods to prevent hearing damage.
3. Product Overview
3.1 Key Features
- Audio CD, MP3, WMA, and ASF music file playback
- 32-minute skip-free playback
- Built-in digital FM tuner
- Up to 55 hours of battery life (with external AA battery pack)
- Optical output for connection to other audio devices
- Upgradeable firmware for future formats and features
3.2 Component Identification
Familiarize yourself with the various parts of your iRiver SlimX iMP-550 player:
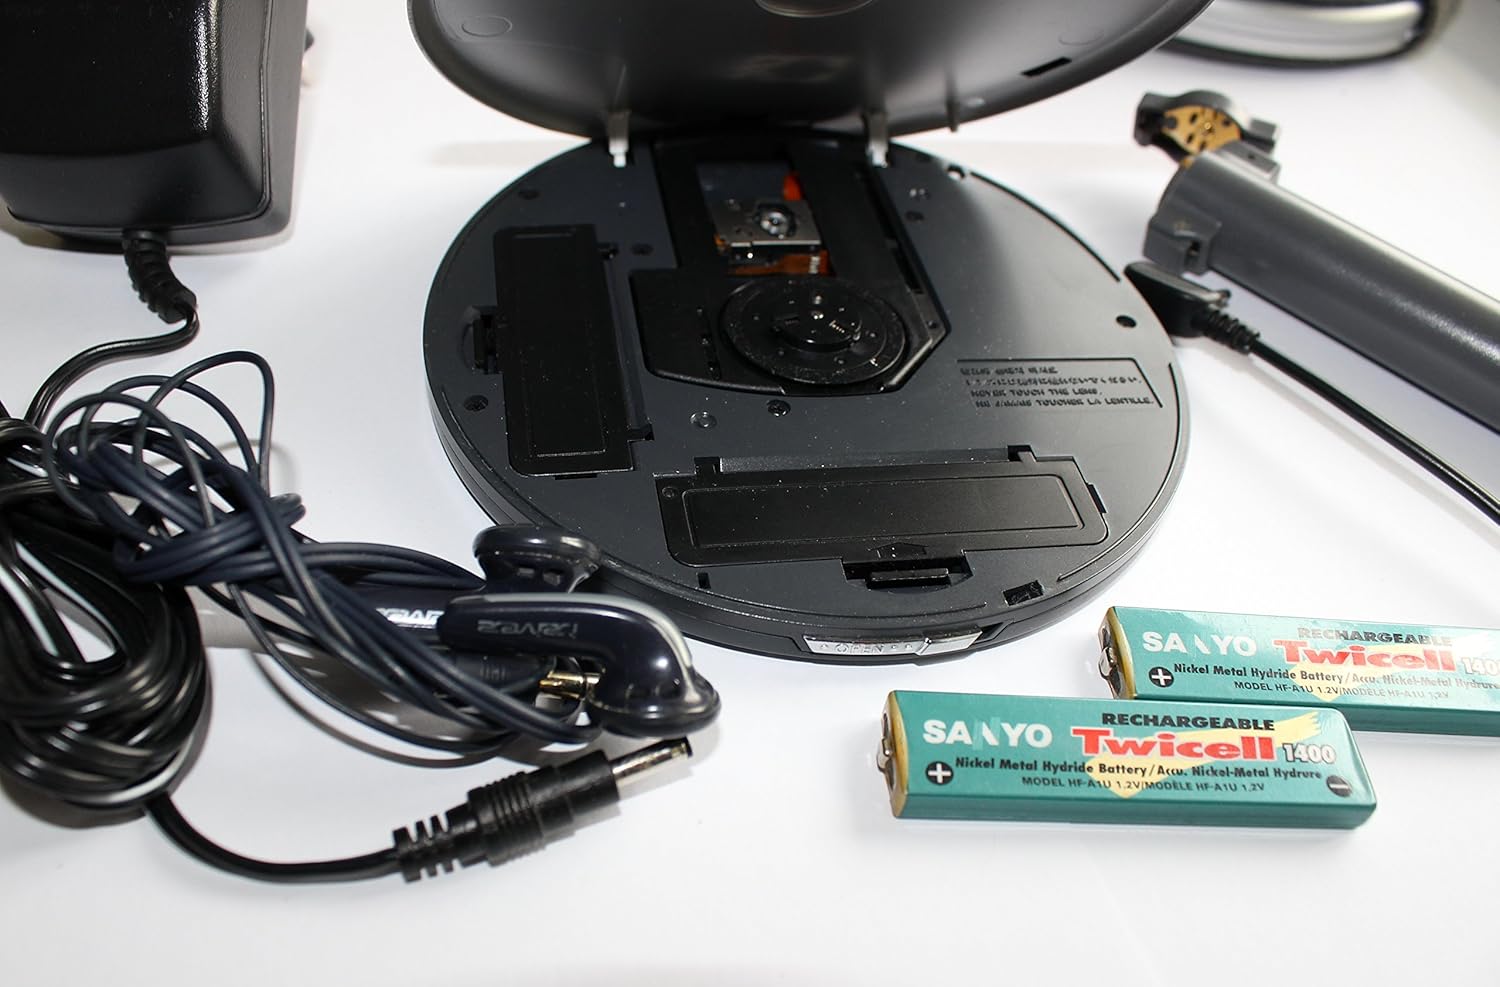
Figure 3.1: The iRiver SlimX iMP-550 player shown open, revealing the CD disc tray, internal rechargeable battery compartment, and external AA battery adapter connection. Earphones and power adapter are also visible.
Key Components:
- Disc Tray: For inserting audio CDs or data CDs with MP3/WMA/ASF files.
- Battery Compartment: Houses the rechargeable NiMH batteries.
- Power Input: Connects the AC adapter for charging and power.
- Headphone Jack: For connecting earphones.
- Remote Control Port: For connecting the wired remote control.
- Optical Output: For digital audio connection to external audio systems.
4. Setup
4.1 Battery Installation
- Open the battery compartment cover on the underside of the player.
- Insert the two supplied NiMH rechargeable batteries, observing the correct polarity (+/-).
- Close the battery compartment cover securely.
- For extended playback, connect the AA battery adapter to the designated port and insert two AA batteries (not included) into the adapter.
4.2 Charging the Batteries
- Connect the AC adapter to the power input jack on the player.
- Plug the AC adapter into a standard wall outlet.
- The charging indicator will illuminate. Allow sufficient time for a full charge (refer to specifications for charging time).
- Disconnect the AC adapter once charging is complete.
4.3 Connecting Earphones and Remote Control
- Plug the earphones into the headphone jack.
- Connect the remote control cable to the remote control port on the player.
- Plug your earphones into the headphone jack on the remote control.
5. Operating Instructions
5.1 Powering On/Off
- To power on, press and hold the Power button on the player or remote control.
- To power off, press and hold the Power button again until the display turns off.
5.2 Disc Playback (CD/MP3/WMA/ASF)
- Open the disc cover by sliding the latch.
- Place a disc (Audio CD, CD-R/RW with MP3, WMA, or ASF files) onto the spindle with the label side facing up.
- Close the disc cover firmly until it clicks.
- The player will read the disc and begin playback automatically or display the track list.
- Use the Play/Pause, Stop, Skip Forward, and Skip Backward buttons on the player or remote to control playback.
- Adjust volume using the Volume Up/Down buttons.
5.3 FM Tuner Operation
- Press the Mode button to switch to FM radio mode.
- Use the Seek/Tune buttons to scan for radio stations.
- Press the Preset button to save or recall favorite stations.
5.4 Using the Remote Control
The wired remote control provides convenient access to most player functions, including power, play/pause, stop, skip, volume, and mode selection. Refer to the remote control's button labels for specific functions.
6. Maintenance
6.1 Cleaning
- Wipe the player's exterior with a soft, dry cloth. Do not use abrasive cleaners or solvents.
- To clean the optical lens, use a specialized CD lens cleaning kit.
- Keep the disc tray free of dust and debris.
6.2 Storage
When not in use for extended periods, remove all batteries and store the player in a cool, dry place away from direct sunlight and extreme temperatures.
7. Troubleshooting
If you encounter problems with your iRiver SlimX iMP-550, refer to the following common issues and solutions:
| Problem | Possible Cause / Solution |
|---|---|
| Player does not power on. | Check battery installation and charge level. Ensure AC adapter is properly connected if using external power. |
| Disc does not play or skips. | Ensure the disc is clean and free of scratches. Verify the disc is inserted correctly. Close the disc cover completely. |
| No sound from earphones. | Check earphone connection. Adjust volume level. Ensure earphones are not damaged. |
| Poor FM reception. | Extend the earphone cable (which acts as an antenna). Move to an area with better signal. |
| Remote control not responding. | Ensure the remote control cable is securely connected to the player. |
8. Specifications
| Feature | Detail |
|---|---|
| Model Number | IMP-550 |
| Product Dimensions | 5.51 x 5.14 x 0.53 inches |
| Item Weight | 5.1 ounces |
| Supported Audio Formats | Audio CD, MP3, WMA, ASF |
| Skip Protection | 32 minutes |
| Tuner | Built-in Digital FM Tuner |
| Battery Life | Up to 55 hours (with external AA battery adapter) |
| Connectivity | Auxiliary, Optical Output |
| Color | Black |
| Manufacturer | iRiver |
| Date First Available | June 25, 2003 |
9. Warranty and Support
For warranty information and technical support, please refer to the warranty card included in your product packaging or visit the official iRiver support website. Keep your purchase receipt as proof of purchase for warranty claims.


