
1. Introduction
This manual provides comprehensive instructions for the setup, operation, and maintenance of your Memorex MVR2031 4-Head VCR. Please read this manual thoroughly before using your VCR to ensure proper functionality and to maximize your viewing and recording experience.
The Memorex MVR2031 is a 4-Head Video Cassette Recorder designed for reliable playback and recording of VHS tapes. Key features include a 181-channel tuner, auto channel programming, and advanced playback functions such as Index Search, Skip Search, Still Frame, and Picture Search. It also offers a trilingual on-screen display (English, Spanish, French) and Digital Auto Tracking for optimal picture quality.
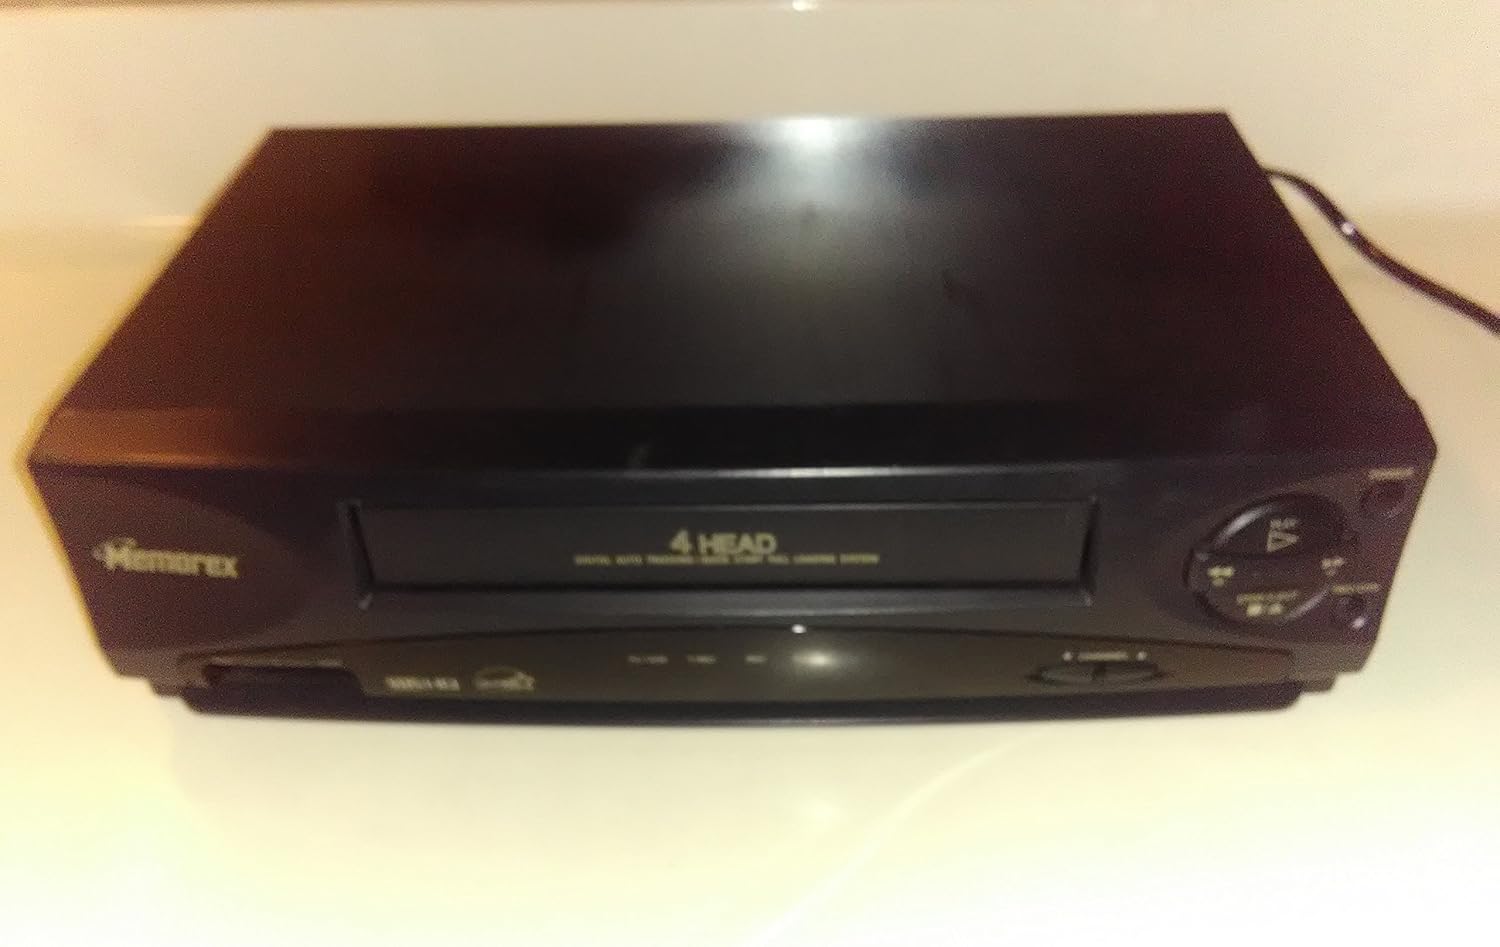
Figure 1.1: Front view of the Memorex MVR2031 4-Head VCR. This image shows the front panel of the VCR, including the tape slot, control buttons, and the Memorex branding.
Figure 1.2: Side view of the Memorex MVR2031 VCR. This image provides a perspective of the VCR's side profile, showing its compact design.
2. Setup
2.1 Unpacking
Carefully remove the VCR and all accessories from the packaging. Retain the packaging materials for future transport or storage.
2.2 Connecting to a Television
The Memorex MVR2031 VCR can be connected to your television using either an RF coaxial cable (for antenna/cable input) or RCA audio/video cables for higher quality. Ensure both the VCR and TV are powered off before making connections.

Figure 2.1: Rear view of the Memorex MVR2031 VCR. This image displays the back panel of the VCR, highlighting the various input and output ports, including the coaxial antenna input/output and RCA audio/video jacks.
2.2.1 RF Coaxial Connection (Antenna/Cable)
- Connect your antenna or cable TV line to the ANT IN (or CABLE IN) coaxial input on the back of the VCR.
- Connect a second coaxial cable from the TV OUT (or RF OUT) coaxial output on the VCR to the ANT IN (or CABLE IN) coaxial input on your television.
- Tune your television to channel 3 or 4 (whichever is not in use in your area) to receive the VCR's signal.
2.2.2 RCA Audio/Video Connection
- Connect the yellow video cable from the VIDEO OUT jack on the VCR to the VIDEO IN jack on your television.
- Connect the white audio cable from the AUDIO L OUT jack on the VCR to the AUDIO L IN jack on your television.
- Connect the red audio cable from the AUDIO R OUT jack on the VCR to the AUDIO R IN jack on your television.
- Select the appropriate A/V input channel on your television (e.g., Video 1, AV1, Input 1).
2.3 Power Connection
Plug the VCR's power cord into a standard AC electrical outlet (120V, 60Hz).
2.4 Initial Setup and Auto Channel Programming
Upon first power-up, the VCR may prompt you to perform initial setup steps, including language selection and auto channel programming. Follow the on-screen instructions.
- Use the VCR's remote control or front panel buttons to navigate the on-screen menu.
- Select your preferred language (English, Spanish, or French).
- Initiate the Auto Channel Programming function to scan and store available broadcast channels. The VCR features a 181-channel tuner.
3. Operating Instructions
3.1 Loading and Ejecting Tapes
- Loading: Insert a VHS cassette into the tape slot with the tape window facing forward until the VCR automatically pulls it in.
- Ejecting: Press the EJECT button on the VCR or remote control.
3.2 Playback Functions
- PLAY: Press the PLAY button to begin tape playback.
- PAUSE/STILL: Press PAUSE during playback to freeze the image. Press again to resume.
- FAST FORWARD (FF) / REWIND (REW): Use these buttons to quickly advance or rewind the tape.
- PICTURE SEARCH: While in FF or REW, press PLAY to view the picture at high speed.
- INDEX SEARCH: Locates the beginning of a recorded program marked with an index signal.
- SKIP SEARCH: Allows you to jump forward in short increments (e.g., 30 seconds or 1 minute) during playback.
- DIGITAL AUTO TRACKING: The VCR automatically adjusts tracking for optimal picture quality during playback. If manual adjustment is needed, refer to the remote control functions.
3.3 Recording
3.3.1 One-Touch Recording (OTR)
With a blank or recordable tape inserted, press the REC button once to start recording. Each subsequent press typically adds 30 minutes to the recording time. Press STOP to end recording.
3.3.2 Timer Recording
Refer to the on-screen menu for setting up timer recordings. This typically involves setting the start time, end time, channel, and recording frequency (e.g., once, daily, weekly).
3.4 On-Screen Display (OSD)
The Memorex MVR2031 features a trilingual on-screen display, allowing you to view menus and settings in English, Spanish, or French. Access the OSD via the MENU button on your remote control and navigate using the arrow keys.
4. Maintenance
4.1 Cleaning the VCR
- Exterior: Wipe the exterior of the VCR with a soft, dry cloth. For stubborn stains, use a slightly damp cloth with a mild detergent, then wipe dry. Avoid abrasive cleaners or solvents.
- Tape Heads: Regular cleaning of the VCR's tape heads is recommended to maintain optimal picture and sound quality. Use a commercially available VCR head cleaning cassette according to its instructions.
4.2 Tape Care
- Store VHS tapes in their cases, away from direct sunlight, extreme temperatures, and strong magnetic fields.
- Avoid touching the tape surface.
- Rewind tapes fully after viewing to prevent damage.
5. Troubleshooting
Before contacting customer support, please refer to the following common issues and solutions:
| Problem | Possible Cause | Solution |
|---|---|---|
| No power | Power cord unplugged; Power outlet not active | Ensure power cord is securely plugged in; Check power outlet with another device. |
| No picture or sound | Incorrect TV input selected; Loose A/V cables; Incorrect TV channel (RF connection) | Select the correct A/V input on your TV; Check all cable connections; Tune TV to channel 3 or 4. |
| Poor picture quality (snowy/distorted) | Dirty VCR heads; Poor antenna signal; Tracking issues | Clean VCR heads with a cleaning cassette; Adjust antenna position; Use Digital Auto Tracking or manual tracking adjustment. |
| Tape will not load/eject | Tape jammed; Power issue | Do not force the tape. Power cycle the VCR (unplug, wait 30 seconds, plug back in). If issue persists, seek professional service. |
| Remote control not working | Dead batteries; Obstruction between remote and VCR | Replace batteries; Ensure clear line of sight to VCR's IR sensor. |
6. Specifications
The following are the technical specifications for the Memorex MVR2031 VCR:
| Feature | Detail |
|---|---|
| Brand Name | Memorex |
| Model Number | MVR2031 |
| Heads | 4-Head |
| Channel Tuner | 181 Channel Tuner with Auto Channel Programming |
| On-Screen Display | Trilingual (English, Spanish, French) |
| Tracking | Digital Auto Tracking |
| Playback Features | Index Search, Skip Search, Still Frame, Picture Search |
| Item Weight | 6.9 pounds |
| Package Dimensions | 16.3 x 11.5 x 6.3 inches |
| ASIN | B00008N6Y5 |
| Date First Available | February 21, 2003 |
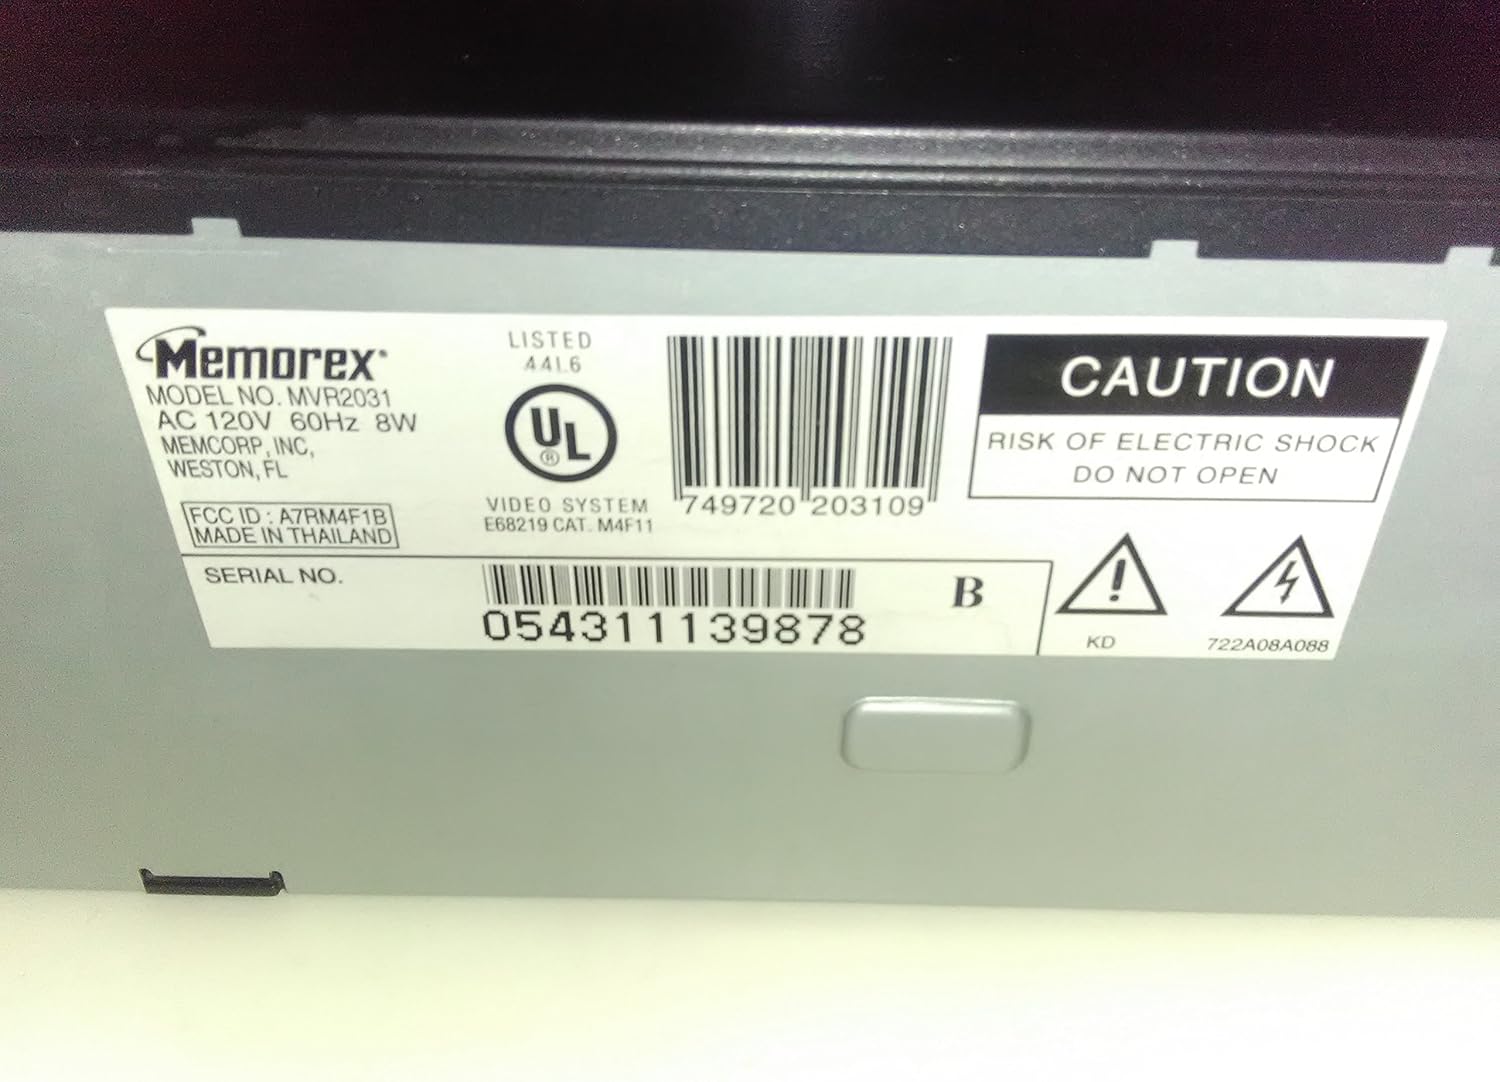
Figure 6.1: Close-up of the Memorex MVR2031 VCR's rear label. This label provides important product information including the model number (MVR2031), FCC ID, serial number (054311139878), and electrical specifications (AC 120V 60Hz 8W).
7. Important Information
7.1 Legal Disclaimer: Analog Broadcast Tuner
CONSUMER ALERT: This television receiver has only an analog broadcast tuner and will require a converter box after February 17, 2009 to receive over-the-air broadcasts with an antenna because of the U.S.'s transition to digital broadcasting. Analog-only TVs should continue to work as before with cable and satellite TV services, gaming consoles, VCRs, DVD players, and similar products. For more information, call the Federal Communications Commission at 1-888-225-5322 (TTY: 1-888-835-5322), or visit the commission's digital-television Web site at: www.dtv.gov.
8. Warranty and Support
For information regarding warranty coverage, please refer to the warranty card included with your product or contact Memorex customer support. Keep your purchase receipt as proof of purchase.
For technical assistance or service inquiries, please contact Memorex customer support. Contact details may be found on the official Memorex website or in the product packaging.