1. Introduction
This manual provides detailed instructions for the setup, operation, and maintenance of your Sony ICF-CD543RM AM/FM/TV/Weather Clock Radio/CD Player. Designed for under-cabinet mounting, this unit offers versatile audio entertainment and timekeeping functions. Please read this manual thoroughly before using the product to ensure proper operation and to maximize its features.
2. Safety Information
- Power Source: Connect the unit only to the specified power supply as indicated on the unit.
- Ventilation: Ensure adequate ventilation. Do not block ventilation openings.
- Water and Moisture: Do not expose the unit to rain or moisture to prevent fire or electric shock.
- Heat: Keep the unit away from heat sources such as radiators, heat registers, stoves, or other apparatus that produce heat.
- Cleaning: Unplug the unit from the wall outlet before cleaning. Use a soft, dry cloth. Do not use liquid cleaners or aerosol cleaners.
- Servicing: Do not attempt to service the unit yourself. Refer all servicing to qualified service personnel.
3. Package Contents
Verify that all items are present in the package:
- Sony ICF-CD543RM Clock Radio/CD Player Unit
- Remote Control with Refrigerator Magnet
- Mounting Hardware (screws, spacers)
- AC Power Cord
4. Setup
4.1 Under-Cabinet Mounting
The ICF-CD543RM is designed for convenient under-cabinet installation, saving counter space. Use the provided mounting hardware to securely attach the unit to the underside of a kitchen cabinet. Ensure the mounting surface is sturdy enough to support the unit's weight.
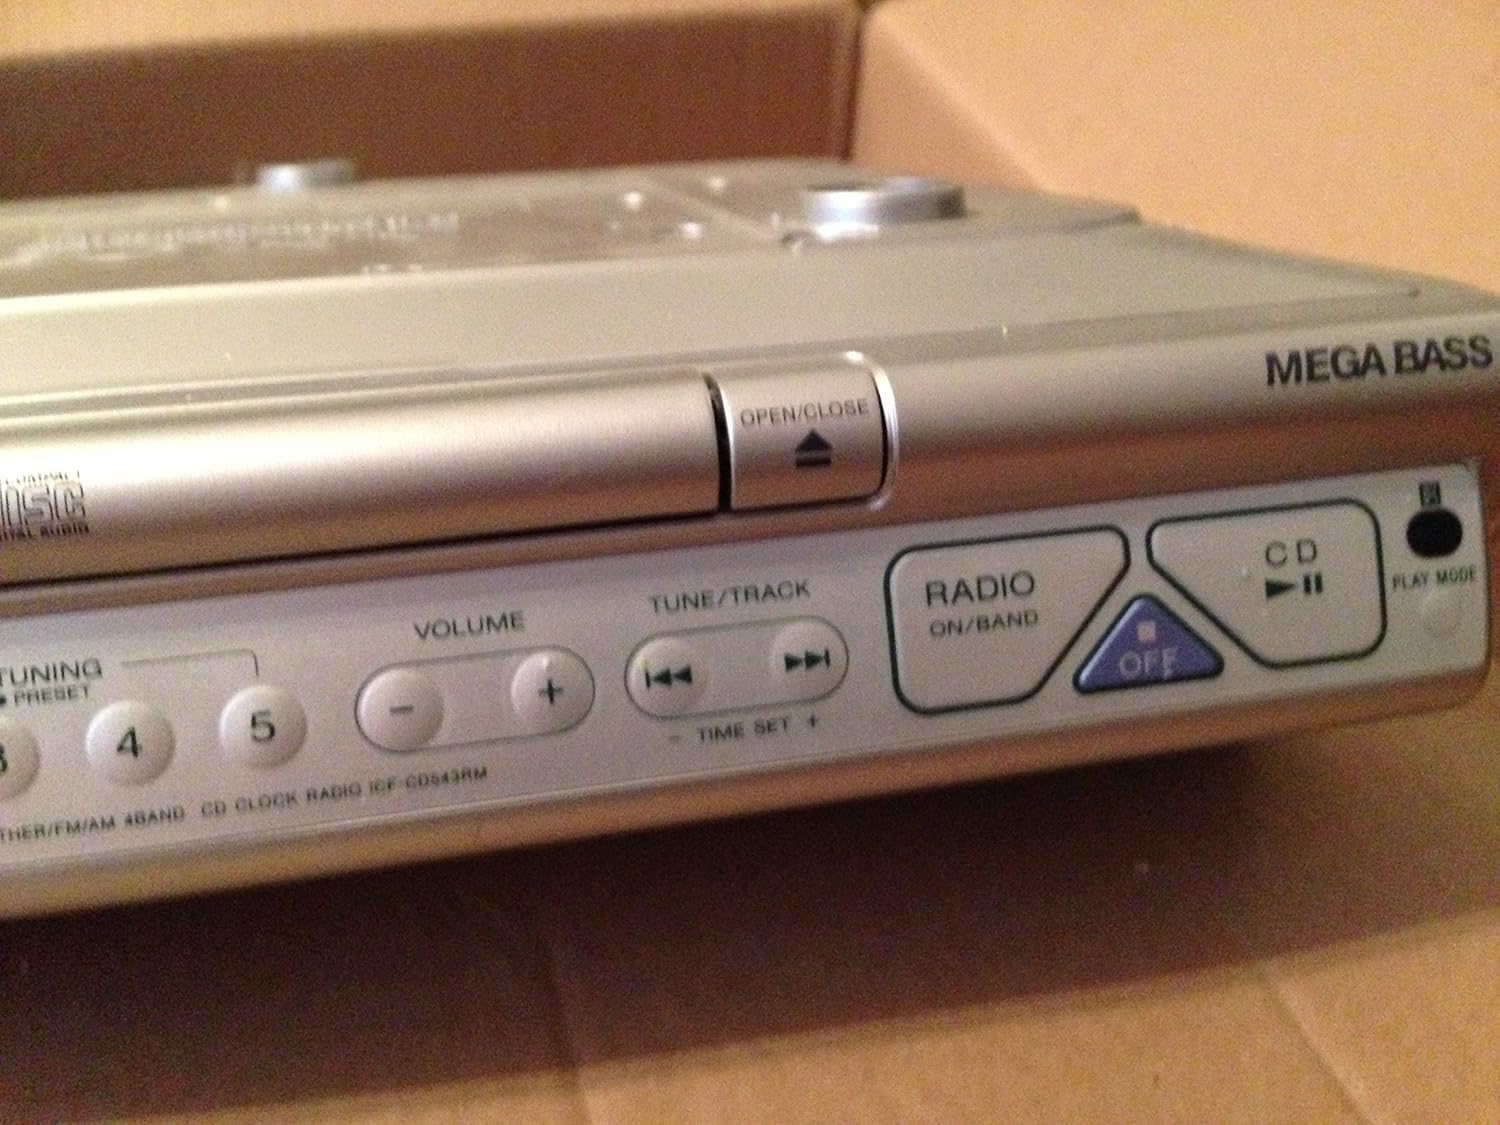
Image 1: The Sony ICF-CD543RM unit with its remote control, showcasing its compact design suitable for under-cabinet installation.
4.2 Power Connection
After mounting, connect the AC power cord to the unit and then plug it into a standard wall outlet. The display will illuminate, indicating the unit is receiving power.
4.3 Initial Clock Setting
Upon first power-up or after a power interruption, the clock display may flash. Refer to Section 5.1 for detailed instructions on setting the current time.
5. Operating Instructions
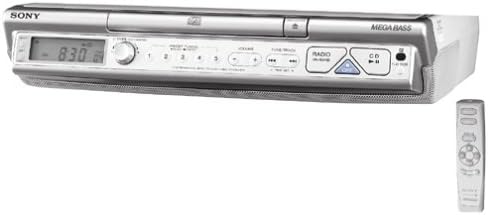
Image 2: A close-up view of the control panel on the Sony ICF-CD543RM, showing buttons for volume, tuning, CD functions, and power.
5.1 Setting the Clock and Timer
- To Set Time: Press and hold the 'TIME SET +' button. While holding, use the 'TUNE/TRACK' buttons (◀◀ / ▶▶) to adjust the hour, then release and press 'TIME SET +' again to adjust minutes.
- Kitchen Timer: Press the 'KITCHEN TIMER' button repeatedly to cycle through preset timer durations (e.g., 1 min, 5 min, 10 min). Press and hold to set a custom time.
5.2 Radio Operation
- Power On/Off: Press the 'RADIO ON/BAND' button to turn on the radio. Press 'OFF' to turn it off.
- Select Band: Press 'RADIO ON/BAND' repeatedly to cycle through AM, FM, TV, and Weather bands.
- Tuning: Use the 'TUNE/TRACK' buttons (◀◀ / ▶▶) to manually tune to a station. Press and hold for automatic scanning.
- Presets: To save a station, tune to the desired frequency, then press and hold one of the numbered preset buttons (1-5) until you hear a beep. To recall a preset, simply press the corresponding numbered button.
5.3 CD Player Operation
- Open/Close CD Tray: Press the 'OPEN/CLOSE' button located on the front panel to open or close the CD tray.
- Insert CD: Place a CD with the label side facing up into the tray. Close the tray.
- Play/Pause: Press the 'CD ▶II' button to start or pause CD playback.
- Skip Tracks: Use the 'TUNE/TRACK' buttons (◀◀ / ▶▶) to skip to the previous or next track.
5.4 Remote Control Usage
The supplied remote control allows for convenient operation from a distance. It features a magnetic backing for easy storage on metallic surfaces like a refrigerator. All primary functions (power, volume, tuning, CD control, clock set) can be accessed via the remote.
6. Maintenance
- Cleaning the Unit: Wipe the exterior of the unit with a soft, dry cloth. For stubborn stains, lightly dampen the cloth with water or a mild detergent. Avoid abrasive cleaners.
- CD Lens Care: Do not touch the CD lens. If the CD player malfunctions, try using a commercially available CD lens cleaner.
- Remote Control: Replace batteries in the remote control when its operating range decreases.
7. Troubleshooting
| Problem | Solution |
|---|---|
| Unit does not power on. | Check if the AC power cord is securely plugged into both the unit and a working wall outlet. |
| Clock display is flashing or incorrect. | Set the clock manually using the 'TIME SET +' and 'TUNE/TRACK' buttons as described in Section 5.1. |
| Poor radio reception (static). | Extend and adjust the antenna for optimal reception. Try repositioning the unit slightly. Ensure no large metal objects are interfering. |
| CD does not play or skips. | Ensure the CD is clean and free of scratches. Insert the CD correctly with the label side up. Try a different CD. |
| Remote control not working. | Check and replace the batteries in the remote control. Ensure there are no obstructions between the remote and the unit's sensor. |
8. Specifications
- Model: ICF-CD543RM
- Brand: Sony
- Dimensions (L x W x H): 16.14 x 13.78 x 3.46 inches (approximately)
- Item Weight: 6.39 pounds (approximately)
- Connectivity Technology: Auxiliary, Infrared (for remote)
- Speaker Type: Stereo
- Tuner: 4-Band Digital Tuner (AM/FM/TV/Weather)
- CD Player: Integrated
- Special Features: Under Cabinet Design, Kitchen Timer, Magnetic Remote Control
9. Warranty and Support
For warranty information and customer support, please refer to the warranty card included with your product or visit the official Sony support website. Keep your proof of purchase for any warranty claims.
Sony Customer Support: For further assistance, please contact Sony customer service through their official channels.


