Inleiding
This manual provides detailed instructions for the installation, operation, and maintenance of your GIGABYTE B860M GAMING X WIFI6E Motherboard. Please read this manual thoroughly before installing or using the product to ensure correct operation and to prevent damage.
The GIGABYTE B860M GAMING X WIFI6E Motherboard is designed to support Intel Core Ultra Series CPUs, featuring a robust power delivery system, DDR5 memory support, and advanced connectivity options including PCIe 5.0, M.2, 2.5GbE LAN, WIFI 6E, and USB 4.
Opstelgids
1. Uitpak en inspeksie
Carefully remove the motherboard from its packaging. Inspect for any signs of damage during transit. Ensure all accessories listed in the package contents are present.
- GIGABYTE B860M GAMING X WIFI6E Motherboard
- SATA kabels
- Wi-Fi-antenne
- Gebruikershandleiding (hierdie dokument)
- Bestuurder-CD/USB (indien ingesluit)
2. Motherboard Layout Overview
Maak jouself vertroud met die belangrikste komponente en verbindings op die moederbord.
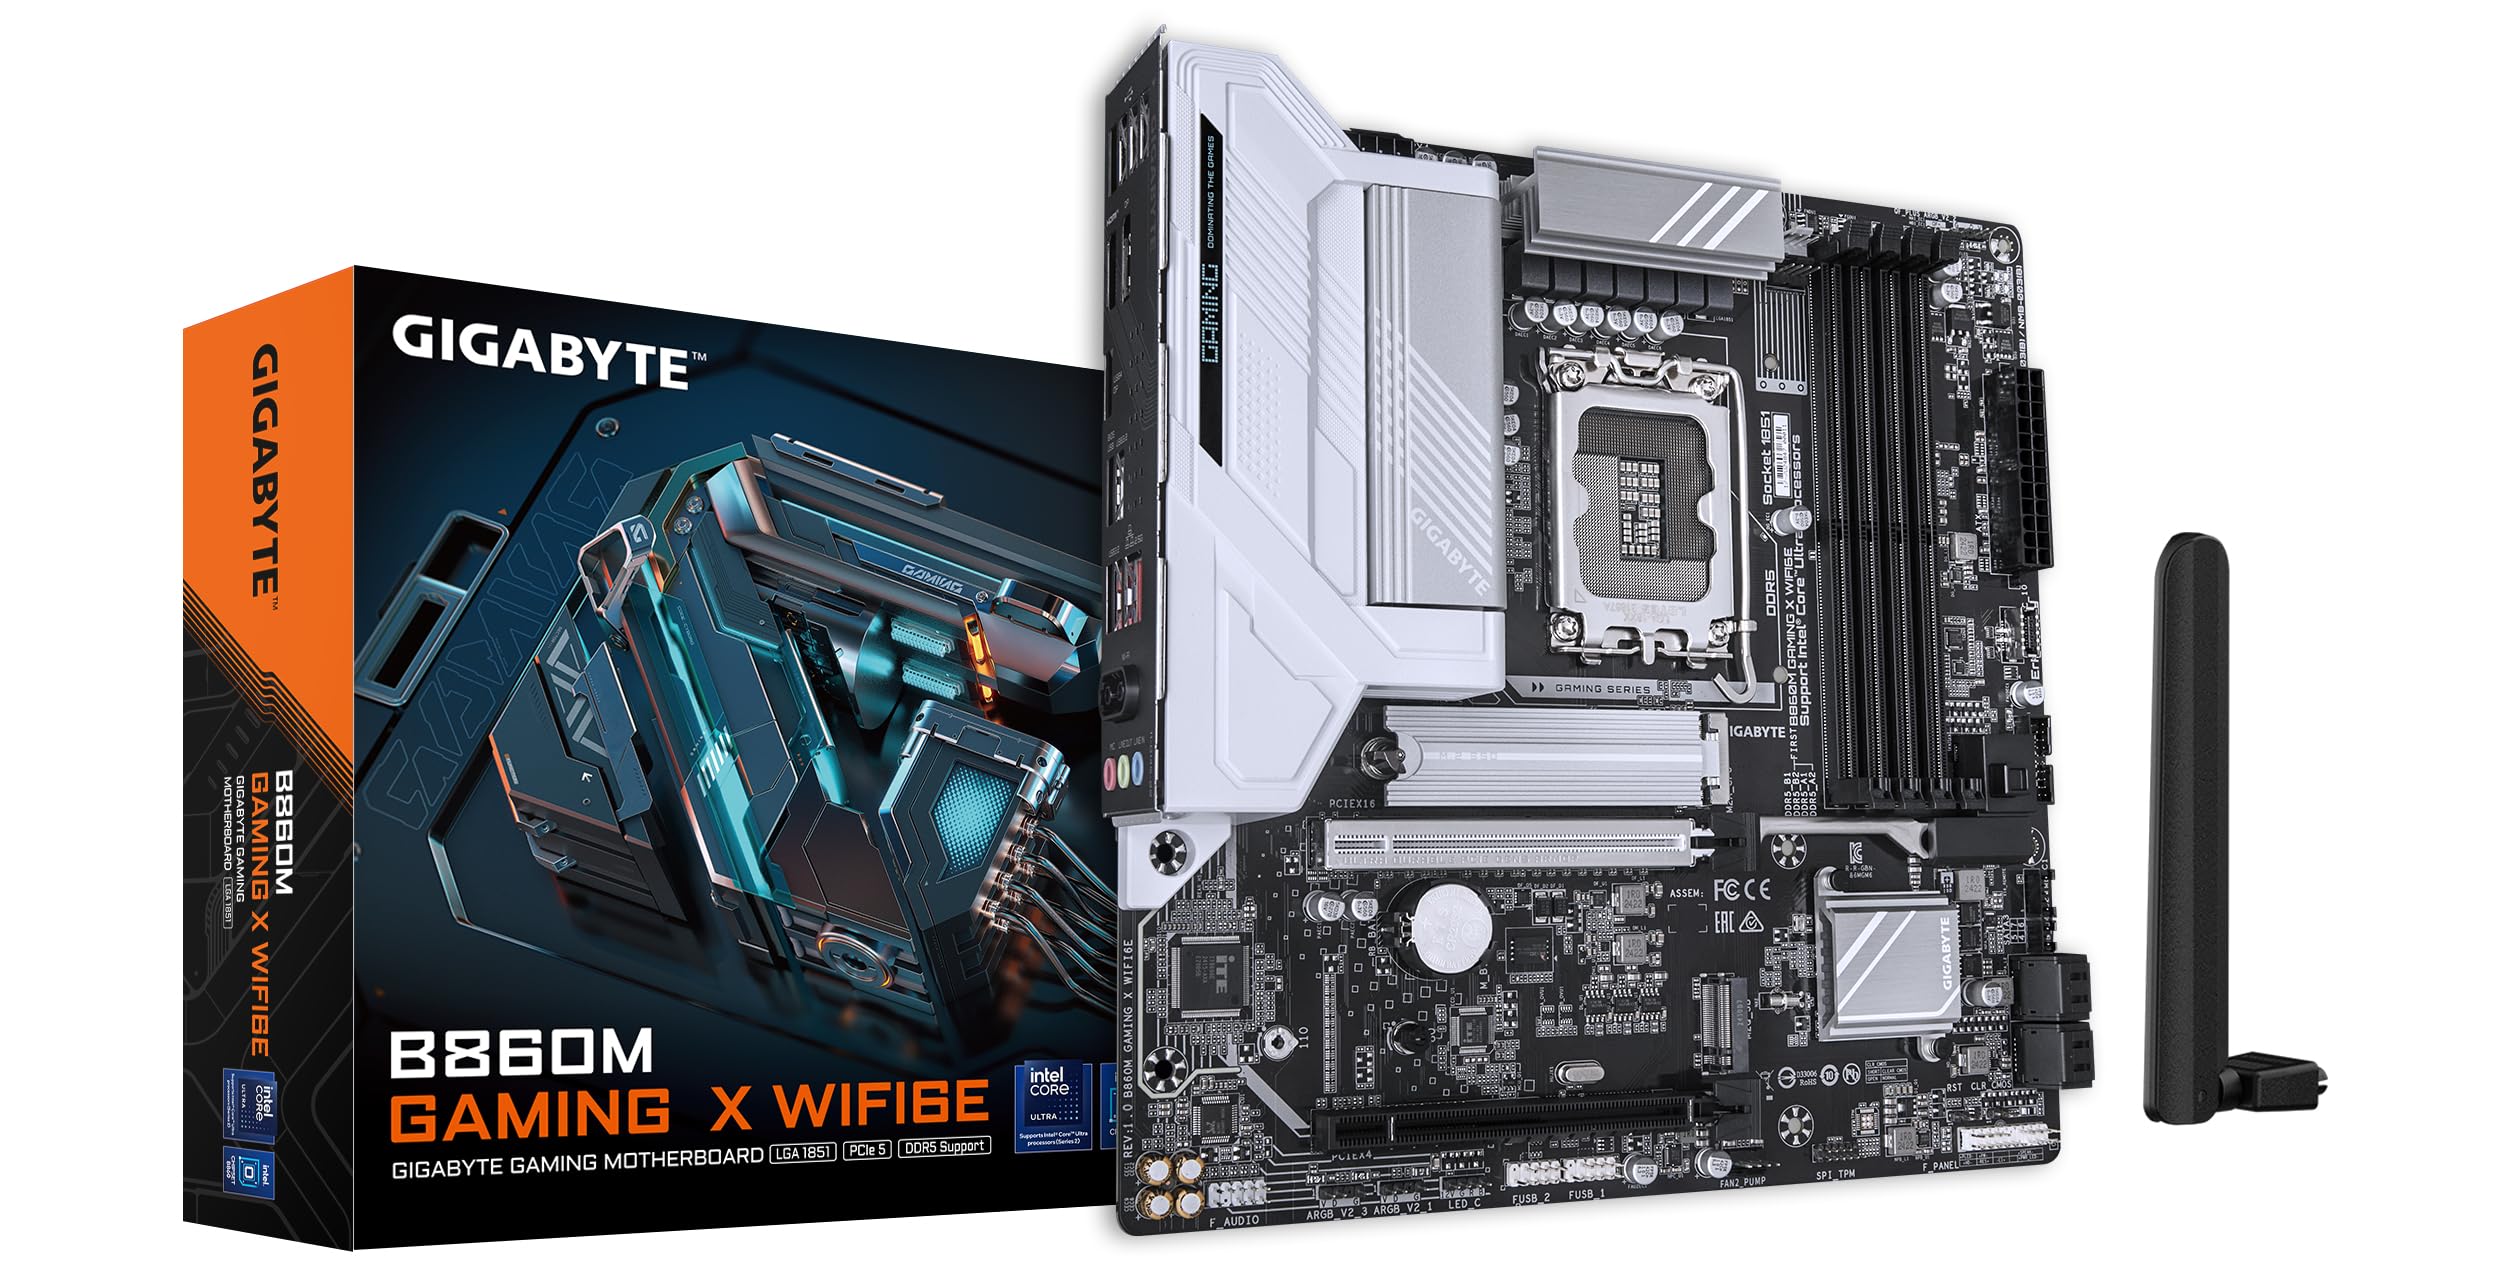
Beeld: Bo-onder view of the GIGABYTE B860M GAMING X WIFI6E Motherboard, highlighting the CPU socket, DDR5 DIMM slots, PCIe slots, and M.2 slots.

Beeld: Hoekig view of the GIGABYTE B860M GAMING X WIFI6E Motherboard, showing the heatsinks and overall board design.
3. SVE-installasie (LGA 1851)
- Maak die hefboom van die SVE-sokkel oop.
- Rig die SVE met die sok, en maak seker dat die driehoekige merk op die SVE ooreenstem met die merk op die sok.
- Plaas die SVE versigtig in die sok sonder om dit te forseer.
- Maak die sokhefboom toe om die SVE vas te maak.
4. Geheue (DDR5) Installasie
- Maak die knippies aan beide kante van die DIMM-gleuf oop.
- Rig die geheuemodule met die gleuf en maak seker dat die kerf op die module ooreenstem met die sleutel in die gleuf.
- Druk stewig aan beide kante van die geheuemodule totdat die knippies in plek klik.
- For dual-channel operation, install modules in the recommended slots (refer to motherboard diagram for specific slots).
5. Installasie van bergingstoestelle (M.2 SSD's)
- Vind die M.2-gleuwe op die moederbord.
- Remove the M.2 heatsink and stand-off screw.
- Plaas die M.2 SSD skuins in die gleuf.
- Push down the SSD and secure it with the stand-off screw.
- Reattach the M.2 heatsink for thermal protection.
6. Graphics Card (PCIe 5.0) Installation
- Maak die grendel op die PCIe 5.0 x16-gleuf oop.
- Align your graphics card with the slot and press down firmly until it is fully seated and the latch closes.
- Bevestig die grafiese kaart aan jou rekenaarkas met skroewe.
7. Aansluiting van randapparatuur en krag
Connect the 24-pin ATX power connector and the 8-pin CPU power connector from your power supply to the motherboard. Connect front panel headers (power button, reset, USB, audio) according to the motherboard manual diagram. Install the Wi-Fi antenna to the rear I/O panel.

Image: Rear I/O panel of the GIGABYTE B860M GAMING X WIFI6E Motherboard, showing USB ports, HDMI, DisplayPort, 2.5GbE LAN, Wi-Fi antenna connectors, and audio jacks.
Bedryfsinstruksies
1. Eerste opstart en BIOS-opstelling
Nadat jy jou stelsel saamgestel het, skakel dit aan. Druk die DEL key during startup to enter the BIOS/UEFI setup utility. Here you can configure boot order, system time, and other advanced settings.
2. Bestuurder Installasie
Once the operating system is installed, install the necessary drivers for the motherboard components (chipset, LAN, Wi-Fi, audio, etc.). These can be found on the included driver disk/USB or downloaded from the official GIGABYTE webwebwerf.
3. Wi-Fi 6E Connectivity
Ensure the Wi-Fi antenna is securely connected. In your operating system's network settings, select the appropriate Wi-Fi 6E network and enter the password to connect.
4. Q-Flash Plus
The Q-Flash Plus feature allows you to update the BIOS without installing a CPU, memory, or graphics card. Download the latest BIOS file van die GIGABYTE website, rename it as instructed, and save it to a USB flash drive. Insert the USB drive into the designated Q-Flash Plus USB port on the rear I/O panel and press the Q-Flash Plus button.
Onderhoud
1. BIOS-opdaterings
Gaan gereeld die GIGABYTE na website for the latest BIOS updates. BIOS updates can improve system stability, performance, and add support for new hardware. Follow the instructions provided by GIGABYTE carefully when performing a BIOS update.
2. Dryweropdaterings
Keep your motherboard drivers updated to ensure optimal performance and compatibility. Download drivers only from the official GIGABYTE support page.
3. Skoonmaak
Periodically clean dust from the motherboard and components using compressed air. Ensure the system is powered off and unplugged before cleaning. Avoid using liquids or abrasive materials.
Probleemoplossing
1. Stelsel skakel nie aan nie
- Check all power connections (24-pin ATX, 8-pin CPU) are securely seated.
- Verify the power supply is functioning correctly.
- Ensure the front panel power button header is correctly connected.
2. Geen skermuitvoer nie
- Confirm the graphics card is properly seated in the PCIe slot and connected to the power supply (if required).
- Check that the monitor cable is securely connected to both the graphics card and the monitor.
- If using integrated graphics, ensure the monitor is connected to the motherboard's video output (HDMI/DisplayPort).
3. Stelselonstabiliteit of -ineenstortings
- Verify that all components (CPU, RAM, GPU) are correctly installed.
- Check for overheating issues; ensure CPU cooler and case fans are working.
- Dateer BIOS en alle drywers op na die nuutste weergawes.
- Test memory modules individually if you suspect RAM issues.
4. Wi-Fi-verbindingsprobleme
- Ensure the Wi-Fi antenna is securely attached to the rear I/O panel.
- Check if Wi-Fi drivers are installed correctly.
- Verify that the Wi-Fi module is enabled in the BIOS.
Spesifikasies
| Kenmerk | Detail |
|---|---|
| Model Naam | B860M GAMING X WIFI6E |
| CPU-sok | LGA 1851 |
| Versoenbare verwerkers | Intel Core Ultra Series CPUs |
| Chipset | Intel B860M |
| RAM geheue tegnologie | DDR5, Dual Channel (4 x DIMMs) |
| Max Memory Clock Speed | Tot 6400MHz (OC) |
| PCIe Slots | 1x PCIe 5.0 x16, 1x PCIe 4.0 |
| M.2 Slots | Multiple M.2 slots with Thermal Protection |
| LAN | 2.5 GbE LAN |
| Draadlose konneksie | Realtek 2x2 Wi-Fi 6E |
| USB-poorte | USB 4.0 Type-C, USB 3.2 Gen 2 Type-C, various USB 3.2/2.0 |
| VRM | Hybrid Digital 8+1+2+2 Phase 60A DrMOS |
| Afmetings | 9.61 x 9.61 x 1.38 duim |
| Item gewig | 2.65 pond |
Waarborg en Ondersteuning
GIGABYTE motherboards come with a limited warranty. Please refer to the official GIGABYTE website or your product packaging for specific warranty terms and conditions applicable to your region.
Vir tegniese ondersteuning, dryweraflaaie, BIOS-opdaterings en verdere produkinligting, besoek asseblief die amptelike GIGABYTE-ondersteuning. webwebwerf:
https://www.gigabyte.com/support
When contacting support, please have your motherboard model name (B860M GAMING X WIFI6E) and serial number ready.