Belangrike veiligheidsinstruksies
Lees asseblief alle instruksies sorgvuldig deur voordat u hierdie toestel gebruik. Versuim om hierdie instruksies te volg, kan lei tot elektriese skok, brand of ernstige besering.
- Verseker die kragtoevoer voltage stem ooreen met die gradering op die toestel.
- Moenie die toestel, koord of prop in water of ander vloeistowwe dompel nie.
- Unplug from the outlet when not in use, before cleaning, or when assembling/disassembling parts.
- Keep hands and utensils out of the bean hopper and grounds container during operation to prevent injury.
- Moenie enige toestel gebruik met 'n beskadigde koord of prop, of nadat die toestel wanfunksioneer of op enige manier beskadig is nie.
- Hierdie toestel is slegs vir huishoudelike gebruik. Moenie buite gebruik nie.
- Noukeurige toesig is nodig wanneer enige toestel deur of naby kinders gebruik word.
Produk verbyview
The SHARDOR Electric Flat Burr Coffee Grinder is designed to provide precise and consistent grinding for various coffee brewing methods. It features a digital display, multiple grind settings, and a flat burr grinding mechanism.
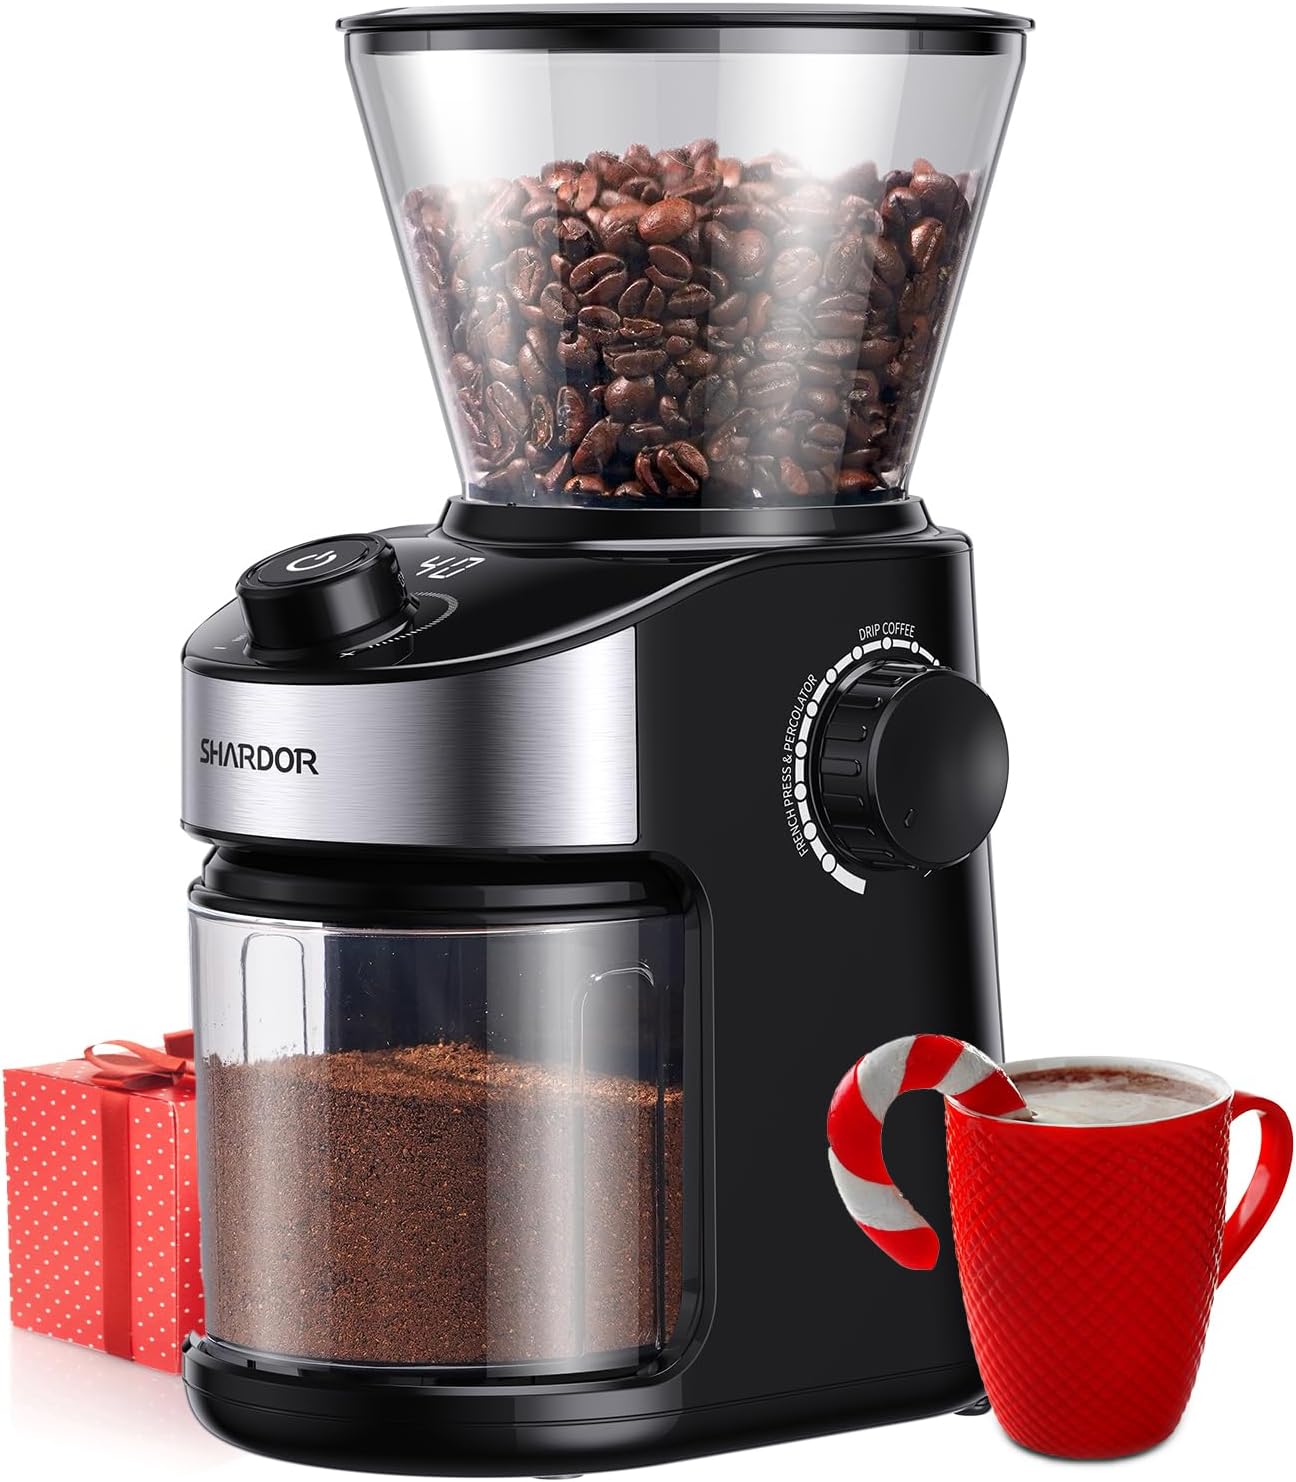
Image: The SHARDOR Electric Flat Burr Coffee Grinder, showcasing its main components including the bean hopper, control panel, and grounds container.
Opstelling
- Uitpak: Carefully remove all packaging materials and ensure all parts are present: main unit, bean hopper, grounds container, cleaning brush.
- Plasing: Place the grinder on a stable, flat, and dry surface. Ensure there is adequate space around the unit for ventilation.
- Installeer boontjiehouer: Align the bean hopper with the opening on the top of the main unit and twist clockwise until it locks securely into place.
- Install Grounds Container: Slide the grounds container into its designated slot at the front of the grinder. Ensure it is fully inserted.

Image: Illustration of how to correctly install the bean hopper onto the grinder's main unit.

Image: Illustration of how to correctly insert the grounds container into the grinder's base.
Bedryfsinstruksies
- Voeg koffiebone by: Open the lid of the bean hopper and pour whole roasted coffee beans into the hopper. Do not overfill.
- Kies Maalinstelling: Rotate the grind selector dial to choose your desired fineness. The grinder offers 25 precise grind settings, ranging from fine (1-8 for Espresso) to medium (9-16 for Drip Coffee/Pour Over) to coarse (17-25 for French Press).

Image: Close-up of the grind setting dial, illustrating the 25 available fineness levels for different brewing methods.
- Stel Slyptyd in: Use the digital timer control knob to set the desired grinding duration. The digital display will show the selected time in seconds. Adjust based on the amount of coffee needed.

Prent: View of the digital display showing the grinding time and the control knob for adjustment.
- Begin slyp: Press the start/stop button to begin the grinding process. The grinder will operate for the set duration. You can stop the grinding at any time by pressing the button again.
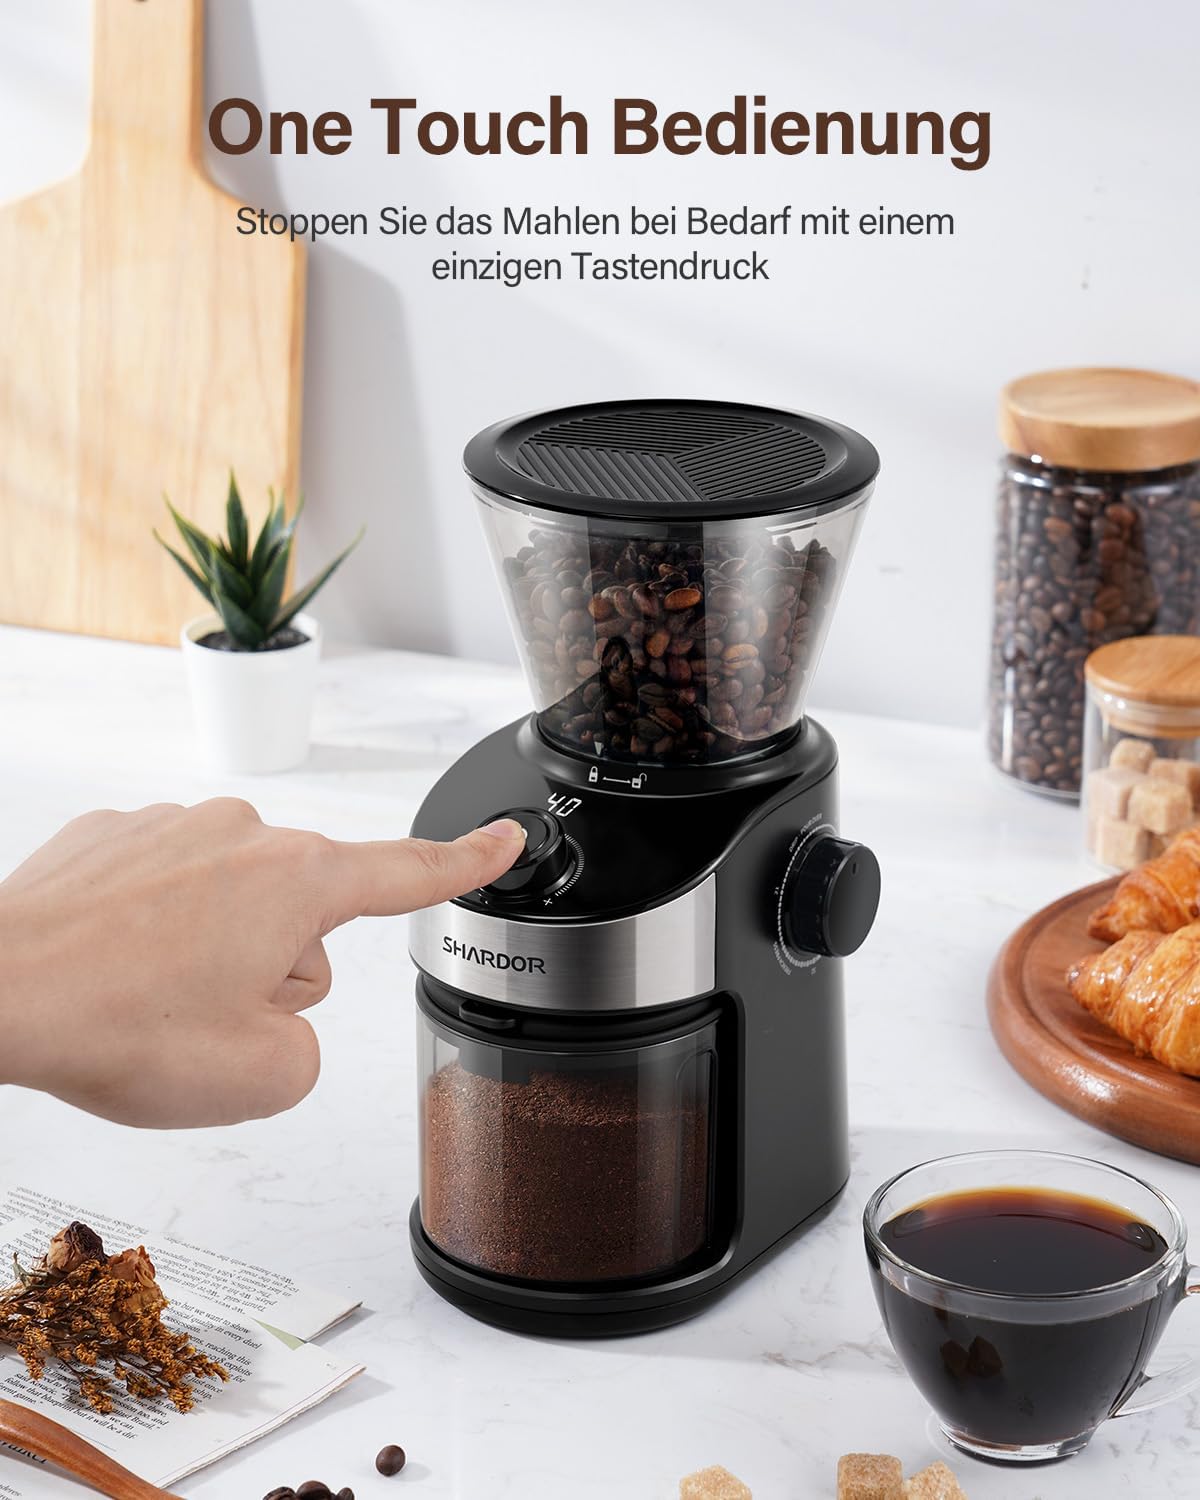
Image: A hand pressing the start button on the grinder, demonstrating the one-touch operation feature.
- Versamel gemaalde koffie: Once grinding is complete, carefully remove the grounds container to access your freshly ground coffee.
Onderhoud en Skoonmaak
Gereelde skoonmaak verseker optimale werkverrigting en verleng die lewensduur van jou slypmasjien.
- Ontkoppel: Ontkoppel altyd die slypmasjien uit die kragtoevoer voordat u dit skoonmaak.
- Remove Hopper and Container: Detach the bean hopper and grounds container. Empty any remaining beans or grounds.
- Clean Grounds Container: The grounds container can be washed with warm, soapy water. Dry thoroughly before reattaching. Note: Static electricity can cause coffee grounds to cling to the container. Wiping with a damp cloth or using an anti-static spray may help reduce this effect.
- Clean Burr Grinders:
- Remove the upper burr by twisting it counter-clockwise and lifting it out.
- Use the provided cleaning brush to remove any coffee residue from both the upper and lower burrs.
- Clean the grinding chamber with the brush.
- Reinsert the upper burr and twist clockwise until it locks into place.

Image: Demonstrates how to remove the upper burr from the grinder for thorough cleaning.

Image: A cleaning brush being used to remove coffee grounds from the burr mechanism.
- Vee buitekant af: Vee die buitekant van die slypmasjien af met adamp lap. Moenie skuur- of skuurmiddels gebruik nie.
Probleemoplossing
| Probleem | Moontlike oorsaak | Oplossing |
|---|---|---|
| Die slypmasjien begin nie. | Not plugged in; Hopper/container not correctly installed; Overheating protection activated. | Ensure plug is securely in outlet; Reinstall hopper and grounds container correctly; Allow unit to cool down for 20-30 minutes if used continuously. |
| Inkonsekwente slyp. | Burrs are dirty or worn; Incorrect grind setting for bean type. | Clean the burrs thoroughly; Adjust grind setting to a finer or coarser level as needed. |
| Excessive static electricity with grounds. | Natural occurrence with dry coffee grounds and plastic containers. | Liggies dampen the inside of the grounds container before grinding, or wipe with a damp cloth after grinding. Some users find anti-static sprays helpful. |
| Die slypmasjien stop tydens werking. | Overheating protection activated; Hopper is empty. | Allow the grinder to cool down. Avoid continuous grinding for extended periods. Refill the bean hopper. |
Spesifikasies
- Handelsmerk: SHARDOR
- Model: B0CD7CHBTL
- Produk afmetings: 16.51 x 12.7 x 24.63 cm
- Item gewig: 200 gram
- Maalinstellings: 25 levels (Espresso, Drip Coffee, French Press)
- Maalmeganisme: Platbraam
- Kenmerke: Digital Timer Display, Overheating Protection
Waarborg en Ondersteuning
SHARDOR products are manufactured to high-quality standards. For information regarding warranty coverage, please refer to the warranty card included with your purchase or visit the official SHARDOR website. If you encounter any issues or require technical assistance, please contact SHARDOR customer support through the contact information provided in your product packaging or on the brand's official channels.
Behou asseblief jou aankoopbewys vir waarborgeise.


