1. Inleiding
This manual provides detailed instructions for the setup, operation, and maintenance of your KOORUI 27E6QCA 27-inch Curved QHD 180Hz Gaming Monitor. Please read this manual thoroughly before using the product to ensure proper functionality and to prevent damage.
2. Pakketinhoud
Verifieer dat al die items wat hieronder gelys word, in u produkpakket teenwoordig is:
- 1 x KOORUI 27E6QCA Monitor
- 1 x Kragkabel
- 1 x DisplayPort (DP)-kabel
- 1 x Gebruikershandleiding
- 1 x kragadapter
- 1 x Monitor Stand
- 1 x Monitorbasis

Beeld: Voorkant view of the KOORUI 27E6QCA Curved Gaming Monitor, showcasing its 27-inch curved display and sleek design.
3. Produk verbyview
The KOORUI 27E6QCA is a 27-inch curved gaming monitor designed for an immersive visual experience. Key features include:
- Vertoon: 27-inch VA Panel with 1500R curvature.
- Resolusie: QHD (2560x1440) for clear and detailed images.
- Herlaaitempo: 180Hz vir gladde beweging.
- Reaksie Tyd: 1ms (MPRT) to minimize motion blur.
- Kleurspektrum: 85% DCI-P3 for rich and accurate colors.
- Aanpasbare sinkronisering: Compatible with Adaptive Sync technology to reduce screen tearing and stuttering.
- Oogbeskerming: Features like blue light filter and flicker-free technology for reduced eye strain.
- Verbinding: Multiple HDMI and DisplayPort inputs.
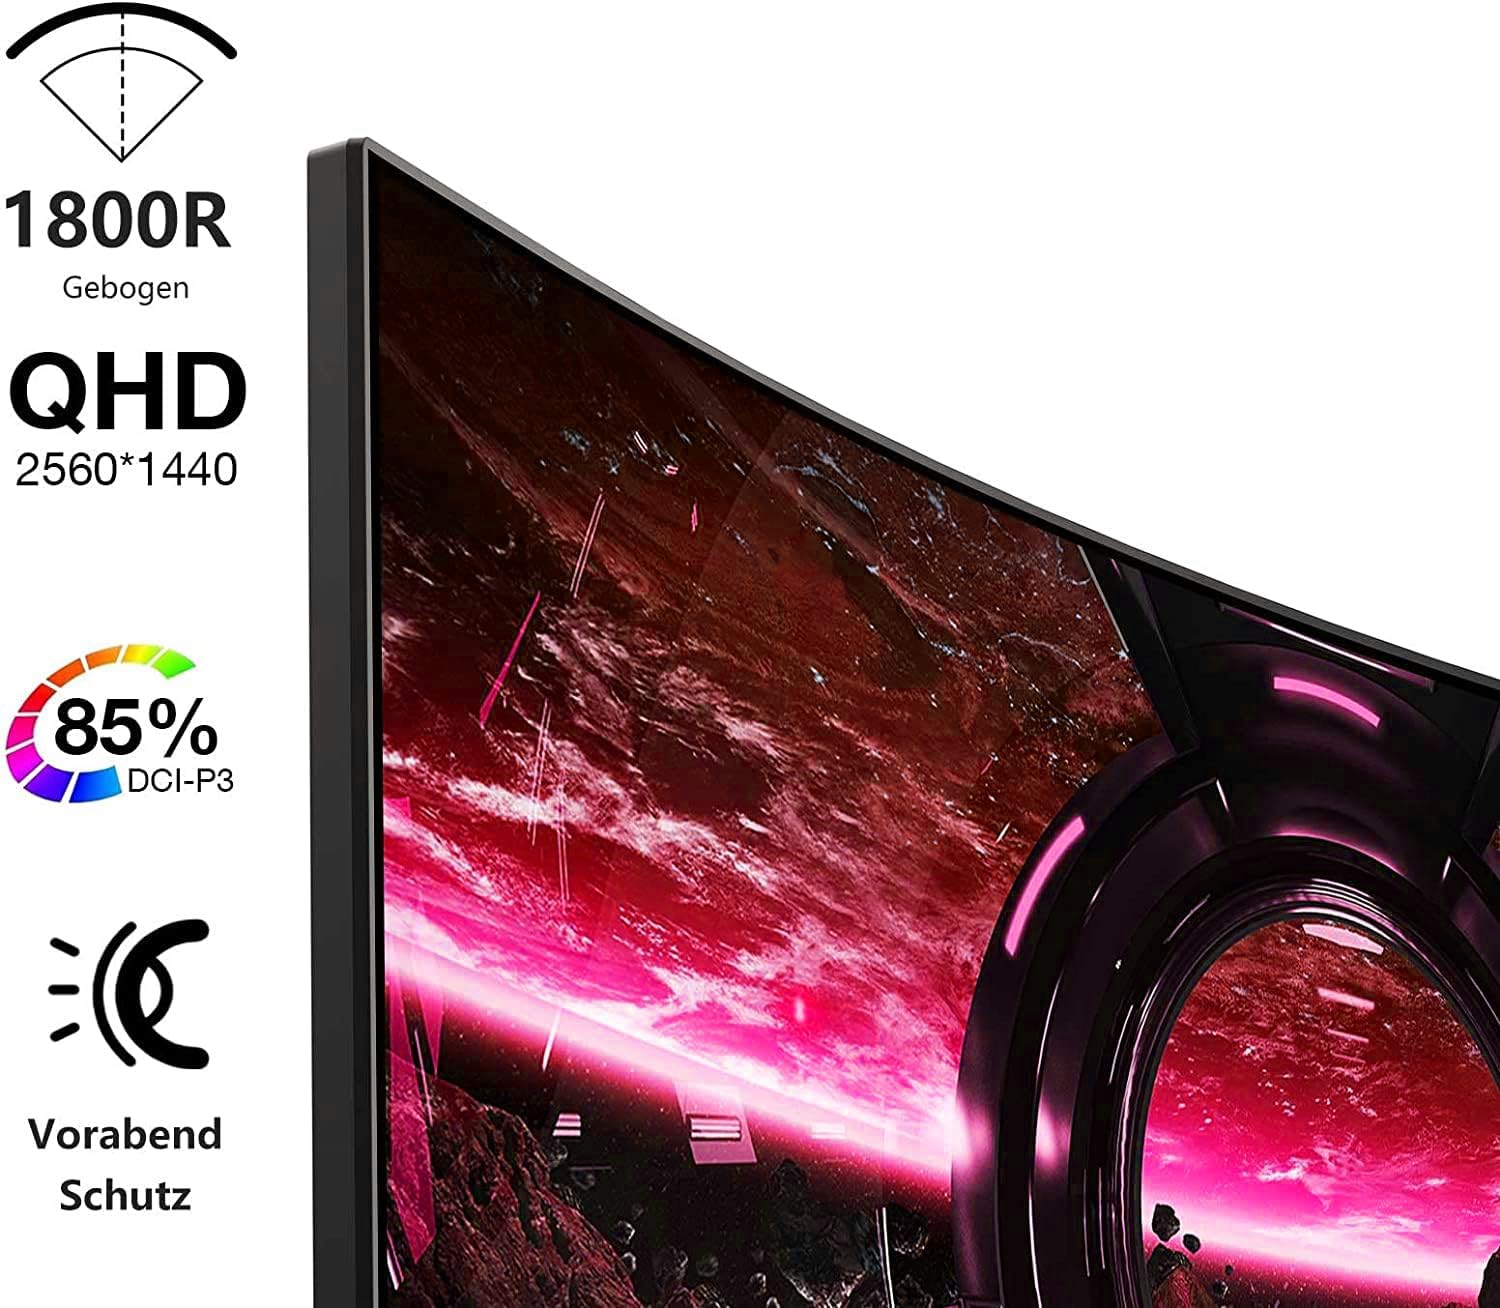
Image: Visual representation of the monitor's key features, including its 1500R curvature, QHD resolution (2560x1440), 85% DCI-P3 color coverage, and eye protection technology.
4. Opstelinstruksies
4.1 Montering van die Staanplek
- Carefully remove the monitor, stand, and base from the packaging.
- Attach the stand to the base, ensuring it clicks securely into place or is fastened with the provided screw.
- Attach the assembled stand to the back of the monitor. Ensure the connection is firm.

Beeld: Agter view of the KOORUI 27E6QCA monitor, showing the attachment point for the stand and the overall back panel design.
4.2 Koppel aan 'n Toestel
The monitor supports HDMI and DisplayPort connections. Use the appropriate cable for your device.
- DisplayPort (DP): Connect one end of the DP cable to the DisplayPort output on your computer's graphics card and the other end to the DisplayPort input on the monitor. This connection is recommended for achieving the full 180Hz refresh rate and QHD resolution.
- HDMI: Connect one end of an HDMI cable (version 1.4 or higher recommended) to the HDMI output on your device and the other end to one of the HDMI inputs on the monitor.
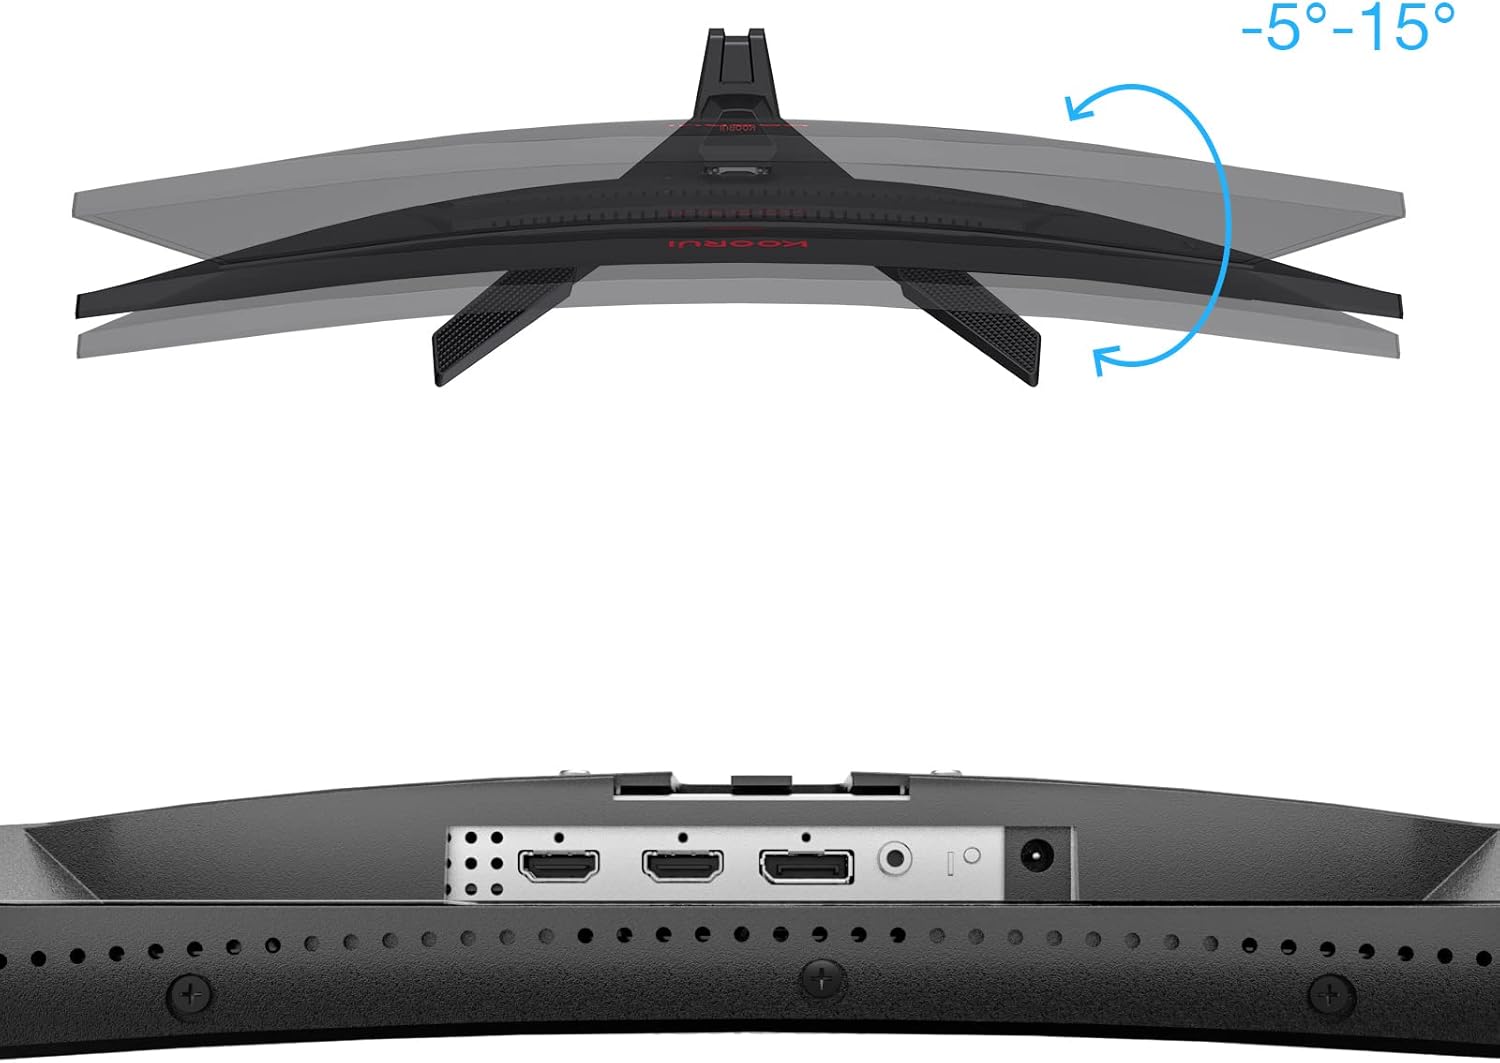
Beeld: Nabyskoot view of the monitor's rear ports, including HDMI and DisplayPort inputs, along with an illustration of the monitor's tilt adjustment range (-5° to 15°).

Image: Diagram illustrating the monitor's compatibility with various devices such as PS5, Xbox, Laptops, and Nintendo Switch via its multiple connection interfaces.
4.3 Kragverbinding
- Koppel die kragadapter aan die monitor se kragtoevoer.
- Plug the power cable into the power adapter, then plug the other end of the power cable into a wall outlet.
5. Bedryfsinstruksies
5.1 Krag aan/af
- Krag aan: Short press the multi-function joystick button located on the back of the monitor.
- Skakel af: Long press the multi-function joystick button for a few seconds.
5.2 Spyskaartnavigasie
The monitor features a single multi-function joystick button for navigating the On-Screen Display (OSD) menu.
- Access OSD: Short press the joystick button when the monitor is on.
- Navigeer: Push the joystick left/right/up/down to move through menu options.
- Bevestig: Druk die joystick-knoppie om 'n keuse te bevestig.
- Terugkeer: Push the joystick up to go back to the previous menu or exit the OSD.

Image: Diagram illustrating the functions of the multi-function joystick button on the rear of the monitor: long press for power off, short press for power on, push left for minus, push right for plus, push up for return, and press for confirm.
5.3 Vertooninstellings
Adjust various display settings through the OSD menu:
- Helderheid/kontras: Pas beeldhelderheid en onderskeiding aan.
- Kleurinstellings: Modify color temperature, gamma, and saturation.
- Prentmodus: Select from preset modes (e.g., Standard, Game, Movie, Text).
- Speletjie-instellings:
- Aanpasbare sinkronisering: Enable this feature to synchronize the monitor's refresh rate with your graphics card, reducing screen tearing and stuttering. Ensure your graphics card supports Adaptive Sync.
- Response Time (Overdrive): Adjust for faster pixel response, reducing ghosting.
- Spelmodusse: Specific modes like RTS, FPS, Reticle, and Timer are available to optimize visuals for different game genres.
- Invoerbron: Manually select between HDMI and DisplayPort inputs.
For optimal gaming performance, ensure your operating system's display settings are configured to the monitor's native resolution (2560x1440) and highest refresh rate (180Hz).
6. Onderhoud
Behoorlike onderhoud verseker die lang lewensduur en werkverrigting van jou monitor.
- Skoonmaak van die skerm:
- Skakel altyd die monitor af en ontkoppel die kragkabel voordat u dit skoonmaak.
- Gebruik 'n sagte, pluisvrye lap effens dampmet water of 'n gespesialiseerde skermreiniger afgespoel.
- Moenie skoonmaakmiddel direk op die skerm spuit nie.
- Vermy die gebruik van skuurmiddels, alkohol of ammoniak-gebaseerde oplossings.
- Maak die C skoonasing: Gebruik 'n sagte, droë lap om die monitor af te veeasing.
- Ventilasie: Maak seker dat die monitor se ventilasie-openinge nie geblokkeer is om oorverhitting te voorkom nie.
7. Probleemoplossing
Indien u probleme met u monitor ondervind, raadpleeg die volgende algemene stappe vir probleemoplossing:
7.1 Geen krag
- Maak seker dat die kragkabel stewig aan die monitor en die kragaansluiting gekoppel is.
- Verifieer dat die kragpunt funksioneer deur 'n ander toestel aan te sluit.
- Kyk of die kragadapter korrek gekoppel is.
7.2 Geen sein / Leë skerm
- Confirm that the video cable (DP or HDMI) is securely connected to both the monitor and your computer/device.
- Maak seker dat die korrekte invoerbron in die monitor se OSD-kieslys gekies is.
- Check if your computer/device is powered on and not in sleep mode.
- Probeer 'n ander videokabel of -poort indien beskikbaar.
7.3 Image Flickering or Tearing
- Enable Adaptive Sync in the monitor's OSD menu and ensure it is enabled in your graphics card settings.
- Verifieer dat jou grafiese drywers op datum is.
- Check the refresh rate setting in your operating system's display settings. It should be set to 180Hz.
7.4 Ghosting or Motion Blur
- Adjust the "Response Time" or "Overdrive" setting in the OSD menu. Experiment with different levels to find the optimal balance.
- Ensure Adaptive Sync is enabled.
7.5 Incorrect Resolution or Refresh Rate
- Go to your operating system's display settings and set the resolution to 2560x1440 and the refresh rate to 180Hz.
- Ensure you are using a DisplayPort cable or an HDMI cable that supports these specifications.
8. Spesifikasies
| Kenmerk | Spesifikasie |
|---|---|
| Handelsmerk | KOORUI |
| Modelnommer | 27E6QCA |
| Skerm grootte | 27 duim |
| Paneel tipe | VA |
| Kromming | 1500R |
| Resolusie | QHD (2560 x 1440 piksels) |
| Aspekverhouding | 16:9 |
| Herlaaitempo | 180 Hz |
| Reaksie Tyd | 1 millisecond (MPRT) |
| Kleur Omvang | 85% DCI-P3 |
| Kontrasverhouding | 2000:1 |
| Konnektiwiteit | HDMI (x1), DisplayPort (x1) |
| Kantelverstelling | -5° tot 15° |
| Kragverbruik | 78 watt |
| Afmetings (L x B x H) | 61.2 x 45.2 x 18.5 cm |
| Gewig | 5.1 kilogram |
| Spesiale kenmerke | Blue Light Filter, Curved, Flicker-Free, Adaptive Sync |

Image: Diagram showing the approximate dimensions of the KOORUI 27E6QCA monitor, including height (40cm), width (50cm), and depth (30cm).
9. Waarborg en Ondersteuning
For warranty information and technical support, please refer to the warranty card included in your product package or visit the official KOORUI webwebwerf. Bewaar u aankoopbewys as bewys van aankoop vir waarborgeise.


