1. Inleiding
This manual provides essential information for the safe and efficient operation of your InFocus IN112XV Presentation Projector. The IN112XV is designed for business presentations and educational use, offering a long lamp life, high brightness, and clear image quality.
- Verlengde Lamp Lewe: Enjoy over 15,000 hours of viewing.
- Hoë helderheid: 3800 lumens for clear images in various lighting conditions.
- Kontrasverhouding: 26000:1 for distinct whites and blacks.
- Buigsaam Viewing: Projects images from 28 inches to 300 inches diagonally.
- Verbinding: Features HDMI input and SVGA (800 x 600) resolution.
2. Pakketinhoud
Verifieer dat al die items wat hieronder gelys word, in jou pakket ingesluit is:
- InFocus IN112XV Projector
- Kragkoord
- Afstandbeheer
- VGA-kabel
- Dokumentasie (hierdie handleiding en ander gidse)
3. Produk verbyview
Familiarize yourself with the components and controls of your InFocus IN112XV projector.
3.1 Voorkant View
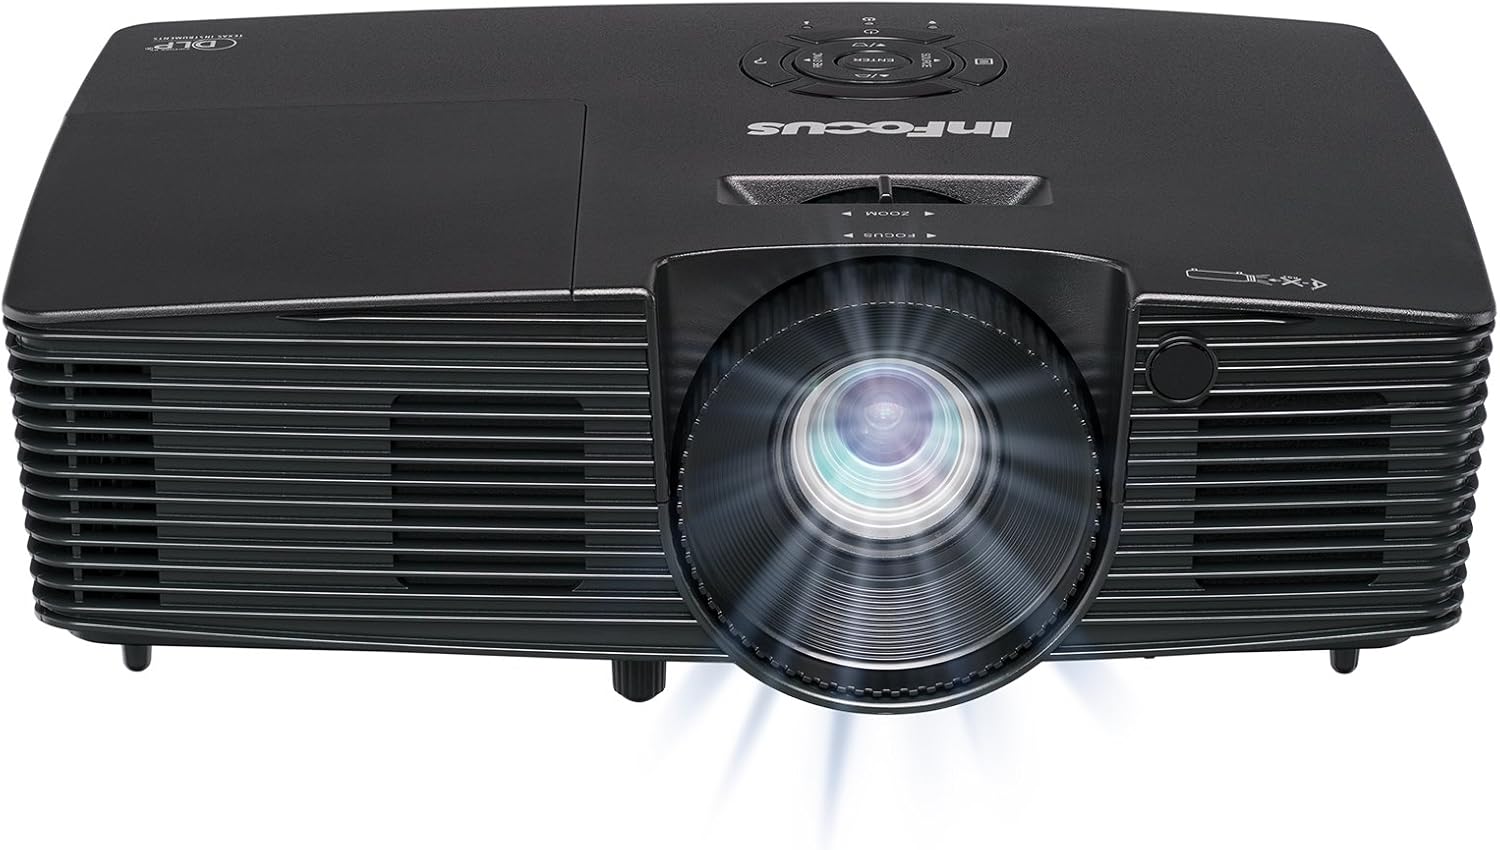
Prent 3.1: Voorkant view of the InFocus IN112XV projector. This image highlights the main projection lens and the front ventilation grilles.
3.2 Bo View en Beheerpaneel

Prent 3.2: Top view of the InFocus IN112XV projector. The control panel is visible on the right, featuring buttons for power, source selection, menu navigation, keystone adjustment, and volume. The focus and zoom adjustment rings are located around the lens.
The control panel on the top of the projector allows for basic operation without the remote. Key buttons include:
- Krag: Skakel die projektor aan of af.
- Bron: Blaai deur beskikbare invoerbronne.
- Spyskaart: Kry toegang tot die skermvertoning (OSD)-kieslys.
- Voer in: Bevestig keuses in die OSD-kieslys.
- Pyltjie sleutels: Navigate menu options and adjust settings.
- Re-Sync: Synchronizes the image.
3.3 Agter View and Connection Ports

Prent 3.3: Agter view of the InFocus IN112XV projector. This image displays the available connection ports, including Video In, S-Video In, Computer In (VGA), HDMI, and the power input.
The rear panel provides various ports for connecting external devices:
- Video in: For composite video sources.
- S-Video In: For S-Video sources.
- Computer In (VGA): For connecting to computers via VGA cable.
- HDMI: For digital video and audio sources.
- Diens: For service and maintenance purposes.
- Kragtoevoer: Connects the power cord to an electrical outlet.
3.4 afstandbeheer

Prent 3.4: Remote control for the InFocus IN112XV projector. The remote provides full control over the projector's functions, including power, source selection, menu navigation, keystone correction, and volume.
The remote control offers convenient access to all projector functions. Ensure batteries are correctly installed.
4. Opstelling
4.1 Plasing
Position the projector on a stable, flat surface or mount it securely. Ensure there is adequate space around the projector for ventilation.
4.2 Kragverbinding
- Koppel die kragkabel aan die projektor se kragtoevoerpoort.
- Steek die ander kant van die kragkabel in 'n geaarde elektriese aansluiting.
4.3 Koppeling van invoerbronne
The projector supports various input sources. Choose the appropriate cable for your device:
- HDMI: Connect an HDMI cable from your source device (e.g., laptop, media player) to the projector's HDMI port.
- VGA (Rekenaar-ingang): Connect a VGA cable from your computer to the projector's Computer In port. This is a plug-and-play connection.
- Video In / S-Video In: Use composite video or S-Video cables for older video sources.
- Mobiele toestelle: To connect an iPad or smartphone, a LightCast Key (sold separately) is required.
5. Bedryfsinstruksies
5.1 Aan-/afskakel
- Om aan te skakel: Druk die Krag button on the projector's control panel or the remote control. The power indicator light will change.
- Om af te skakel: Druk die Krag button again. A confirmation message may appear. Press again to confirm shutdown. Allow the projector to cool down before unplugging.
5.2 Kies 'n invoerbron
After connecting your source device, select the correct input:
- Druk die Bron button on the projector's control panel or the remote control to cycle through available inputs (HDMI, VGA, Video, S-Video).
- Alternatively, use the dedicated input buttons (HDMI, VGA, Video) on the remote control.
5.3 Adjusting Focus and Zoom
For a clear and appropriately sized image, adjust the lens rings:

Prent 5.1: Manual Focus Adjustment. This image illustrates the effect of adjusting the focus ring, transforming a blurry projection into a clear and sharp image.
- Fokus: Draai die Fokus ring on the projector lens until the image appears sharp and clear.
- Zoem: Draai die Zoem ring on the projector lens to adjust the size of the projected image.
5.4 Keystone-korreksie
If the projected image appears trapezoidal (wider at the top or bottom), use keystone correction to square it:
- Druk die Keystone+ or Keystone- buttons on the remote control to adjust the image geometry.
5.5 Spyskaartnavigasie
Access the On-Screen Display (OSD) menu for advanced settings:
- Druk die Spyskaart button on the remote or control panel.
- Gebruik die pyltjie sleutels om deur die kieslys opsies te navigeer.
- Druk Voer in to select an option or confirm a setting.
- Druk Spyskaart again to exit the OSD.
6. Onderhoud
6.1 Lamp Lewe
Die projektor lamp has an estimated life of over 15,000 hours. When the lamp reaches the end of its life, the projector may display a warning message or the image brightness may significantly decrease. Refer to the full service manual for lamp replacement procedures if necessary.
6.2 Skoonmaak
- Projektor Casing: Gebruik 'n sagte, droë lap om die buitekant van die projektor af te vee. Moenie skuurmiddels of oplosmiddels gebruik nie.
- Lens: Gently clean the lens with a lens cleaning cloth and specialized lens cleaning solution. Avoid touching the lens surface with your fingers.
- Ventilasie openinge: Periodically check and clean the ventilation openings to ensure proper airflow and prevent overheating. Use a soft brush or compressed air to remove dust.
7. Probleemoplossing
Hierdie afdeling behandel algemene probleme wat u met u projektor kan teëkom.
| Probleem | Moontlike oorsaak | Oplossing |
|---|---|---|
| Geen prent word vertoon nie |
|
|
| Beeld is vaag |
|
|
| Beeld is trapesiumvormig |
|
|
| Projector runs hot or smells of burning plastic |
|
|
| Geen oudio nie |
|
|
Belangrike nota: This projector is not recommended for high-definition movie viewing. While it can accept a 1080p input signal, it projects at its native SVGA (800 x 600) resolution.
8. Spesifikasies
| Kenmerk | Detail |
|---|---|
| Modelnommer | IN112XV |
| Vertoon tegnologie | DLP |
| Inheemse resolusie | SVGA (800 x 600) |
| Helderheid | 3800 Lumen |
| Kontrasverhouding | 26000:1 |
| Lamp Lewe | Tot 15,000 uur |
| Konnektiwiteit | HDMI, VGA (Computer In), Video In, S-Video In |
| Spesiale kenmerk | 3D-gereed |
| Aanbevole gebruike | Besigheid, Onderwys |
| Produk afmetings | 8.8 x 12.4 x 4 duim |
| Item gewig | 5.5 pond |
9. Waarborg en Ondersteuning
9.1 Waarborginligting
The InFocus IN112XV projector is backed by a 2 jaar waarborgHierdie waarborg dek defekte in materiaal en vakmanskap onder normale gebruik. Bewaar asseblief u bewys van aankoop vir waarborgeise.
9.2 Kliëntediens
For technical assistance, troubleshooting beyond this manual, or warranty service, please contact InFocus customer support. Contact information can typically be found on the official InFocus webwebwerf of in die dokumentasie wat by u produk ingesluit is.


