
Introduction
This manual provides essential information for the safe and effective operation of your Airepair 8 Gears Adjustable Handheld Spot Welder. Please read it thoroughly before using the device and keep it for future reference.
The Airepair Handheld Spot Welder is a compact and portable tool designed for various spot welding tasks, including electronics repair, battery pack assembly, and DIY projects. It features 8 adjustable power levels, detachable welding pins, and LED lighting for enhanced usability.
Safety Instructions
Always observe the following safety precautions to prevent injury or damage to the device:
- Ensure the device is fully charged before use to prevent performance issues.
- Do not operate the device if the welding pins are damaged or misaligned.
- Avoid prolonged high-power use to prevent overheating. If the device shuts down due to overheating, allow it to cool down completely before restarting.
- Keep the device away from flammable materials and liquids.
- Do not attempt to disassemble or modify the device beyond the instructions provided in this manual.
- Use appropriate personal protective equipment, such as safety glasses, when operating the spot welder.
- This device is equipped with multiple safety protections including surge protection, voltage regulation protection, short-circuit protection, low-temperature protection, high-temperature protection, overcharge protection, and over-discharge protection.
Package Contents
Verify that all items are present in your package:
- Main Unit (Handheld Spot Welder) × 1
- Type-C Charging Cable × 1
- Sandpaper × 1
- Nickel Coil × 1
- Welding Pins × 2
- Screwdriver × 1

Product Overview
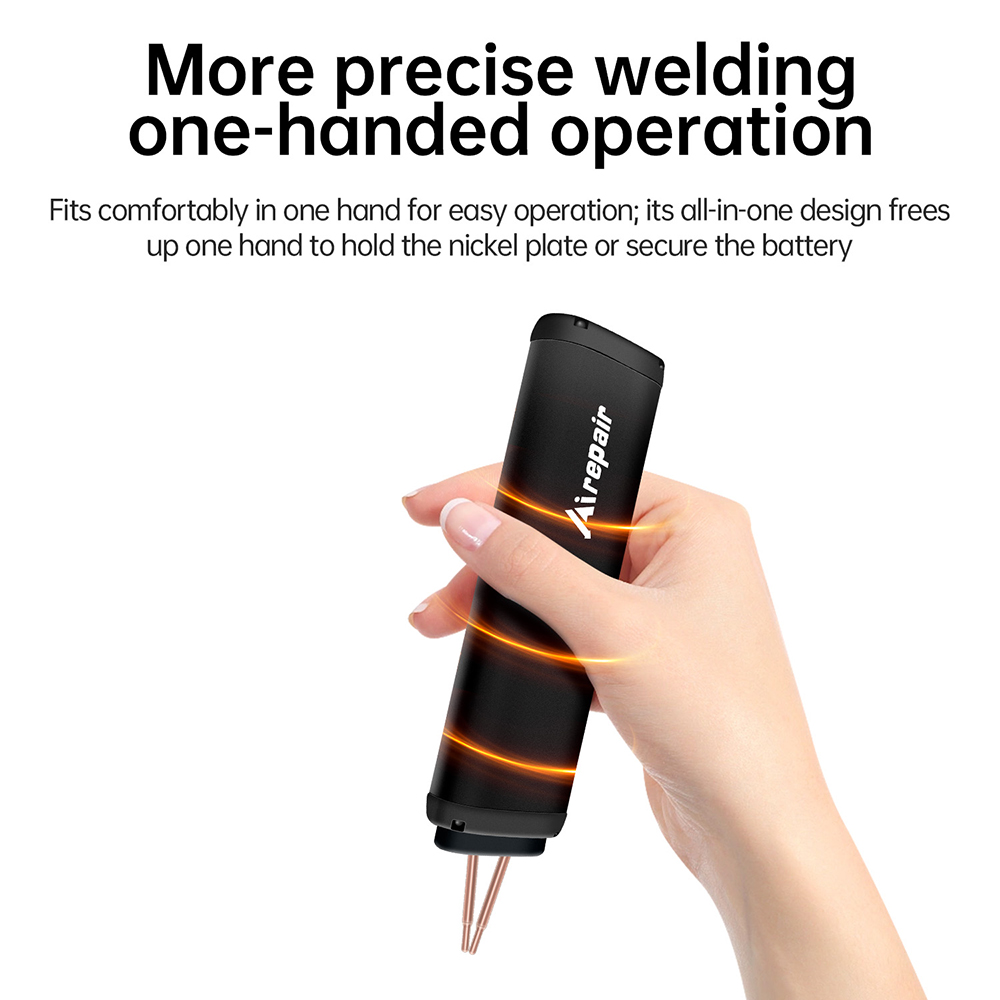
The Airepair Handheld Spot Welder is designed for portability and ease of use, featuring a robust metal housing and an ergonomic design for comfortable, one-handed operation.

Specifications
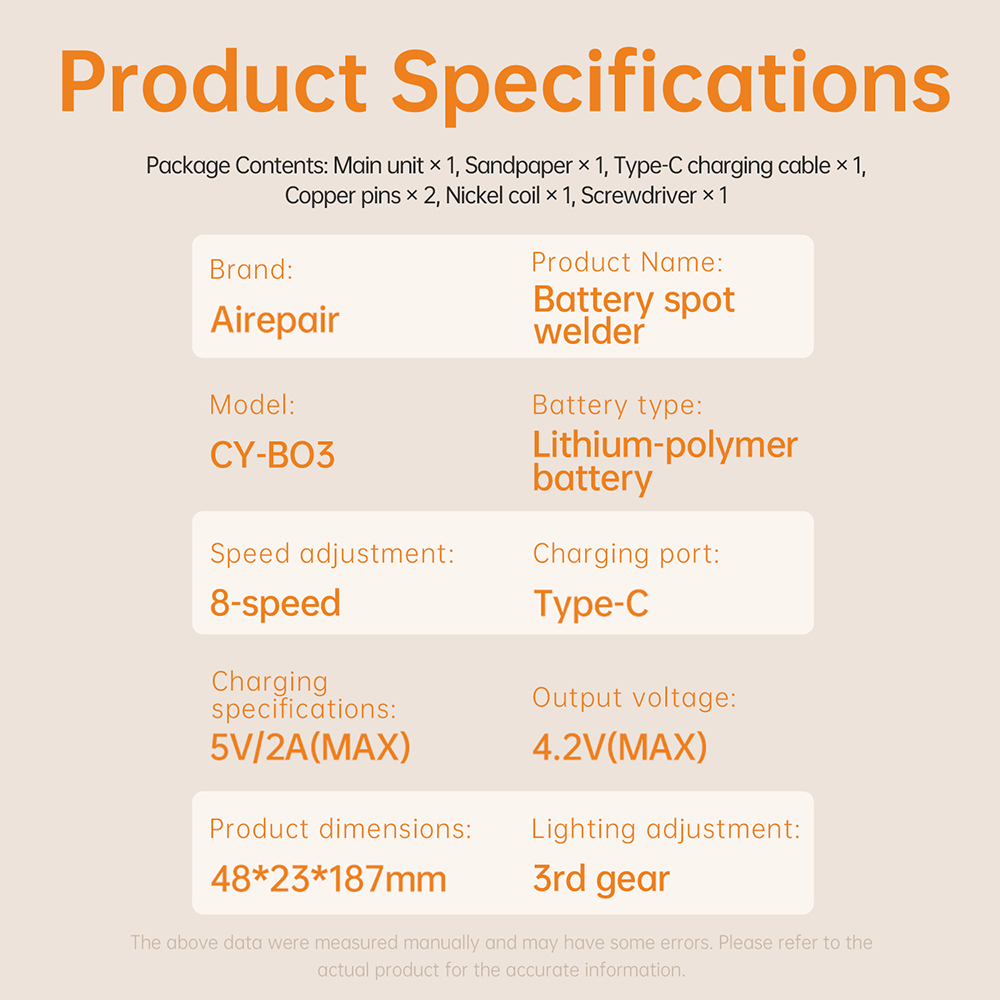
| Feature | Specification |
|---|---|
| Product Name | Compact Handheld Spot Welder |
| Model Number | CY-BO3 |
| Brand Name | Airepair |
| Display Type | LED |
| House Material | Metal |
| Battery Capacity | 2200mAh |
| Battery Type | Lithium Polymer Battery |
| Charging Input | DC 5V/2A (Type-C) |
| Output Voltage | 4.2V |
| Output Current | 800A |
| Adjustable Speeds | 8 levels |
| LED Lighting | 3-level adjustable |
| Welding Thickness | 0.1mm-0.25mm |
| Copper Pin Material | Pure Copper |
| Copper Pin Length | Approx. 3 x 50 mm |
| Copper Pin Connection | Threaded and detachable |
| Product Dimensions | 48 x 23 x 187 mm |
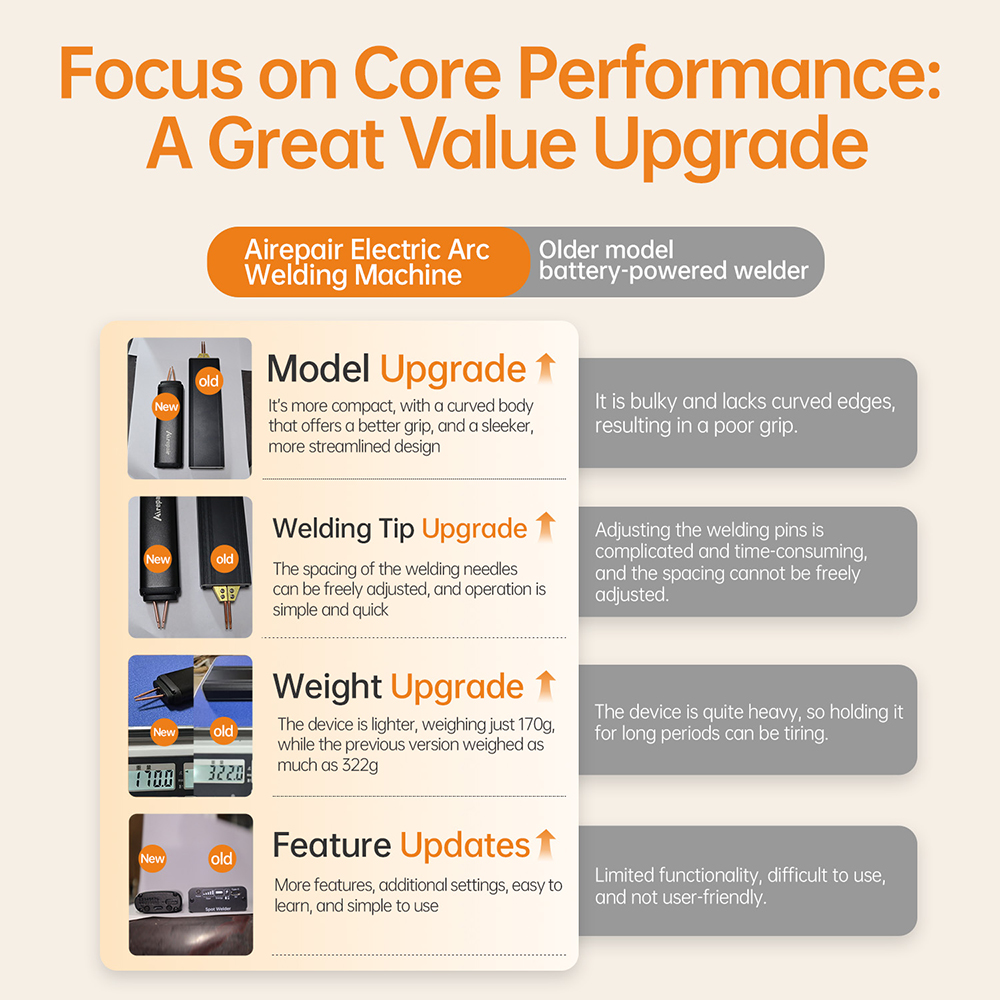
| Weight | 170g |
Setup
1. Charging the Device
Before initial use, fully charge the spot welder. Connect the provided Type-C charging cable to the device and a compatible 5V/2A power source.
- During charging, the battery level indicators on the product base will display a running light (marquee effect).
- Once fully charged, all LED lights will remain steadily lit.
- Battery level indicators: Green (High), flashing green (Medium-High), flashing red (Medium-Low), red (Low). If the red light is on, the device must be charged before it can operate.
2. Installing/Adjusting Welding Pins
The copper welding pins are threaded and detachable, allowing for easy replacement and adjustment of spacing.
- To disassemble or adjust the pins, use the provided screwdriver to turn the screws counter-clockwise (left).
- Adjust the pin spacing as needed for your welding task.
- To lock the pins in place, turn the screws clockwise (right) until secure. Ensure proper alignment to avoid cold joints and ensure weld quality.

Operation
1. Power On/Off
- To turn on the device, press and hold the power button for two seconds.
- To turn off the device, press and hold the power button for one second.
2. Adjusting Power Levels (Gears)
- After turning on, short press the power button to cycle through the 8 power levels (gears).
- Level 1 is the lowest power setting, and Level 8 is the highest.
- After reaching Level 8, the device will reset to Level 1 with the next press.
3. LED Lighting Adjustment
- After powering on, press the dedicated light switch button to cycle through 3 brightness levels.
- The device remembers the last brightness setting used when powered off.
- The lighting levels are: 0 (off), 1 (low brightness), 2 (medium brightness), 3 (high brightness).
4. Welding Process
This spot welder supports welding nickel-plated sheets up to 0.25mm, steel/iron sheets up to 0.2mm, and pure nickel sheets up to 0.15mm. It features intelligent recognition and fully automatic welding operation.
- Ensure the battery is sufficiently charged.
- Select the appropriate power level (gear) for your material thickness. Start with lower settings and increase if necessary.
- Place the nickel strip and the battery/material to be welded on a stable, non-conductive surface.
- Position the welding pins firmly onto the nickel strip, ensuring good contact with both the strip and the material underneath.
- The device will automatically initiate the welding process.
- Inspect the weld for strength and quality. Adjust power settings or pin pressure if needed.

Maintenance
- Cleaning: Regularly clean the welding pins and the device body with a dry, soft cloth. Ensure no debris or foreign objects accumulate around the welding pins.
- Storage: Store the spot welder in a cool, dry place away from direct sunlight and moisture.
- Battery Care: For long-term storage, charge the battery to approximately 50-70% capacity. Recharge every 3-6 months to maintain battery health.
- Pin Inspection: Periodically inspect the welding pins for wear or damage. Replace them if they become dull or corroded to ensure optimal welding performance.
Troubleshooting
| Problem | Possible Cause | Solution |
|---|---|---|
| Device does not power on | Insufficient battery charge or motherboard failure. | First, check if the charging cable and adapter are functioning properly and charge the device. If the issue persists, contact support. |
| Device powers on but does not weld | Foreign objects causing short circuits between welding needles, or device not in welding mode. | Check welding needles for any foreign objects and ensure they are clean. Verify the device is in the correct operating mode. |
| LED lighting is not illuminating | Brightness level set to '0' (off position). | Press the light switch button to cycle through brightness levels (1-3). |
| Device shuts down suddenly during operation | Prolonged high-power use leading to internal overheating and activation of protection mechanisms. | Allow the device to cool down completely before attempting to restart it. Reduce power settings for continuous use. |
User Tips
- For 18650 battery spot welding, users have reported better results when setting the power level to gear 8. Experiment with settings 6 and 7 if gear 8 is too strong for your specific application.
- Always perform test welds on scrap material before working on your main project to find the optimal power setting and technique.
Warranty & Support
The manufacturer offers a 12-month warranty period for this product, starting from the date of purchase. During this warranty period, the product will be repaired free of charge or replaced with a new one if after-sales service is required due to manufacturing defects.
After the warranty period expires, applicable parts and labor costs will be charged for any repairs or services.
For further assistance or to view the official user manual in PDF format, please refer to the following link: User Manual (PDF)