
Introduction
Thank you for purchasing the RadioMaster TX12 MKII 2.4GHz remote control system. This system is designed for versatility, suitable for both beginners and professionals in the field of remote-controlled models. To ensure correct and safe usage, please read this manual thoroughly before operation.
Due to continuous advancements in software and hardware, the information provided in this manual may be subject to change without prior notice. For the most current information, please visit the official RadioMaster website.
Safety Information
Many remote-control models feature powerful motors and sharp propellers. Always exercise caution when using or maintaining models. Before assembly or maintenance, ensure power is disconnected from the model and propellers are removed.
Do NOT operate the TX12 MKII radio system under the following conditions:
- In severe weather conditions such as rain, hail, snow, strong winds, storms, or electromagnetic interference.
- In areas with limited visibility.
- Near other people, property, high-voltage power lines, public roads, vehicles, or animals.
- If you are feeling unwell or under the influence of drugs or alcohol.
- If the TX12 MKII radio system or model is damaged or shows signs of interference.
- In areas with high 2.4GHz interference or where 2.4GHz radios are prohibited.
- When the transmitter/receiver battery is low.
- In areas where local regulations prohibit the use of R/C aircraft.
Disclaimer: For recreation use only. Illegal modification of drones/planes is prohibited. Please also pay attention to the relevant laws and regulations on the use of drones/planes in your country/area to ensure legal use.
Package Contents
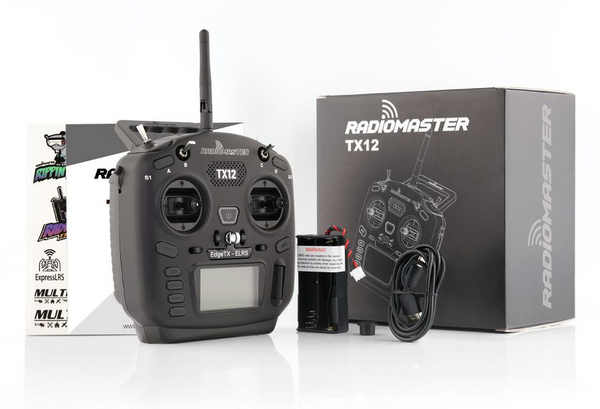
The TX12 MKII package includes the following items:
- 1 * TX12 Mark II Radio Controller
- 1 * Antenna
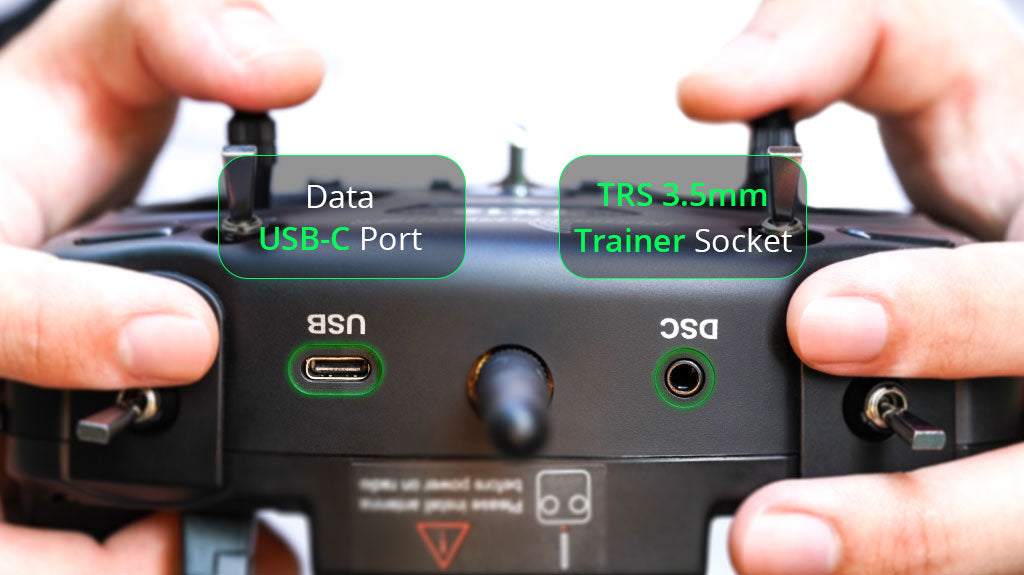
- 1 * USB-C Cable
- 1 * Quick Start Guide
- 1 * Sticker
Product Overview
The RadioMaster TX12 MKII features an intuitive layout designed for ease of use and precise control. Below are diagrams and descriptions of its key components and ports.


Specifications
| Feature | Detail |
|---|---|
| Item | TX12 Mark II Radio |
| Size | 170*159*108mm |
| Weight | 363g |
| Frequency | 2.400GHz-2.480GHz |
| RF Chip | ExpressLRS (ELRS) / CC2500 |
| Working Current | 320mA@8.4V (ELRS) / 180mA@8.4V (CC2500) |
| Voltage Range | 6.6-8.4V DC |
| Radio Firmware | EdgeTX (Transmitter) / ExpressLRS (RF module) / MPM (RF module) |
| Channels | Up to 16 (receiver dependent) |
| Display | 128*64 Monochrome LCD display |
| Gimbal | High precision hall gimbals |
| External Module Bay | JR/FrSKY/Crossfire compatible |
| Upgrade Method | USB/SD card & EdgeTX Buddy online or EdgeTX Companion PC software |
| USB Charging | QC3 USB-C |
| SD Card | Included |
Setup
Antenna Installation
It is crucial to install the provided antenna in the top of the radio BEFORE installing batteries and turning on the radio. Operating the radio without the antenna installed and the internal RF module powered on will damage the internal RF module and void the warranty.
Firmware and Software
The TX12 MKII comes pre-installed with factory-approved EdgeTX firmware. For the latest software and manuals, please visit the RadioMaster website: www.radiomasterrc.com
Further firmware information can be found at:
- EdgeTX: www.edgetx.org
- ExpressLRS: www.expresslrs.org
- Multi Protocol Module: www.multi-module.org
Batteries and Charging
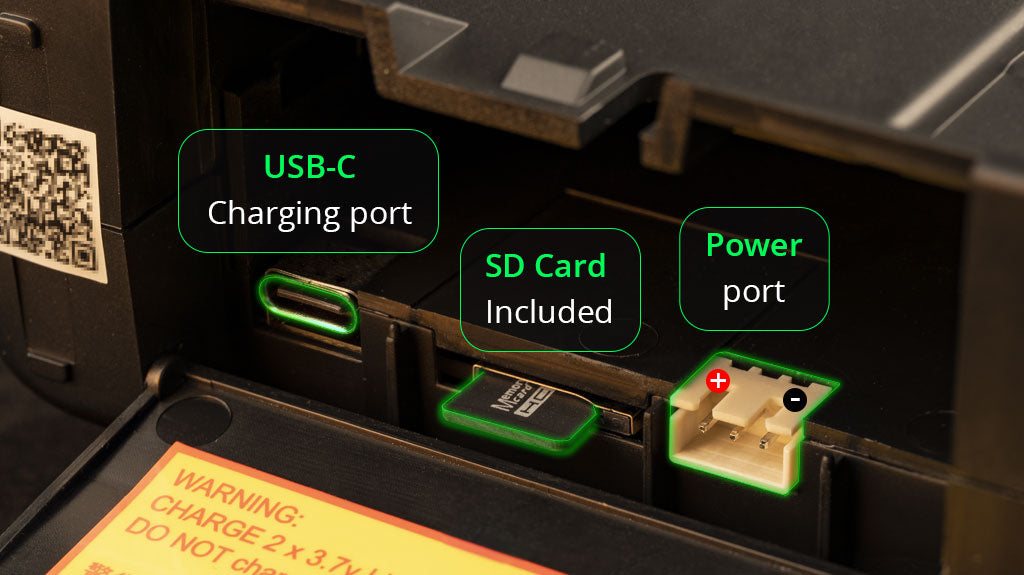
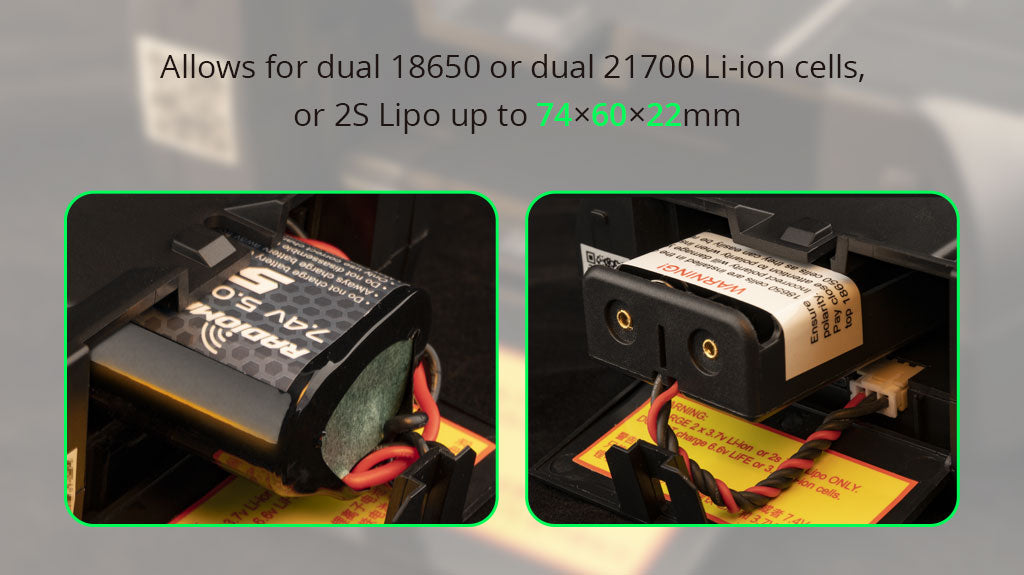
The TX12 MKII is powered by two (2x) 3.7V 18650 Lithium-ion cells (not included) and features a built-in USB-C port for charging. The charging circuit is designed specifically for 2x 3.7V Lithium-ion batteries only. The nominal voltage is 3.7V, and the maximum charging voltage is 4.2V.
Important Charging Precautions:
- Do NOT charge 3.6V LiFe or 3.6V 18650 Lithium-ion packs with the onboard charger.
- Charging with incorrect battery chemistry/polarity can cause permanent damage to the PCB and poses a fire risk.
- Regularly check the voltage and condition of the battery.
- Never charge unattended.
- Always charge in a safe area, away from combustible materials.
- Do NOT charge the remote control if it is wet or damaged.
- Do NOT charge with reversed polarity.
Upgraded MCU and Gimbals
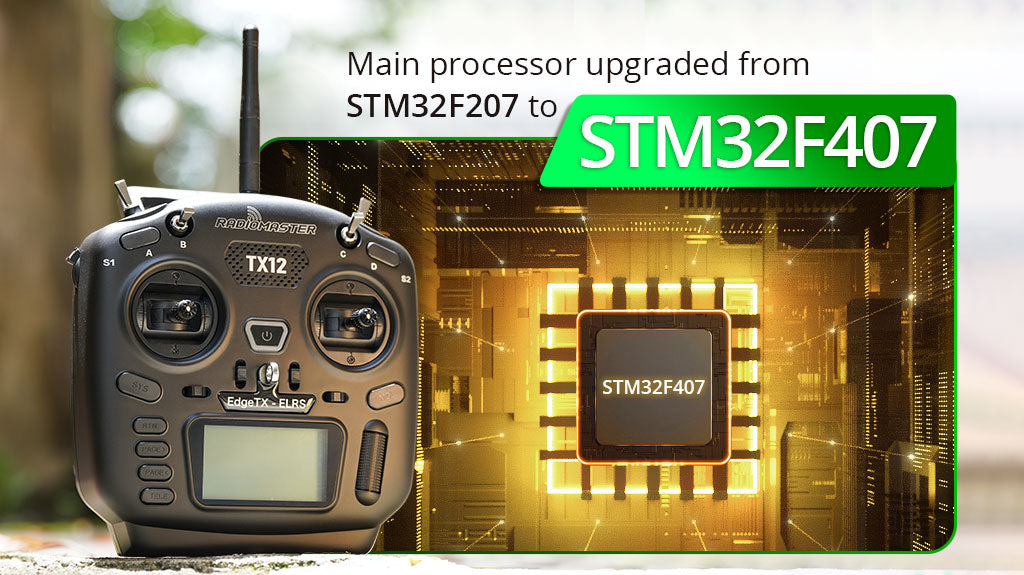
The main processor has been upgraded from STM32F207 to STM32F407, enhancing performance and responsiveness.
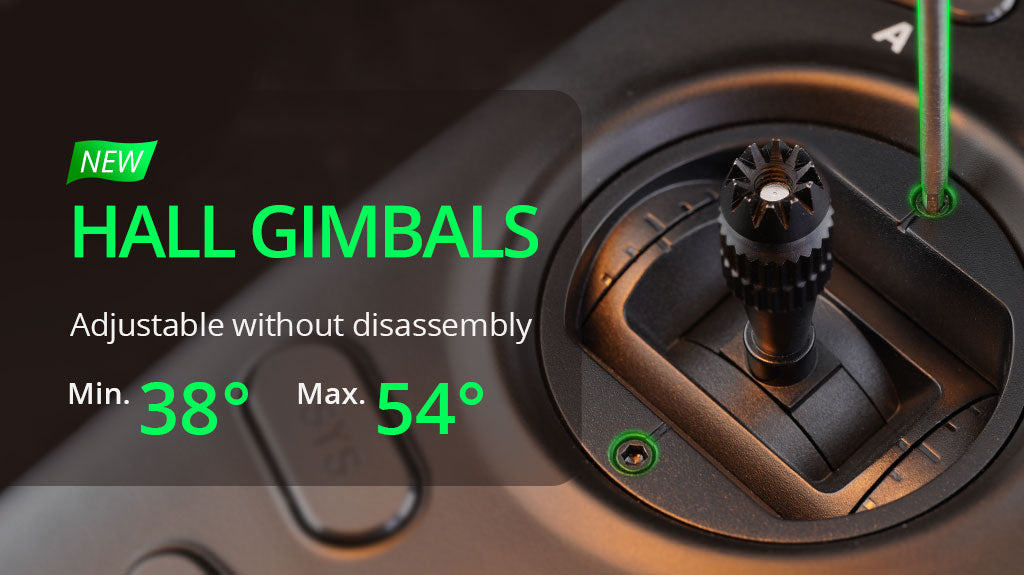
The TX12 MKII features new Hall Gimbals, utilizing the same chipset as the AG01. Optimized hall sensor circuitry improves center point positioning and temperature stability. These gimbals are adjustable without disassembly, with a minimum range of 38° and a maximum of 54°.
Operation
Model and Protocol Selection
The TX12 MKII comes with either a CC2500 single-chip multi-protocol module or an internal ExpressLRS module, depending on the version purchased. To select your protocol:
- Long press the MDL button to enter the model settings.
- In the SETUP page, select MULTI.
- Choose the desired protocol from the sub-options. The system will automatically activate the corresponding RF module.
For CC2500 users, your receiver may require frequency tuning. Refer to www.multi-module.org/using-the-module/frequency-tuning for instructions.
For ExpressLRS versions, optimal performance is achieved by enabling Dynamic Power and using a 500Hz or lower packet rate. This helps extend battery life and minimize heat generation.
Binding Instructions
To bind your receiver to the TX12 MKII:
- Turn OFF the transmitter.
- Cycle power to the receiver 3 times. The receiver LED will flash twice, indicating bind mode.
- Turn ON the transmitter. Long press the SYS button and choose ExpressLRS LUA under the TOOLS menu.
- Scroll to [Bind] and press enter.
- The LED on the receiver should now be solid, indicating a successful bind.
EdgeTX and OpenTX Support
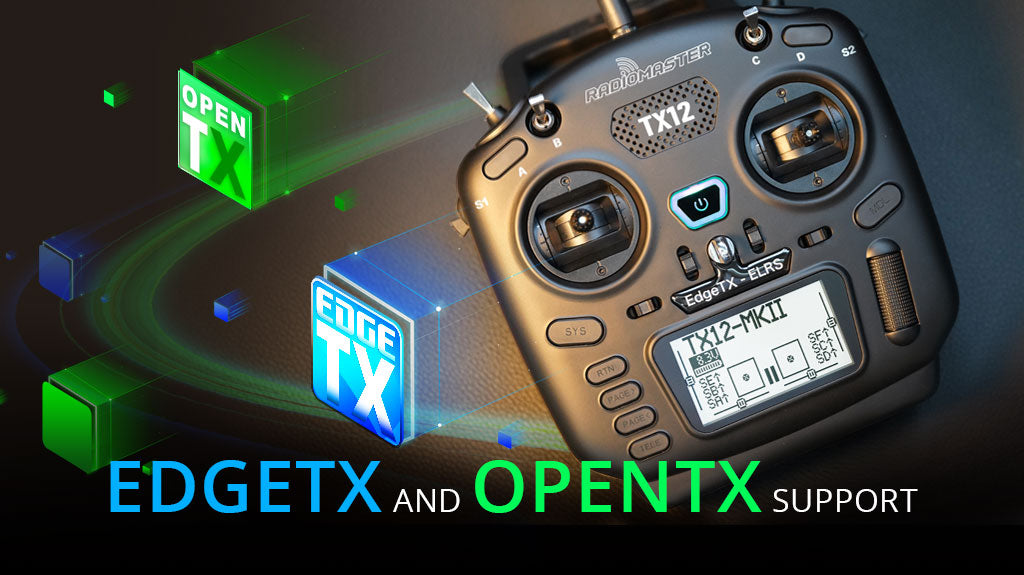
The TX12 MKII supports both EdgeTX and OpenTX operating systems, offering flexibility and a rich feature set. RadioMaster actively collaborates with the EdgeTX team to enhance user experience and support open standards.
USB Simulator and BLE Joystick Mode
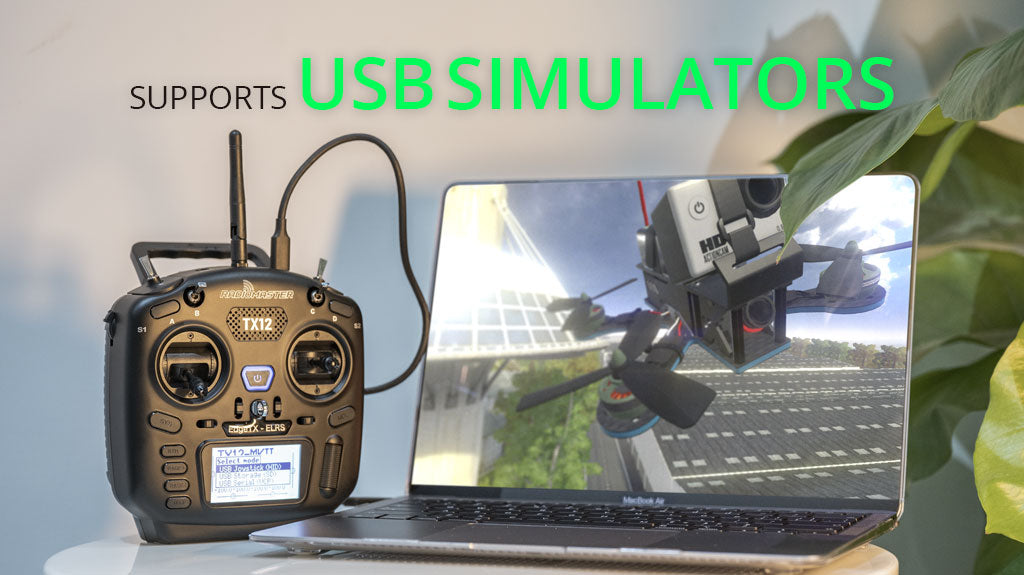
The TX12 MKII supports USB simulators, allowing you to practice flying without risking your physical model.
For the ExpressLRS version, a BLE Joystick Mode is available, enabling Bluetooth connection to PCs, tablets, and phones for playing simulators and games.
Maintenance
Battery Care
Always monitor the voltage and condition of your batteries. Never leave batteries charging unattended. Ensure charging is done in a safe area, away from flammable materials. Do not charge if the remote control is wet or damaged, and always ensure correct polarity.
General Care
Keep the transmitter clean and free from dust and debris. Avoid exposing it to extreme temperatures or humidity. Store in a dry, safe place when not in use.
Troubleshooting
If you encounter issues with your TX12 MKII, consider the following:
- No Power/Low Battery: Ensure batteries are correctly installed and fully charged. The TX12 MKII requires two 3.7V 18650 Li-ion cells (not included).
- No Control/Interference: Verify the antenna is securely installed before powering on. Check for strong 2.4GHz interference in your operating area. Ensure the correct protocol is selected and the receiver is properly bound.
- Damaged Unit: If the radio system shows signs of physical damage or malfunction, discontinue use and contact support.
- Firmware Issues: Ensure your firmware is up to date. Incorrect firmware updates can lead to operational issues.
User Tips
- Battery Requirement: Please note that batteries are not included with the TX12 MKII. You will need to purchase two 3.7V 18650 Li-ion cells separately.
- Firmware Updates: Regularly check the RadioMaster website for the latest firmware updates to ensure compatibility with new protocols and optimal performance.
- Simulator Practice: Utilize the USB simulator support and BLE Joystick Mode (for ELRS versions) to practice flying and improve your skills without risking your actual models.
Warranty & Support
If you experience any hardware issues with your remote control, please retain your proof of purchase and contact the retailer from whom you purchased the product. You can also visit the RadioMaster warranty support page for assistance: www.radiomasterrc.com/contact
RadioMaster does not assume responsibility for any adverse consequences resulting from the use or misuse of this product.
A user manual in PDF format is also available for download from the seller's website: User manual (PDF).
Compliance Information
EU Simple Declaration of Conformity
RadioMaster declares that the radio equipment TX12 MKII is in compliance with EU directives Directive 2014/53/EU. The full text of the declaration of conformity is available at: www.radiomasterrc.com
Manufacturer: ShenZhen RadioMaster Co., Ltd, 3F Yang Tian Building, Area 72 Xing Dong community, Xin An Street, Bao An district, Shen Zhen City, Guangdong Province, China.
FCC Information
FCC ID: 2AV3G-TX12
This equipment has been tested and found to comply with the limits for Part 15 of the FCC rules. Operation is subject to the following two conditions: (1) This device may not cause harmful interference, and (2) this device must accept any interference received, including interference that may cause undesired operation.
Changes or modifications not expressly approved by the party responsible for compliance could void the user's authority to operate the equipment.
Antenna Separation Distance
When operating your RadioMaster transmitter, please maintain a separation distance of at least 20 cm between your body (excluding fingers, hands, wrists, ankles, and feet) and the antenna to meet RF exposure safety requirements as determined by FCC regulations.