
Introduction
This manual provides comprehensive instructions for the installation, operation, and maintenance of your Herdio 4-inch Bluetooth Ceiling Speakers with a 4-Channel Amplifier Receiver. Please read this manual thoroughly before installation and use to ensure optimal performance and safety.
The Herdio HCS418BT system features a wall-mounted Bluetooth amplifier designed for four 4-inch ceiling speakers, delivering stereo sound effects. It is compatible with all of today's latest smart devices (iPhones, iPads, iOS & Android smartphones, tablets, PC, Laptops, Desktops, etc.) and offers a wireless range of 30+ feet. The speakers boast a peak power of up to 320 Watts, with 1-inch silk dome tweeters for rich detail and sound clarity, and polypropylene cones with rubber edges for extended product life. The compact flush mount design allows for easy in-wall/in-ceiling installation, making it perfect for home theaters, bathrooms, offices, kitchens, living rooms, and other custom audio applications.
Safety Information
**FCC Requirement:**
Changes or modifications not expressly approved by the party responsible for compliance could void the user's authority to operate the equipment. This device complies with Part 15 of the FCC Rules. Operation is subject to the following two conditions: (1) this device may not cause harmful interference, and (2) this device must accept any interference received, including interference that may cause undesired operation.
Note: This equipment has been tested and found to comply with the limits for a Class B digital device, pursuant to Part 15 of the FCC Rules. These limits are designed to provide reasonable protection against harmful interference in a residential installation. This equipment generates, uses, and can radiate radio frequency energy, and if not installed and used in accordance with the instructions, may cause harmful interference to radio communications. However, there is no guarantee that interference will not occur in a particular installation. If this equipment does cause harmful interference to radio or television reception, which can be determined by turning the equipment off and on, the user is encouraged to try to correct the interference by one or more of the following measures:
- Reorient or relocate the receiving antenna.
- Increase the separation between the equipment and receiver.
- Connect the equipment into an outlet on a circuit different from that to which the receiver is connected.
- Consult the dealer or an experienced radio/TV technician for help.
This equipment complies with FCC radiation exposure limits set forth for an uncontrolled environment. This equipment should be installed and operated with a minimum distance of 20cm between the radiator & your body. This transmitter must not be co-located or operating in conjunction with any other antenna or transmitter.
Package Contents
Please check the contents of your package. If any items are missing or damaged, please contact customer support.
- 4-inch Ceiling Speakers: 4 units
- Speaker Connection Wires: 4 sets
- In-wall Bluetooth Audio Receiver Wall Plate (16BT AMP 4CH): 1 unit
- Power Adapter (12V DC cable): 1 unit (EU, UK, AU, or US plug depending on region)
- User Manual (for amplifier): 1 unit
- User Manual (for speakers): 1 unit
- Panel: 1 unit
- Screws: 2 units
- STEREO IN cable: 1 unit
- Gaskets: 4 units
- Cutout Template: 1 unit


Specifications
The Herdio 4-inch Bluetooth Ceiling Speakers and Amplifier Receiver offer the following technical specifications:
| Feature | Specification |
|---|---|
| Model No. | HCS418BT |
| Speaker Type | In-Ceiling Speaker, 2-Way Full Range Stereo Sound |
| Speaker Size | 4 inches (10.2 cm) |
| Woofer Diameter | 4 inches |
| Tweeter Diameter | 1 inch |
| Max Power Output | 80W (per speaker), up to 320W total |
| PMPO | 80 W |
| Sensitivity | 89dB |
| Impedance | 8 Ohms |
| Frequency Response | 60-20KHz |
| Bluetooth Version | 5.0 |
| Maximum Wireless Range | 10m-20m (30+ feet) |
| Input/Output | AUX, USB, MIC IN |
| Voltage Range | USB (5-20V DC) |
| Power Source | AC (via power adapter) |
| Cut-Out Diameter | 5.7 inches (14.5 CM) |
| Mounting Depth | 2.6 inches (6.6 CM) |
| Total Speaker Diameter | 6.4 inches (16.2 CM) |
| Material | ABS material, stain resistant speaker grills, polypropylene cone, cloth edge |
| Included Components | 4 ceiling speakers, 4 speaker cables, a wall amplifier, a power adapter, and a manual |


Setup and Installation
1. Speaker Installation (In-Ceiling/In-Wall)
- **Prepare the opening:** Use the provided cutout template to mark the desired location for the speaker. Cut the drywall, ensuring at least a 0.5-inch clearance between the wall stud and the speaker cutout. This allows the locking tabs to swivel into place.
- **Remove the magnetic grille:** Gently detach the magnetic grille from the speaker.
- **Connect speaker wires:** Connect the speaker cables to the speaker terminals. Ensure correct polarity (red to positive '+', black to negative '-').
- **Secure the speaker:** Insert the speaker into the cutout. Screw down each of the four Phillips head screws. The locking tabs will swivel into place and secure the unit to the rear surface of the drywall.
- **Replace the grille:** Once the speaker is securely mounted, replace the magnetic grille.


2. Amplifier Receiver Wall Plate Installation
- **Prepare the wall opening:** Use the wall plate as a template to mark and cut an appropriate opening in the wall for the amplifier receiver.
- **Connect power and audio cables to the amplifier module:**
- Connect the 12V DC power cable to the two-pin connector on the back of the amplifier module.
- Connect the audio cable (STEREO IN) to the three-pin connector on the back of the amplifier module.
- **Connect speaker wires to the amplifier:** Connect the speaker cables from each speaker to the corresponding speaker output terminal connectors on the amplifier module. Ensure correct polarity (red to positive '+', black to negative '-'). Use screws to control the amplifier terminals.
- **Mount the amplifier module:** Insert the amplifier module into the wall opening. Secure it using the provided screws.
- **Attach the faceplate:** Place the decorative faceplate over the amplifier module and secure it with screws.


Operating Instructions
1. Powering On and Bluetooth Pairing
- **Connect Power Supply:** Plug the power adapter into a wall outlet and connect it to the amplifier receiver.
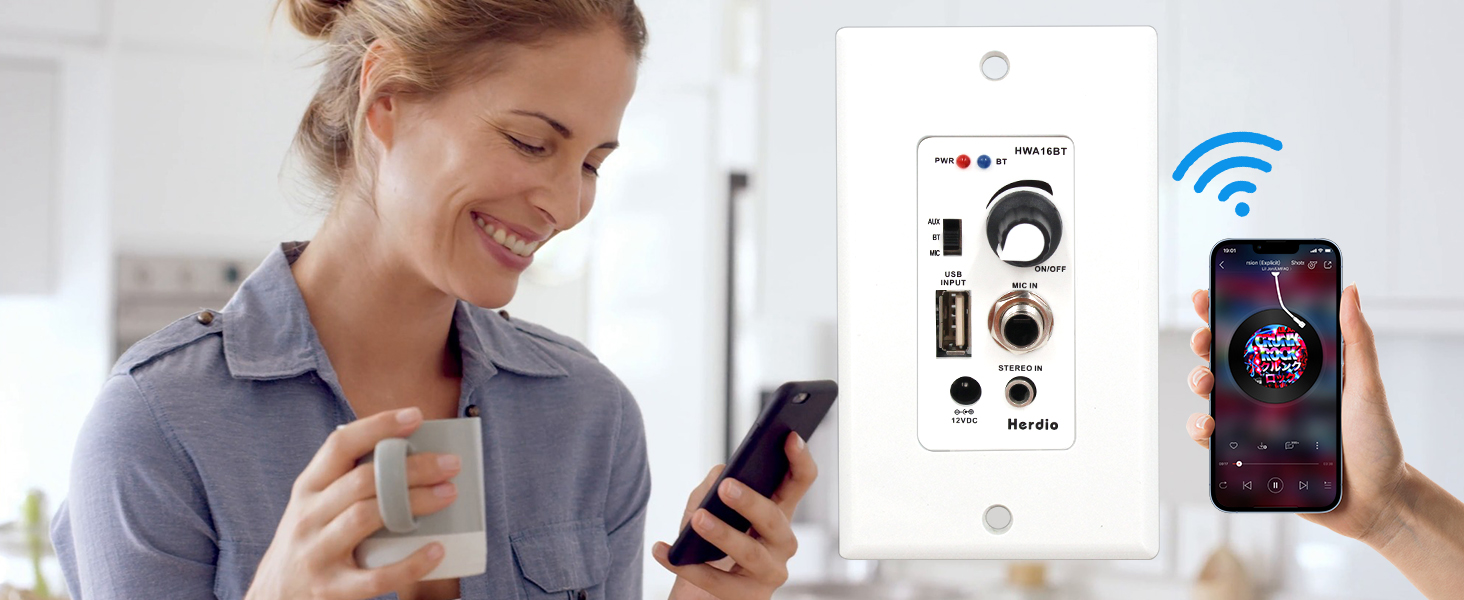
- **Turn On:** Turn the knob on the amplifier receiver to the right. You will hear a drop sound. The blue light on the amplifier will start flashing, indicating it is in pairing mode.
- **Pairing:** On your mobile device (smartphone, tablet, etc.), go to Bluetooth settings. Scan for available devices and select "Herdio" from the list.
- **Connection Confirmation:** Once connected, you will hear a confirmation tone, and the blue light on the amplifier will turn solid, indicating a successful connection.
- **Play Music:** Start playing music from your device. You can adjust the volume using the knob on the amplifier or your connected device.

2. Using Other Inputs (AUX, USB, MIC IN)
The amplifier receiver wall plate offers versatile connectivity options:
- **Input Selection:** Use the input selection switch to toggle between Bluetooth (BT), AUX, and MIC inputs.
- **AUX IN:** Connect external audio devices using a 3.5mm audio cable to the AUX IN jack.
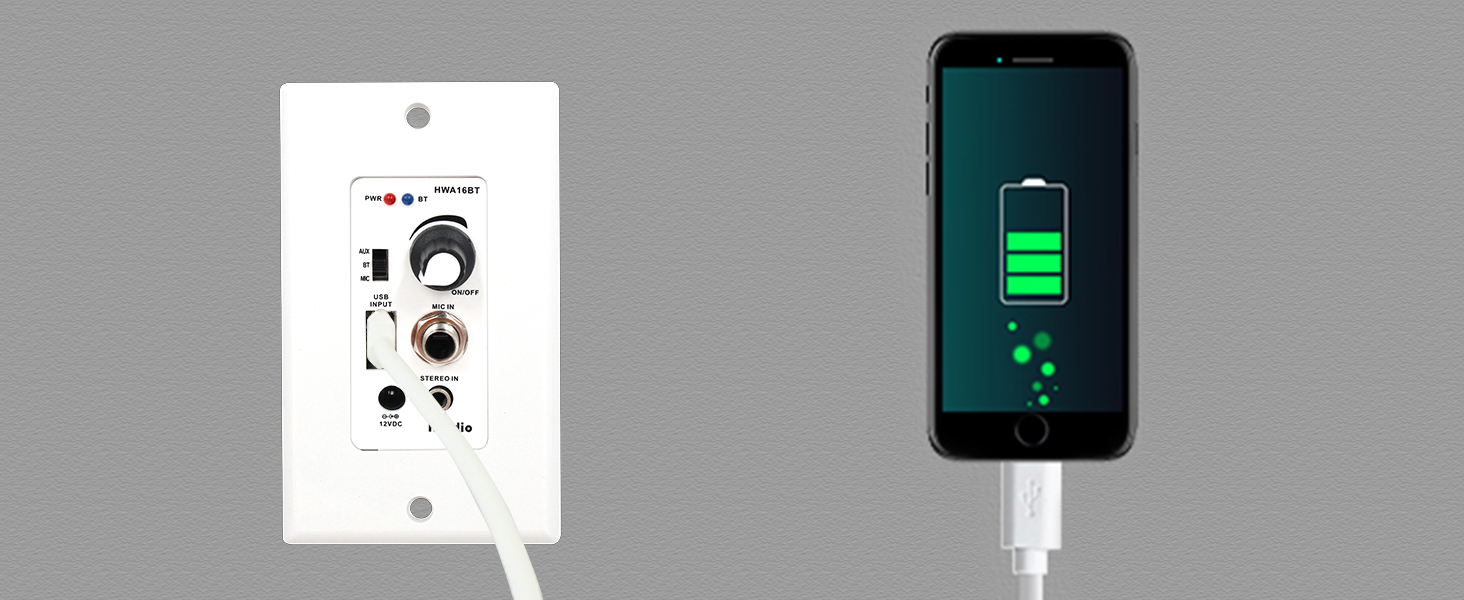
- **USB Input:** The USB port functions as a media playback reader for USB flash drives and also provides a 5V/1A charging port for your devices.
- **MIC IN:** Connect a microphone to the 1/4" MIC IN jack for announcements or paging.
- **Volume/ON/OFF:** This knob controls the master volume and also serves as the power ON/OFF switch.

Maintenance
- **Cleaning:** Use a soft, dry cloth to clean the speaker grilles and amplifier faceplate. Do not use harsh chemicals or abrasive cleaners.
- **Dust Removal:** Periodically remove dust from the speaker grilles to maintain optimal sound quality.
- **Avoid Moisture:** Keep the speakers and amplifier away from excessive moisture or direct water exposure.
Troubleshooting
| Problem | Possible Cause | Solution |
|---|---|---|
| No sound from speakers |
|
|
| Bluetooth not pairing |
|
|
| Sound distortion |
|
|
User Tips
- For optimal sound distribution, consider the acoustics of your room when planning speaker placement.
- Ensure all wiring is neatly organized and secured to prevent accidental disconnections or damage.
- When using the microphone input, adjust the volume carefully to avoid feedback.
- The USB port can be convenient for charging your phone while enjoying music.
Warranty and Support
All Herdio speaker products come with a 1-year limited warranty against defects in materials and workmanship. Proof of purchase must accompany all claims. During the warranty period, Herdio will replace any defective part and correct any defect in workmanship without charge for either parts or labor. If you have questions or require support, please contact us:
Email: support@herdiotech.com
For more information, visit: www.Herdiotech.com