1. Introduction
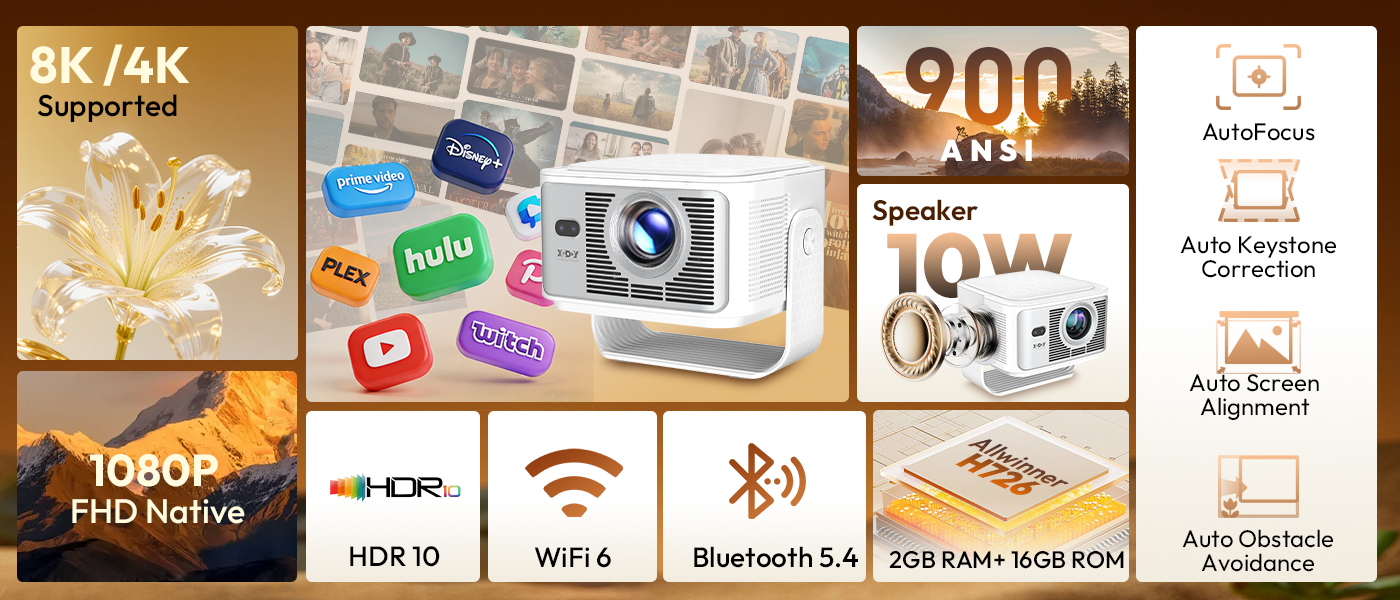
Welcome to the XGODY Gimbal 7 Smart Projector user manual. This guide provides essential information for setting up, operating, and maintaining your new projector. The XGODY Gimbal 7 is a versatile smart projector featuring Android 14.0, 900 ANSI lumens brightness, and support for up to 8K/4K video decoding. Its innovative gimbal design allows for flexible projection, complemented by automatic focus, keystone correction, and obstacle avoidance for a seamless viewing experience.

2. Package Contents
Please check the box for the following items:
- XGODY Gimbal 7 Projector
- User Manual
- Power Cable
- Remote Control
- HDMI Cable
- Carry Bag (if included in your specific package)
3. Specifications
| Feature | Specification |
|---|---|
| Brand Name | XGODY |
| Model | Gimbal 7 |
| Native Resolution | 1920x1080dpi (Supports 8K/4K Decoding) |
| Brightness | 900 ANSI Lumens |
| Contrast Ratio | 15,000:1 |
| Projection Size | 40–200 inches |
| Projection Distance | 1.05-2.5M |
| Lamp Life | 50,000 hours |
| Operating System | Android 14.0 |
| Memory | 2GB RAM + 16GB ROM |
| CPU | Allwinner H726 |
| Connectivity | HDMI, USB, WiFi 6, Bluetooth 5.4 |
| Keystone Correction | Auto Correction |
| Built-in Speaker | Yes (10W) |
| Product Dimensions | 222 x 151 x 175 mm (including stand) |
| Weight | 1.8 KG |
| Power (W) | 100W |
| Power Source | DC |

4. Setup
4.1 Initial Power-On
- Connect the power cable to the projector and then to a power outlet.
- Press the power button on the projector or the remote control to turn it on.
- The projector will display the XGODY logo and then the Android 14.0 home screen.
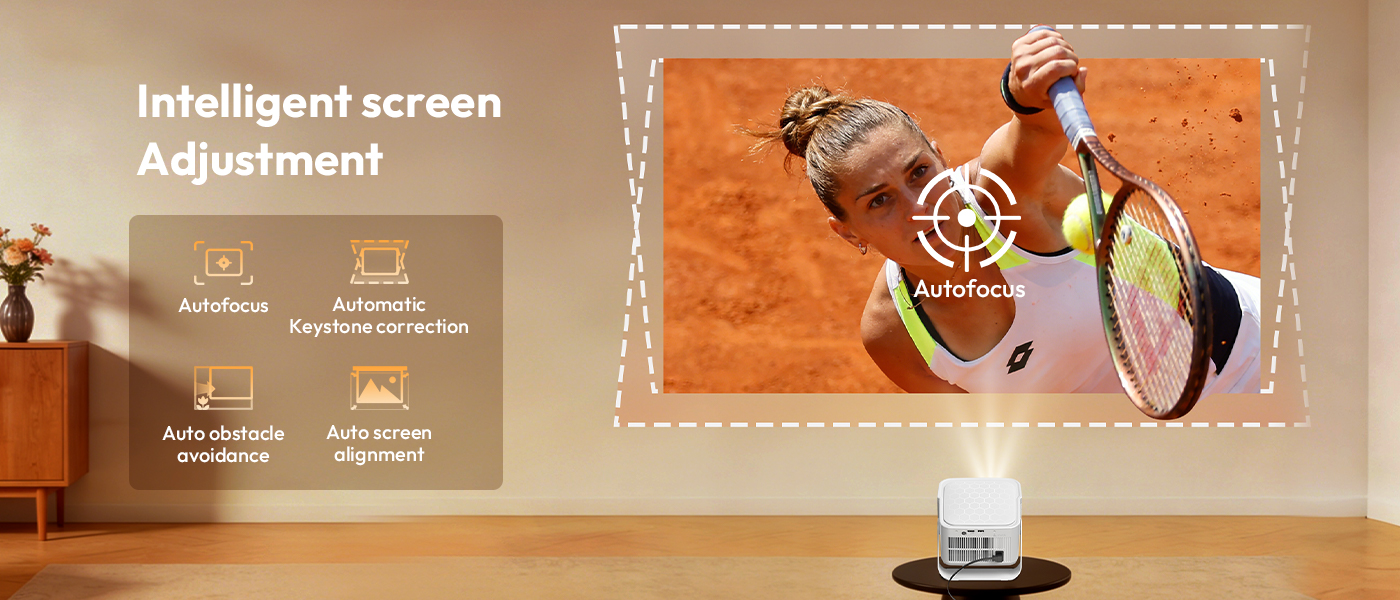
4.2 Automatic Screen Adjustment
The XGODY Gimbal 7 features intelligent screen adjustment for a hassle-free setup:
- Autofocus: The projector automatically adjusts the image clarity.
- Automatic Keystone Correction: Corrects distorted images to a perfect rectangle, even if the projector is not perfectly aligned.
- Auto Screen Alignment: Detects the screen edges and aligns the projection accordingly.
- Auto Obstacle Avoidance: Identifies and adjusts the projection to avoid objects in the projection path.
These features activate automatically upon startup or when the projector is moved. If manual adjustment is needed, navigate to the 'Settings' menu.

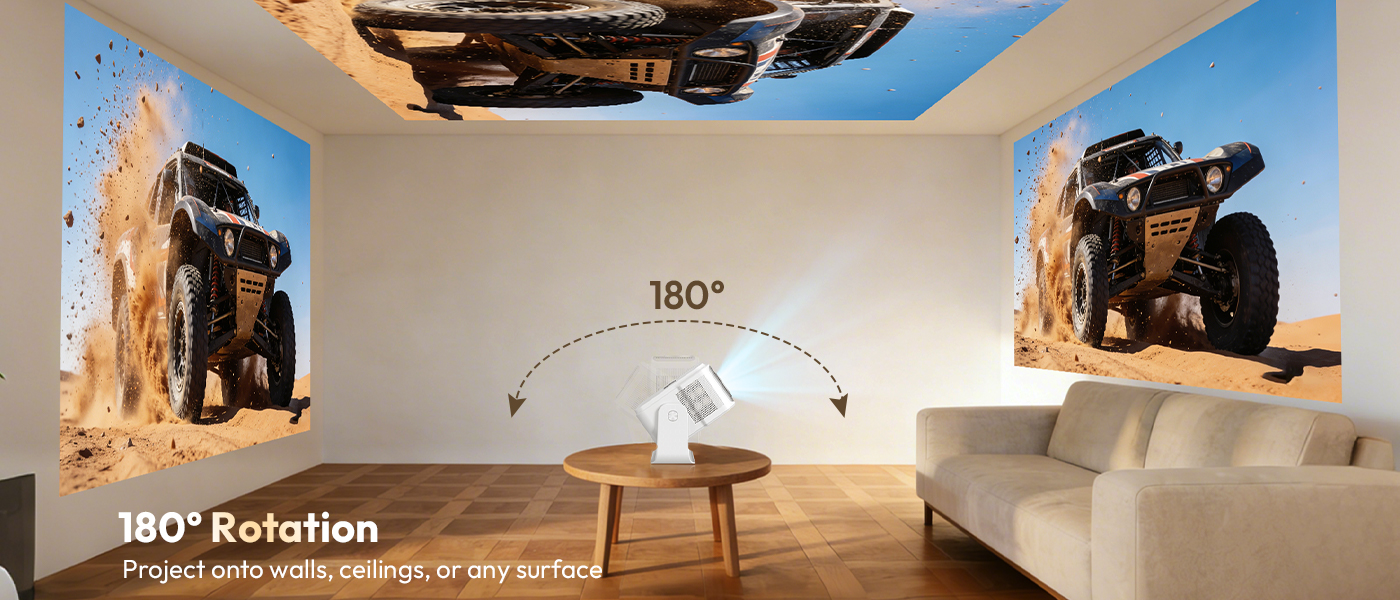
4.3 Positioning the Projector
The Gimbal 7 features a 180° rotatable stand, allowing you to project onto walls, ceilings, or any flat surface. Adjust the projector's angle to achieve your desired projection location.
5. Operating Instructions
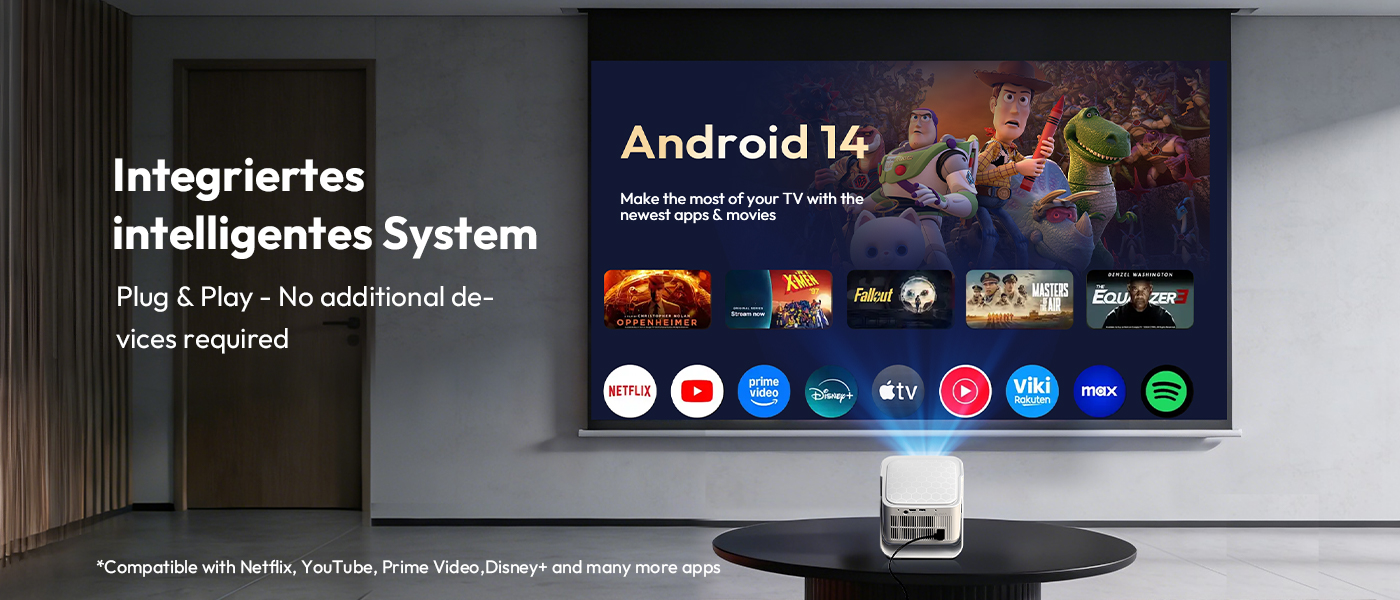
5.1 Android 14.0 Smart System
Your projector runs on Android 14.0, providing access to a vast library of apps and content directly. No external streaming devices are needed.
- Navigate the home screen using the remote control.
- Access pre-installed apps like Netflix, YouTube, Disney+, and more.
- Download additional apps from the integrated App Store.

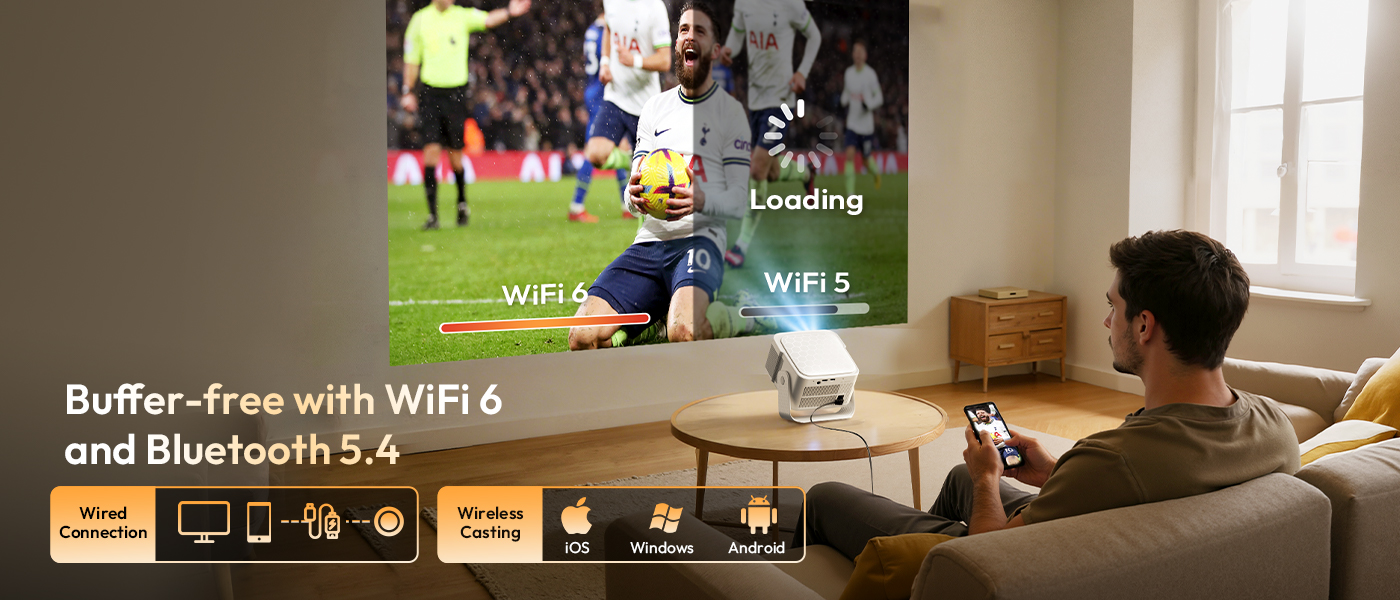
5.2 Connectivity (WiFi 6 & Bluetooth 5.4)
The projector supports advanced wireless connectivity for seamless streaming and audio:
- WiFi 6: Connect to your home network for high-speed internet access and buffer-free streaming.
- Bluetooth 5.4: Pair with external Bluetooth speakers, headphones, or other devices for enhanced audio.
- Wired Connections: Use the HDMI port to connect external devices like laptops, gaming consoles, or Blu-ray players. The USB port can be used for media playback from USB drives.
5.3 Audio Output
The projector features a built-in 10W stereo speaker for immersive sound. You can also connect external audio devices via Bluetooth for a customized audio experience.

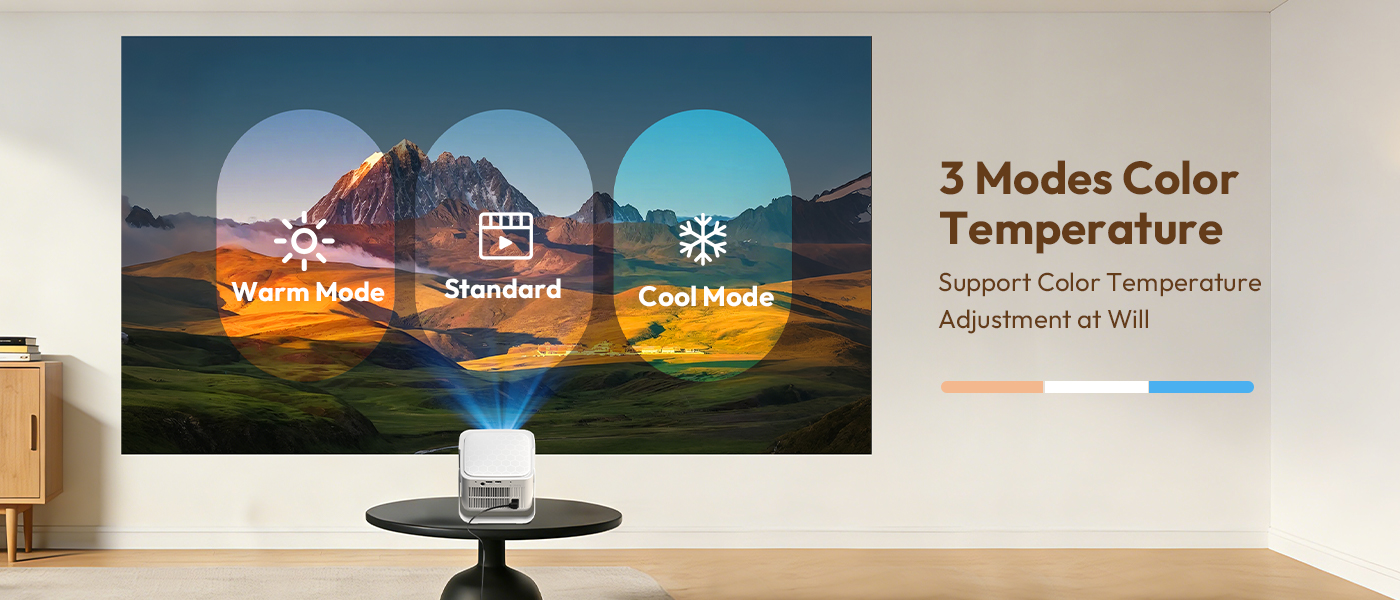
5.4 Image Settings
Adjust the color temperature to suit your viewing preference or environment:
- Warm Mode: For a softer, warmer image.
- Standard Mode: Balanced color temperature for general viewing.
- Cool Mode: For a cooler, brighter image.
These settings can typically be found in the projector's display settings menu.
6. Maintenance
6.1 Cleaning the Lens
Use a soft, lint-free cloth specifically designed for optical lenses to gently wipe the projector lens. Avoid using abrasive cleaners or cloths that could scratch the lens surface.
6.2 Cleaning the Projector Body
Wipe the exterior of the projector with a soft, dry cloth. For stubborn marks, a slightly damp cloth can be used, followed by a dry cloth. Ensure no liquid enters the ventilation openings.
6.3 Ventilation
Ensure the projector's ventilation openings are not blocked during operation to prevent overheating. Keep the projector in a well-ventilated area.
6.4 Storage
When not in use for extended periods, store the projector in a cool, dry, dust-free environment. Use the provided carry bag for protection during storage or transport.
7. Troubleshooting
| Problem | Possible Solution |
|---|---|
| No image displayed |
|
| Image is blurry |
|
| Image is distorted (trapezoid shape) |
|
| No sound |
|
| Remote control not working |
|
8. User Tips
- For the best viewing experience, use the projector in a dimly lit room, especially for movies or detailed presentations.
- Experiment with the 180° rotation feature to project onto ceilings for a unique viewing angle.
- Utilize the built-in Android 14.0 system to download your favorite streaming apps directly, reducing the need for extra devices.
- Connect a Bluetooth soundbar or headphones for an enhanced audio experience, especially in larger rooms or for personal listening.
- Regularly check for system updates in the settings menu to ensure optimal performance and access to the latest features.
9. Warranty and Support
XGODY products are designed for quality and reliability. For warranty information, technical support, or service inquiries, please refer to the official XGODY website or contact their customer service directly. Keep your purchase receipt as proof of purchase for warranty claims.


