
1. Important Safety Information
Please read this manual thoroughly before operating the RC ERA C032 helicopter. Failure to follow instructions may result in injury or damage to the product.
- Age Restriction: This product is not suitable for children under 14 years old. Adult supervision is recommended for users under 18.
- Flight Environment: Operate the helicopter in open areas, away from people, animals, buildings, and other obstacles. Avoid flying in winds stronger than force 5.
- Battery Safety: Use only the specified 7.4V 400mAh Lithium-ion battery. Do not overcharge or puncture the battery. Disconnect the battery when not in use.
- Propeller Safety: Keep hands, face, and loose clothing away from rotating propellers. The helicopter features intelligent anti-stuck protection, which will cause an automatic stall if propellers are obstructed, but caution is still advised.
- Water and Moisture: Do not expose the helicopter or remote control to water or moisture.
- Maintenance: Perform regular checks for any damage to propellers, rotors, or body. Do not operate if damaged.
2. Package Contents
Ensure all items are present in the package before proceeding with setup.
- Helicopter (C032) x 1
- Remote Control x 1
- USB Charger x 1
- Main Propeller x 2 (spare)
- Tail Propeller x 1 (spare)
- 7.4V 400mAh Lithium Battery x 1
- Screwdriver x 1
- Hexagonal Wrench x 1

3. Product Overview
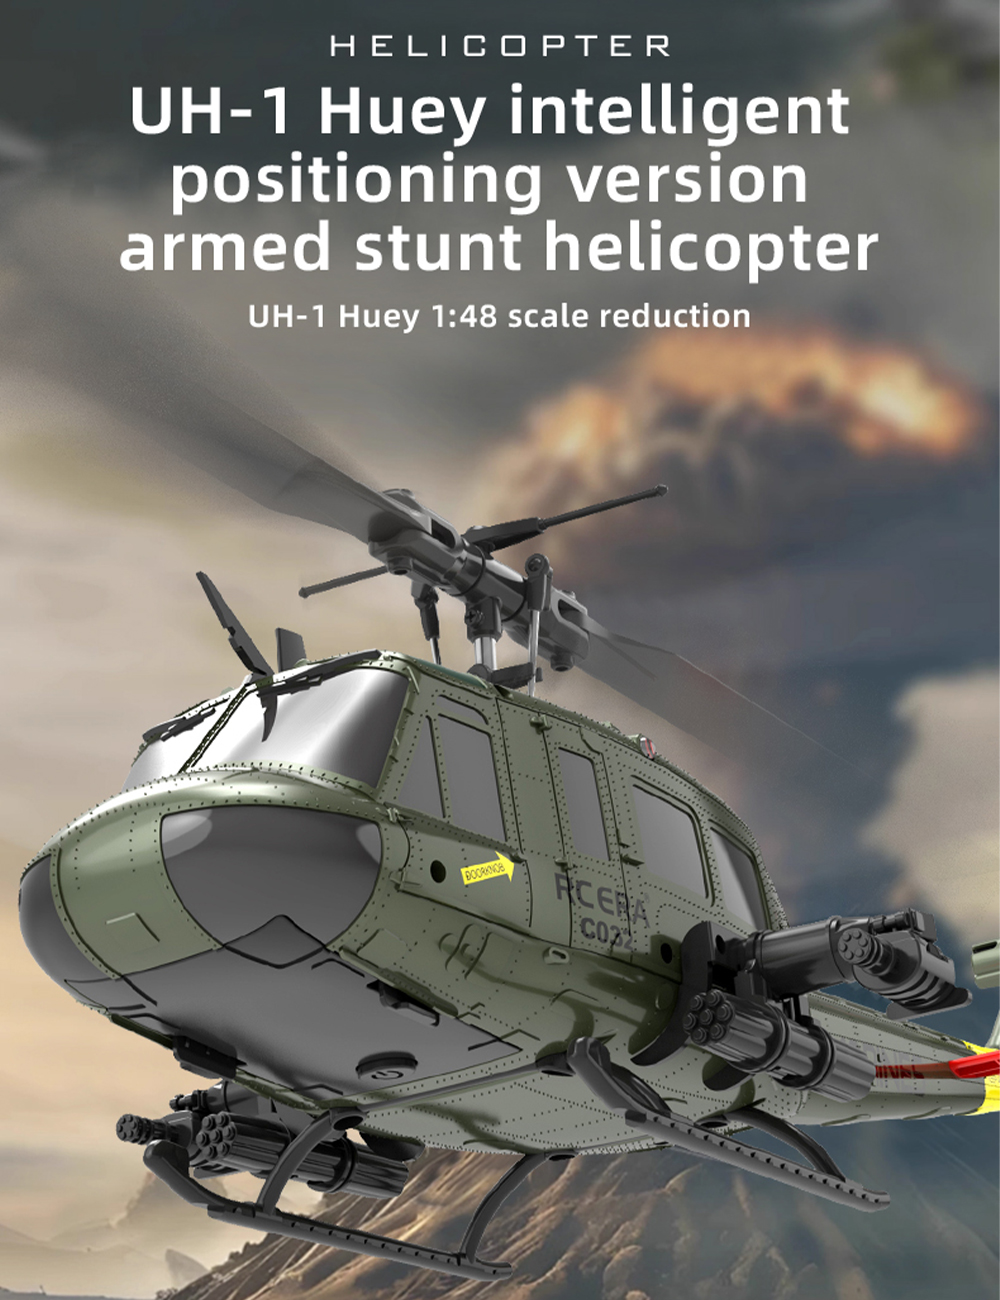
The RC ERA C032 is a 1:48 scale replica of the iconic UH-1 Huey helicopter, designed for both novice and experienced RC pilots. It features advanced flight stabilization technologies for a smooth and controlled flying experience.
Key Features:
- Scale Design: 1:48 scale model based on the UH-1 Huey helicopter.
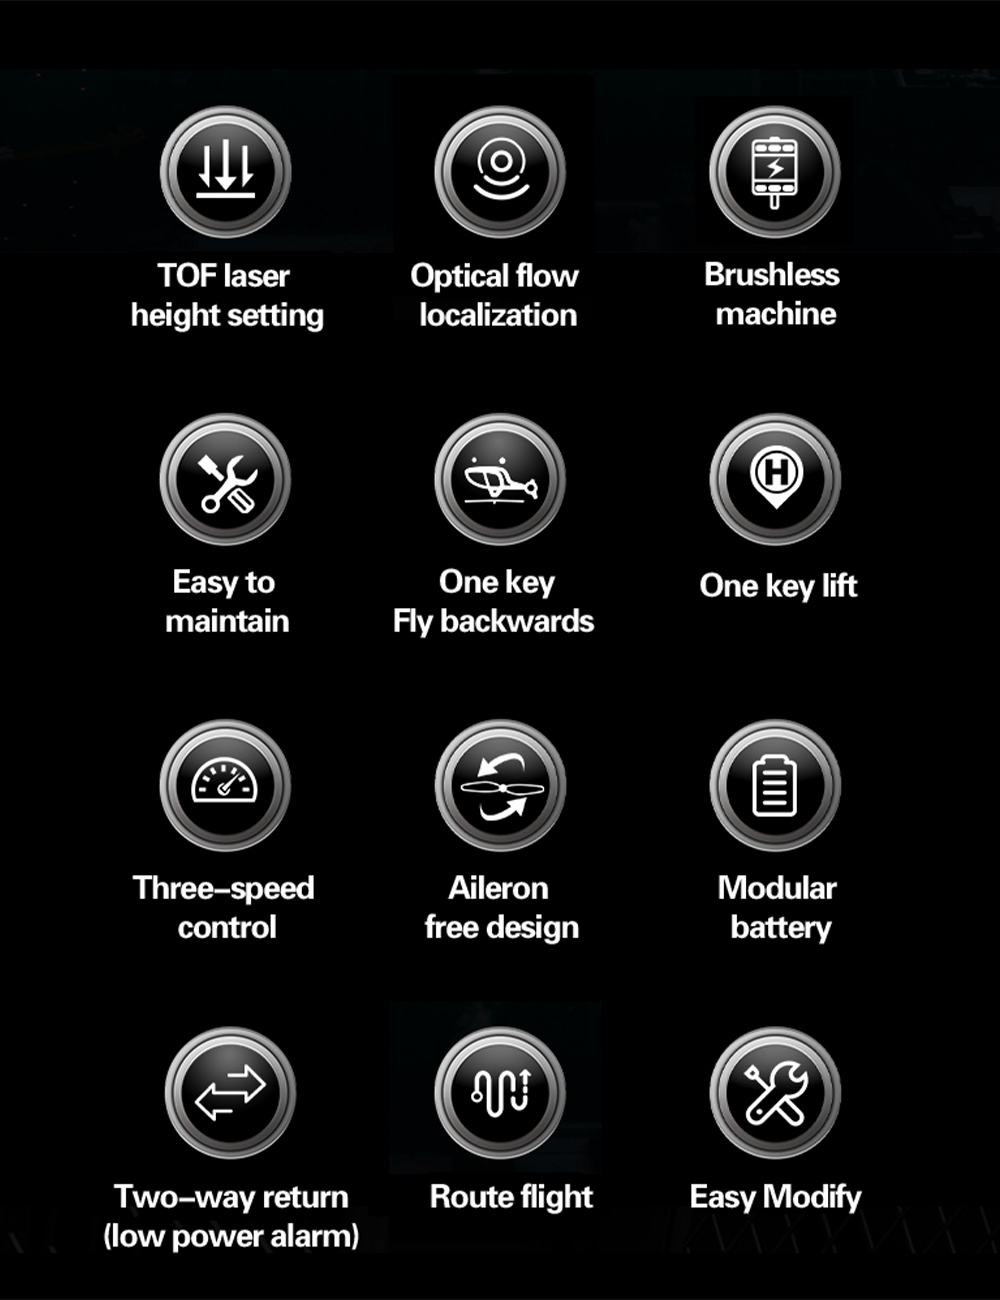
- Advanced Stabilization: Aileronless design, 6-axis electronic gyroscope, pressure gauge for altitude, optical flow positioning, and TOF LiDAR for precise height determination.
- 6-Channel Control: Provides comprehensive control over flight maneuvers with 3 digital servos for enhanced stability and wind resistance.
- Brushless Motor: Equipped with a powerful brushless motor for efficient and reliable performance.
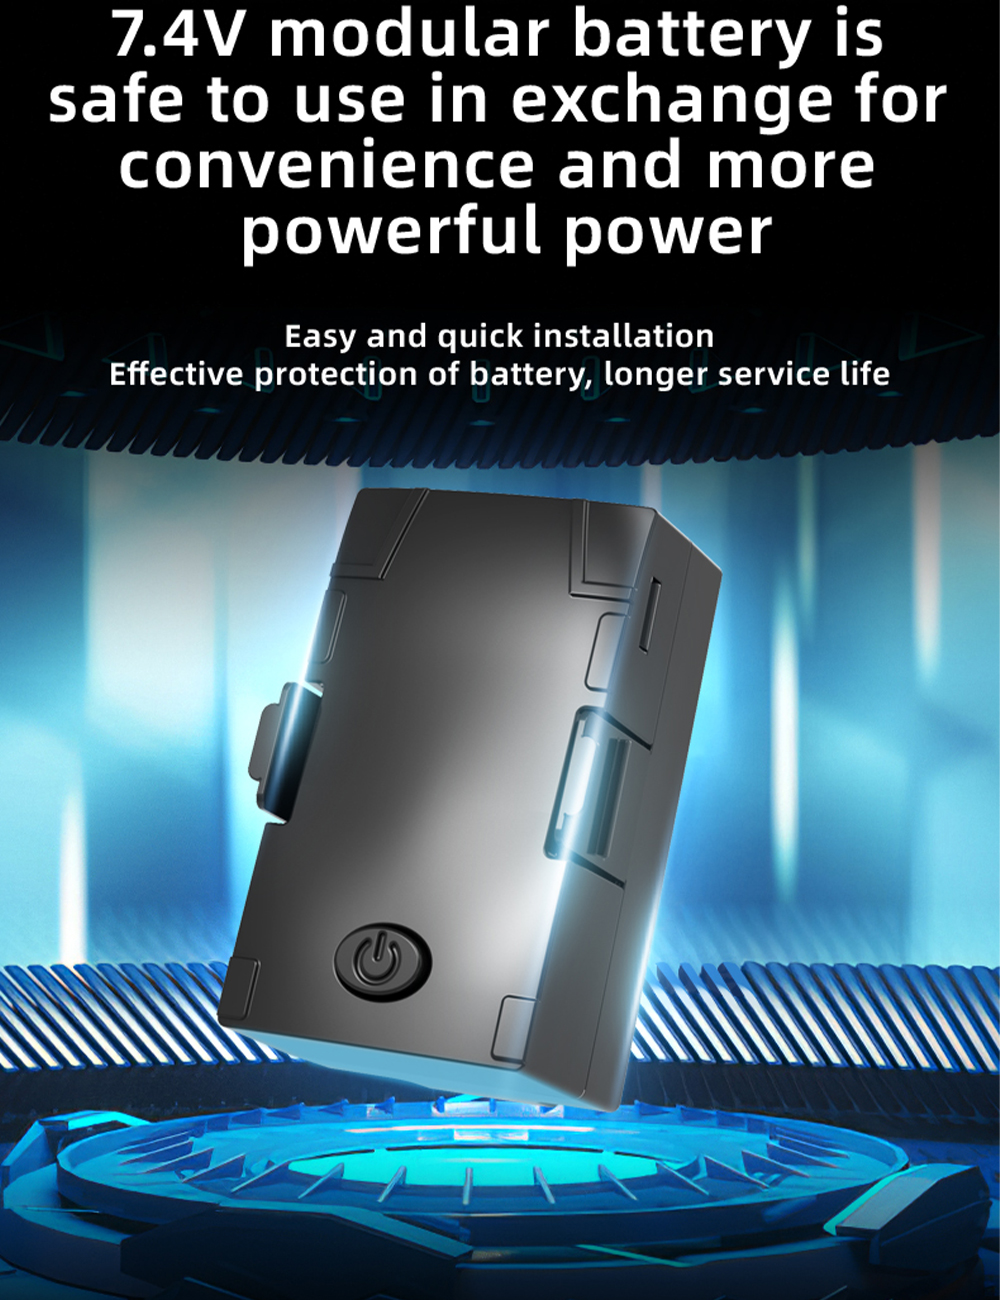
- Modular Battery: 7.4V 400mAh Lithium-ion modular battery for easy installation and replacement.
- Intelligent Protection: Features intelligent anti-stuck protection to prevent propeller damage during operation.
- Multiple Flight Modes: Includes one-key take-off/landing, one-key reverse flight (3D flight), three-speed control, and various directional flight capabilities.
4. Specifications
| Feature | Detail |
|---|---|
| Product Name | C032 1:48 Huey Helicopter |
| Material | Composite engineering materials/electronic components |
| Applicable Age | Over 14 years old |
| Remote Control Distance | 120-200 meters |
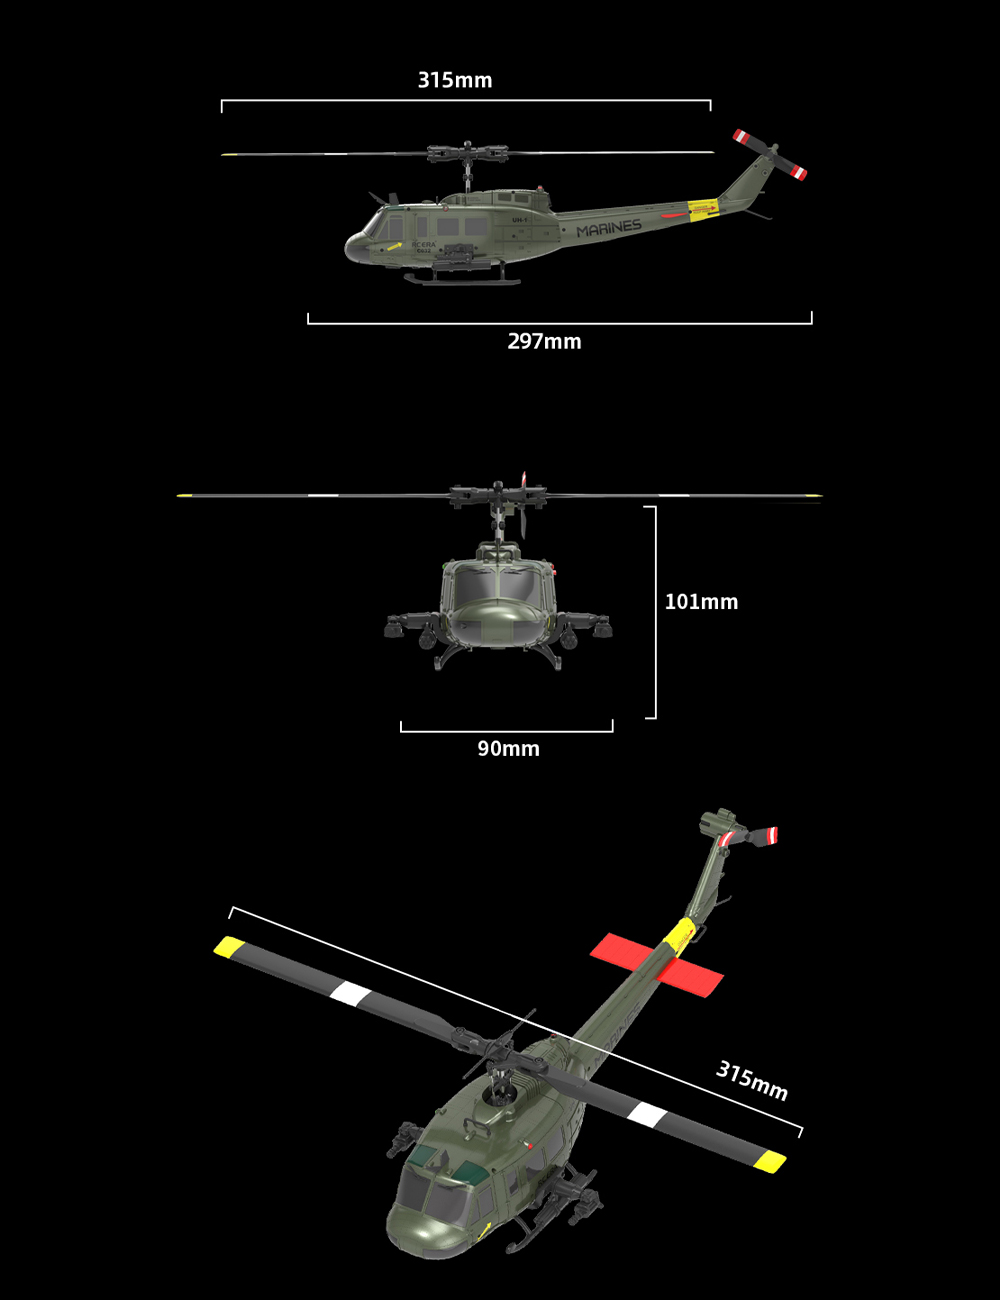
| Rotor Diameter | 315mm |
| Body Length | 297mm |
| Body Height | 101mm |
| Flight Time | Approximately 13 minutes |
| Helicopter Battery | 7.4V 400mAh Lithium-ion battery |
| Charging Time | Approximately 80 minutes |
| Remote Control Battery | 4 * 1.5AA (not included) |
| Motor Type | Brushless + Coreless |
| Drone Weight | 0.75KG |
| Dimensions | 315mm x 297mm x 101mm |
| Control Channels | 6 channels |
| Controller Mode | MODE2 |
| Features | App-Controlled, 6-axis Gyro, Optical Flow Positioning, TOF Laser Height Setting, One-Key Lift, One-Key Reverse Flight, Modular Battery |
| Anti-wind Ability | Level 1 |
5. Setup
5.1 Charging the Helicopter Battery
- Remove the 7.4V 400mAh Lithium-ion battery from the helicopter.
- Connect the battery to the provided USB charger.
- Plug the USB charger into a suitable USB power source (e.g., computer USB port, USB wall adapter).
- The charging indicator light on the charger will show the charging status. Charging typically takes about 80 minutes.
- Once fully charged, disconnect the battery from the charger.
5.2 Installing Remote Control Batteries
- Open the battery compartment on the back of the remote control.
- Insert 4 x 1.5AA batteries (not included), ensuring correct polarity.
- Close the battery compartment securely.
5.3 Initial Pairing and Calibration
- Place the helicopter on a flat, level surface.
- Turn on the remote control.
- Install the charged battery into the helicopter and turn on the helicopter's power switch.
- The helicopter and remote control will automatically pair. Wait for the indicator lights to stabilize, indicating a successful connection.
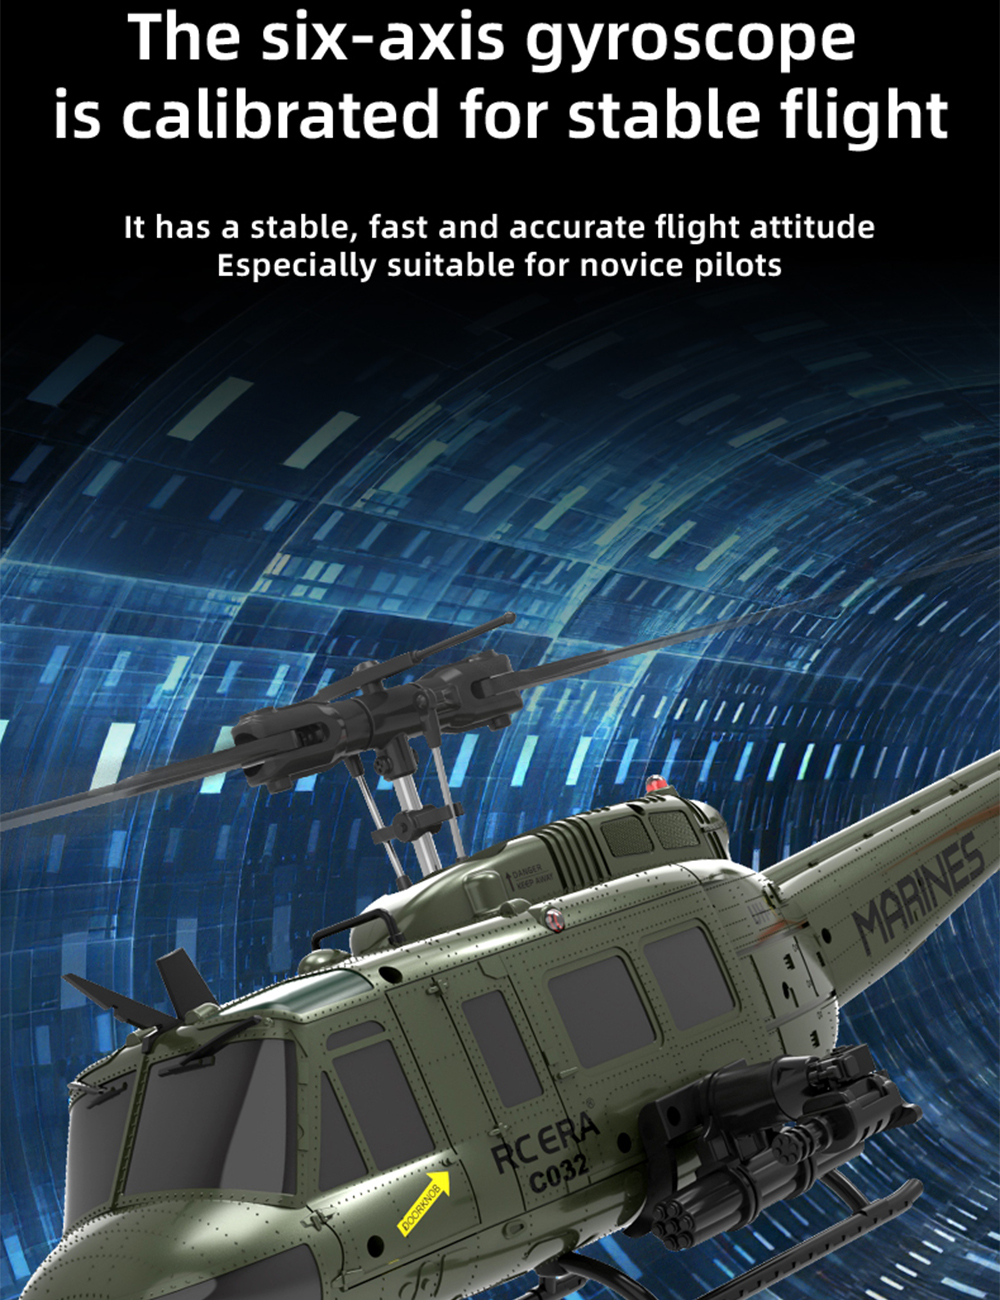
- The six-axis gyroscope will automatically calibrate for stable flight. Ensure the helicopter remains still during this process.
6. Operating Instructions
6.1 Remote Control Overview
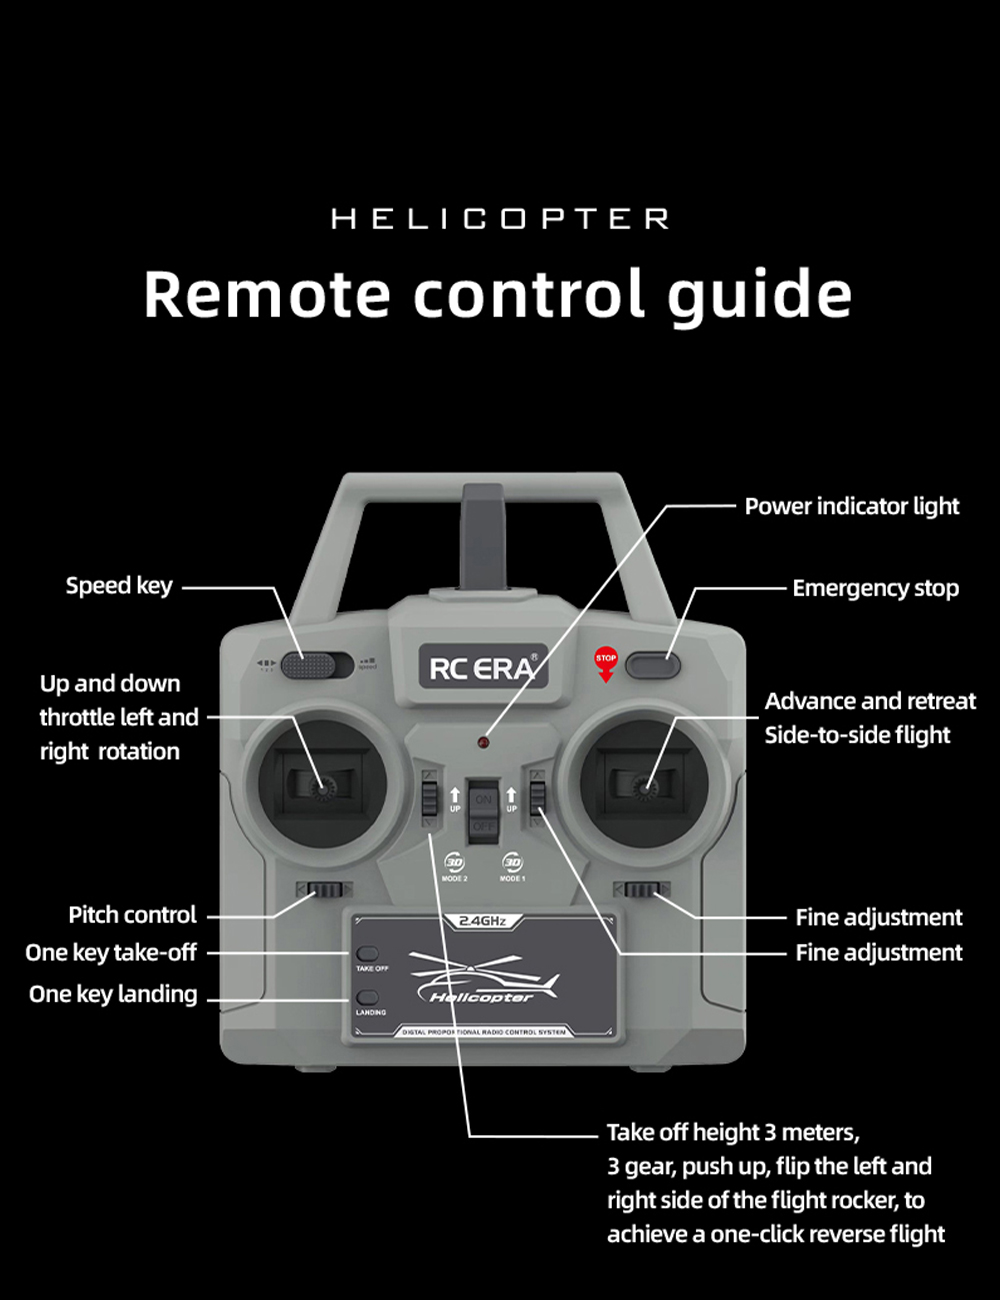
- Power Indicator Light: Shows the remote control's power status.
- Speed Key: Adjusts the helicopter's flight speed (Low, Moderate, High).
- Up and Down Throttle / Left and Right Rotation: Controls altitude and yaw.
- Pitch Control / One Key Take-off / One Key Landing: Controls forward/backward movement and initiates automatic take-off or landing.
- Emergency Stop: Immediately stops the helicopter in an emergency.
- Advance and Retreat / Side-to-Side Flight: Controls horizontal movement.
- Fine Adjustment: Used to trim the helicopter's flight for stability.
- One-Click Reverse Flight: Push up the throttle to 3 meters height, then push and flip the left and right side of the flight rocker to achieve a one-click reverse flight.
6.2 Basic Flight Controls
- Take-off: Press the "One Key Take-off" button or slowly push the throttle stick upwards.
- Landing: Press the "One Key Landing" button or slowly pull the throttle stick downwards.
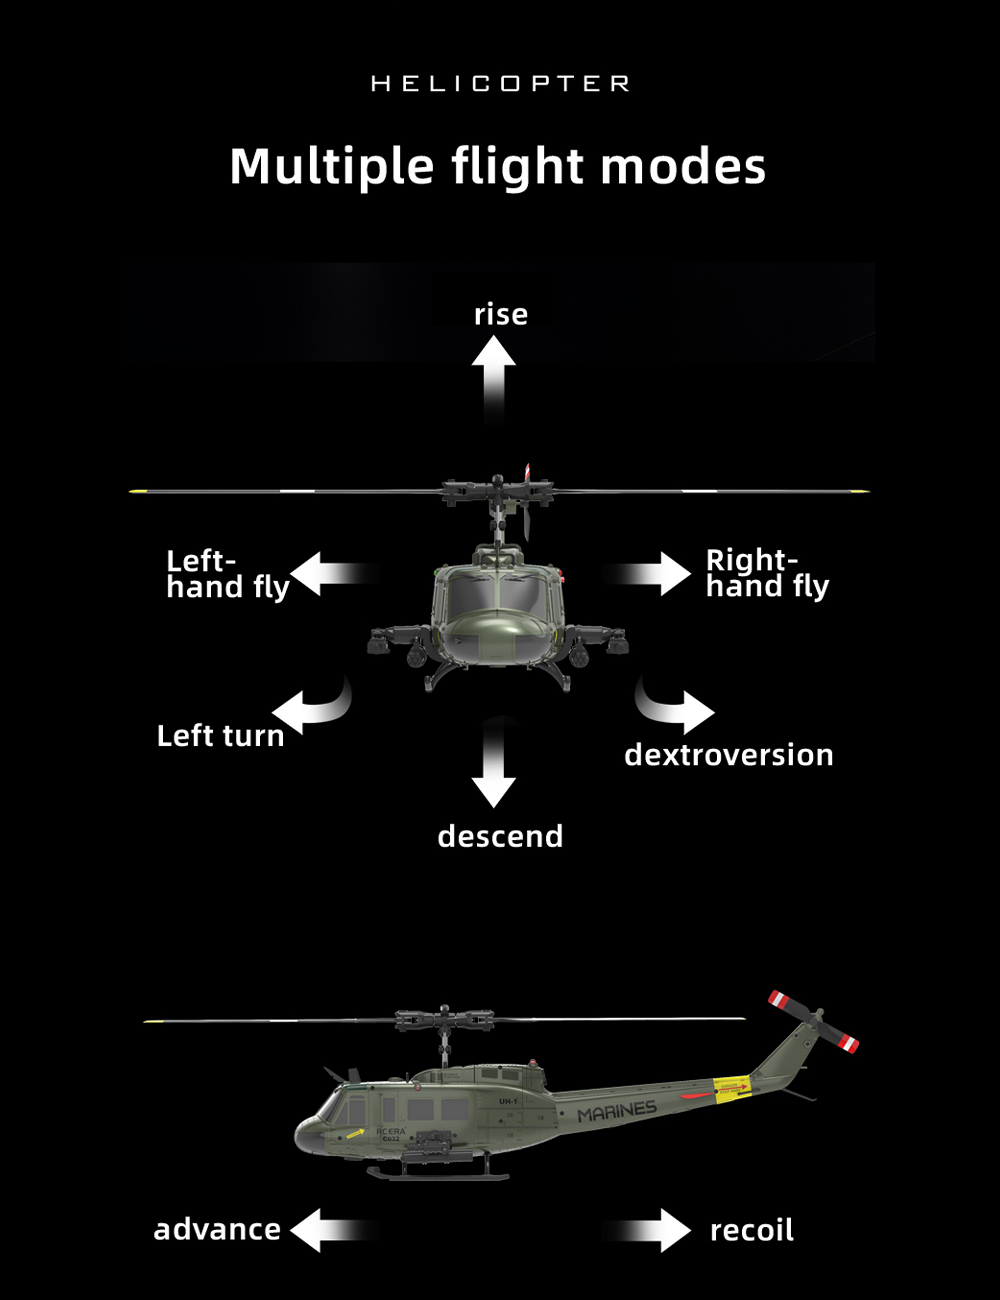
- Altitude Control: Use the left throttle stick (up/down) to control the helicopter's ascent and descent.
- Directional Control: Use the right stick to control forward, backward, left, and right flight.
- Turning (Yaw): Use the left throttle stick (left/right) to rotate the helicopter clockwise or counter-clockwise.
6.3 Advanced Flight Modes and Features
- Three-Speed Control: Use the Speed Key on the remote control to switch between low, moderate, and high-speed flight modes.
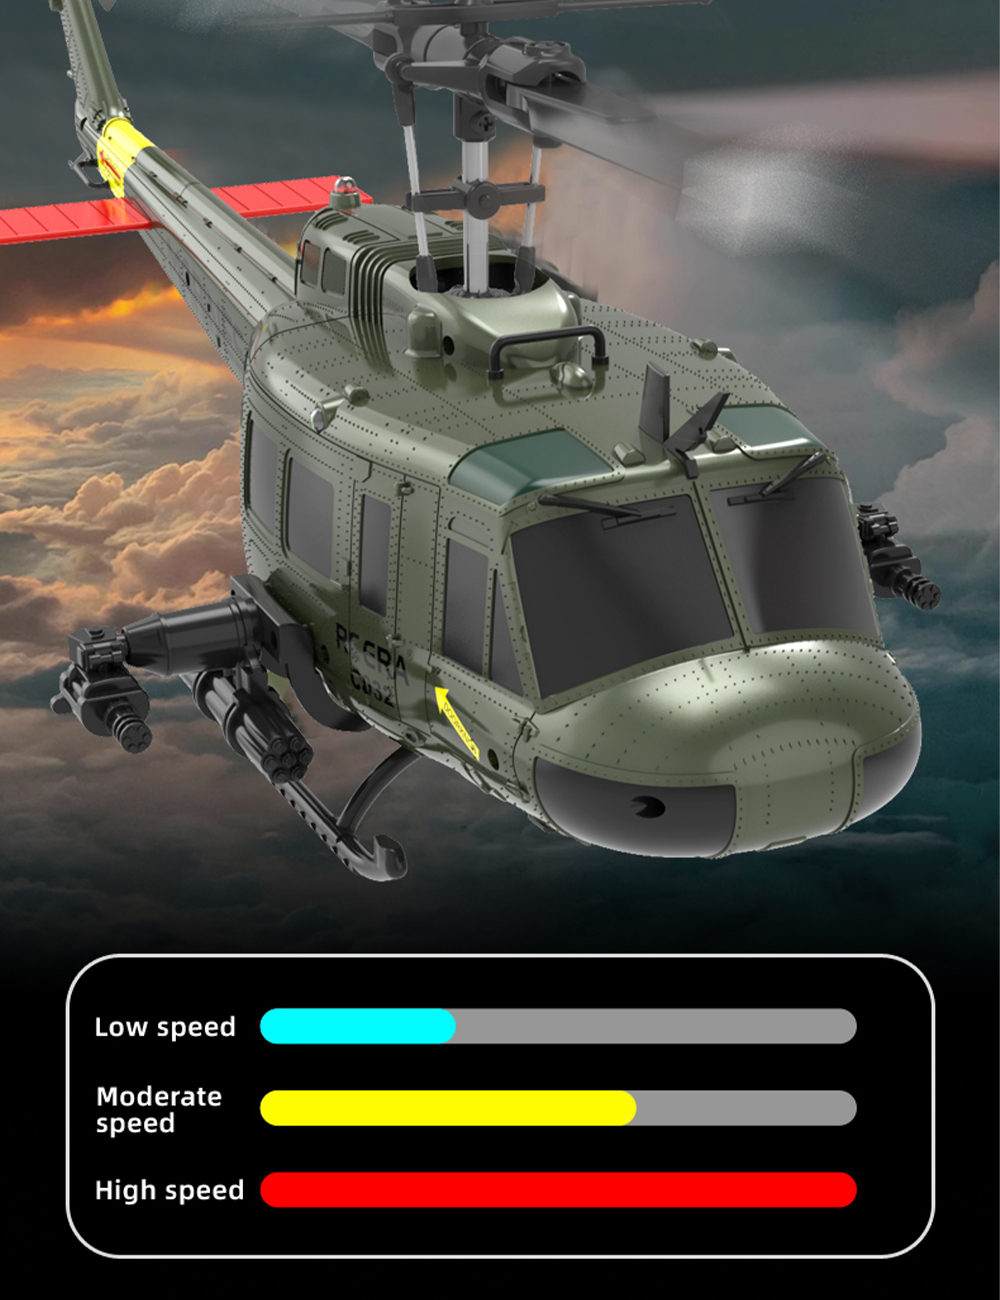
Image: Visual representation of the three-speed control settings: Low, Moderate, and High. - One-Key Reverse Flight (3D Flight): This mode allows for reverse hover maneuvers. Ensure you are in an open area away from people and that wind conditions are below force 5. Refer to the remote control guide for specific activation steps.
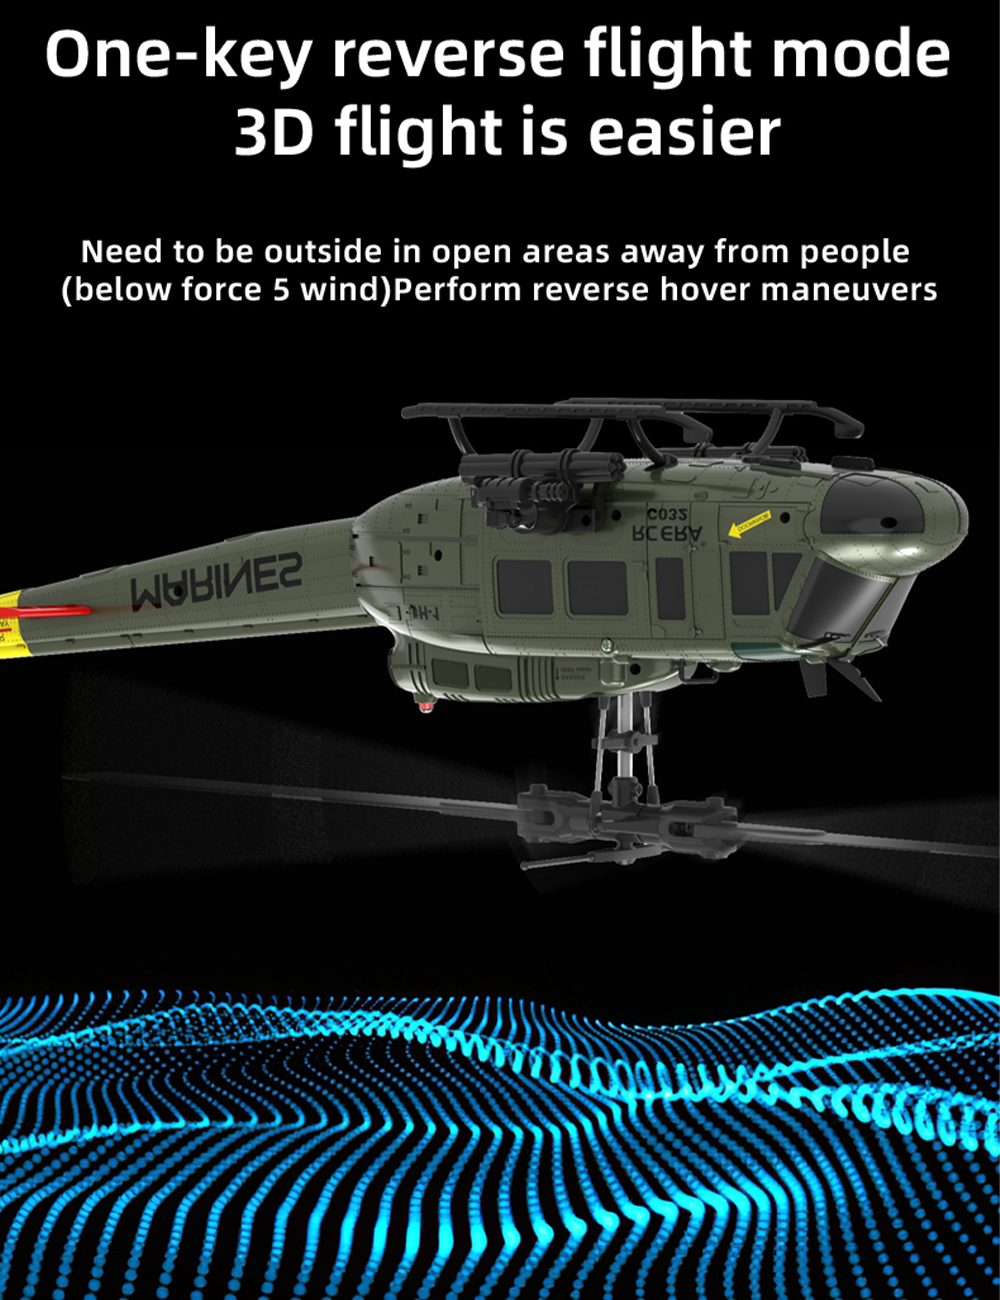
Image: The helicopter performing a one-key reverse flight maneuver, making 3D flight easier. - Pan Cleaning Stunt (Circling Flight): This feature allows the helicopter to perform circling maneuvers.
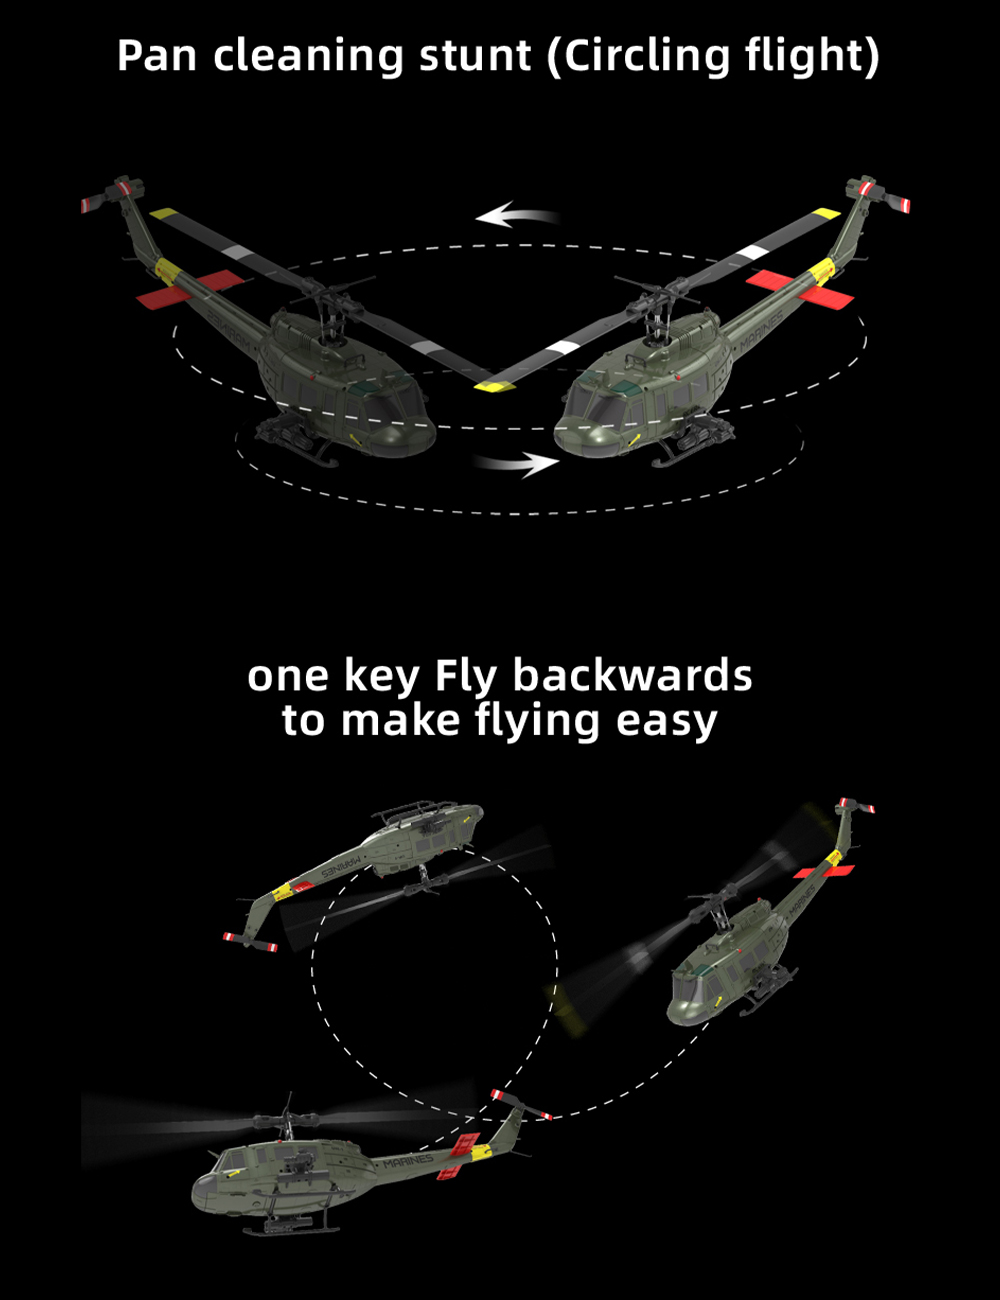
Image: Diagrams illustrating the pan cleaning stunt (circling flight) and the one-key fly backwards function. - Stable Hovering: The combination of TOF laser fixed height, air pressure fixed height, and optical flow positioning ensures a super stable hover, making it ideal for beginners.
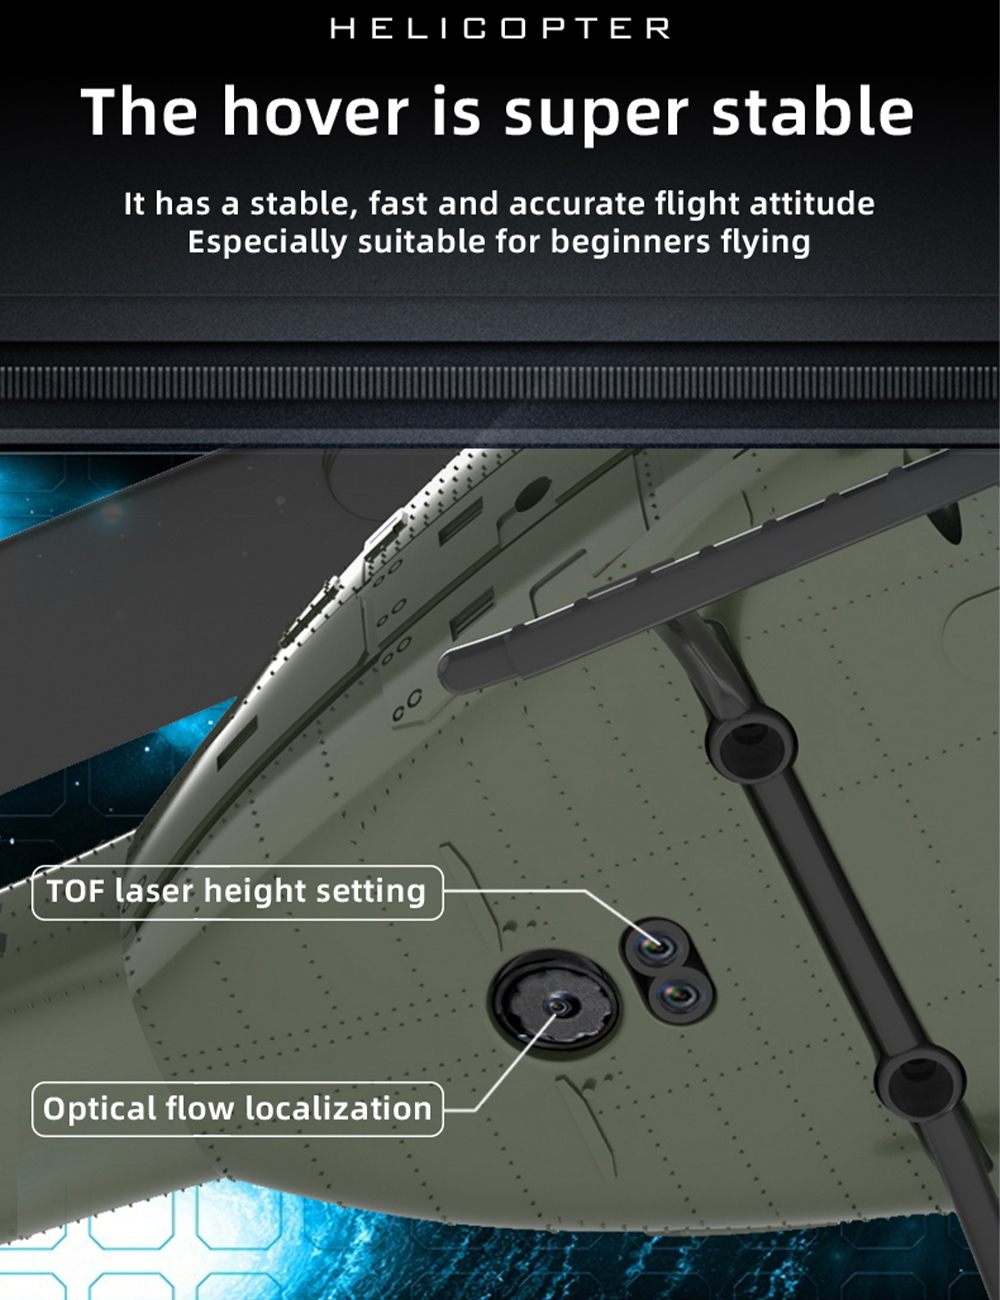
Image: Close-up of the helicopter's underside, highlighting the TOF laser height setting and optical flow localization sensors for stable hovering.
7. Maintenance
- Battery Care: Always disconnect the battery after use. Store batteries in a cool, dry place. Do not leave batteries charging unattended.
- Propeller Inspection: Regularly check propellers for any cracks, bends, or damage. Replace damaged propellers immediately using the provided spares.
- Cleaning: Use a soft, dry cloth to clean the helicopter body. Avoid using water or chemical cleaners.
- Storage: When not in use for extended periods, remove batteries from both the helicopter and the remote control. Store the helicopter in its original packaging or a protective case.
- Intelligent Anti-Stuck Protection: The helicopter is designed with automatic stall protection if propellers are obstructed. While this helps prevent damage, always ensure clear operation space.
8. Troubleshooting
| Problem | Possible Cause | Solution |
|---|---|---|
| Helicopter does not respond to remote control. | Low battery in helicopter or remote control; not paired correctly. | Charge helicopter battery, replace remote control batteries, re-pair helicopter and remote control. |
| Helicopter is unstable or drifts during flight. | Gyroscope not calibrated; strong wind conditions; damaged propellers. | Ensure helicopter is on a flat surface during startup for gyroscope calibration. Fly in calm conditions. Check and replace damaged propellers. Use fine adjustment trims on the remote control. |
| Propellers stop unexpectedly. | Intelligent anti-stuck protection activated due to obstruction; low battery. | Clear any obstructions from propellers. Charge helicopter battery. |
| Short flight time. | Battery not fully charged; aging battery. | Ensure battery is fully charged (approx. 80 minutes). Consider replacing the battery if it's old and performance has degraded. |
| Helicopter goes out of control. | Out of control protection activated; remote control range exceeded. | Ensure you are within the 120-200m remote control distance. Check for signal interference. |
9. User Tips
Based on common user experiences and product features, here are some tips for optimal enjoyment:
- Practice in Low Speed: For beginners, start with the low-speed mode to get accustomed to the controls before attempting moderate or high speeds.
- Open Space is Key: Always fly in a wide-open area to prevent collisions and allow for full maneuverability, especially when practicing advanced stunts like reverse flight.
- Battery Management: Carry extra charged batteries for longer flight sessions, as the modular design makes swapping quick and easy.
- Wind Awareness: Even with good wind resistance, avoid flying in strong winds to maintain better control and prevent accidental crashes.
10. Warranty and Support
Please note that this product is generally offered without a specific warranty. If you receive a defective item, please contact the seller immediately with pictures or video evidence for assistance.
For further support or inquiries, please refer to the seller's contact information provided at the time of purchase.