
Introduction
This manual provides comprehensive instructions for the safe and efficient use of your XGODY Projector A6/N6 Pro. Please read this manual carefully before operation and retain it for future reference.
Safety Precautions
Observe the following safety guidelines to prevent damage to the projector or injury to yourself:
- The projector is not dustproof or waterproof. Avoid exposure to rain or fog to reduce the risk of fire and electric shock.
- Use only the original power adapter. Ensure the projector operates under the specified rated power supply.
- Do not look directly into the lens when the projector is operating, as the strong light can cause eye strain or discomfort. Children should use the projector under adult supervision.
- Do not cover the projector's vents. Obstructed ventilation can lead to overheating, reducing the projector's lifespan and posing a safety hazard.
- Regularly clean the projector vents. Dust accumulation can cause cooling malfunctions.
- Avoid using the projector in greasy, damp, dusty, or smoky environments. Oil or chemicals can cause malfunctions.
- Handle the projector with care during daily use.
- Disconnect the power supply if the projector will not be used for an extended period.
- Non-professionals are prohibited from disassembling the projector for testing or maintenance.
Package Contents
Verify that all items are present in the package:
- Smart Projector (x1)
- Remote Control (x1, batteries not included)
- HDMI Cable (x1)
- Power Cable (x1)
- Projector User Manual (x1)

Structure Description
Familiarize yourself with the physical components and ports of your projector:


Getting Started
Initial Setup
- Connect the power cable to the projector.
- Press the power button to turn on the projector.

Focus Adjustment
Use the manual focus by pressing the "Focus" button (F+ / F-) on the remote control to achieve the best clarity.
Tip:
- Ensure the projector is horizontal to the projection screen for optimal image quality.
- If images appear blurry, navigate to "Settings" > "Lens" > "Autofocus Settings" on the homepage to adjust clarity.

Operating Instructions
Remote Control Functions
The remote control provides access to various projector functions:

Note:
- For Bluetooth remote control pairing, press the "Voice input" button to access the matching guide.
Homepage User Interface (UI)
The homepage provides access to various settings and applications:

- Settings: Configure WiFi, Bluetooth, projection settings, and other system preferences.
- Source: Connect an HDMI output device. Select HDMI on the homepage to project content from the connected device.
- History: View a record of application usage and video recordings.
- Dock: Access all installed applications.
Network Configuration (WiFi & Bluetooth)
To connect your projector to a network or Bluetooth device:

- WiFi: Go to "Settings" > "Network" > "WiFi". Enable WiFi, select your desired network, and enter the password.
- Bluetooth: Go to "Settings" > "Network" > "Bluetooth". Enable Bluetooth, search for devices, and select the device you wish to pair.
- HDMI CEC: If your HDMI output device supports CEC, you can control it using the projector's remote control.
Lens Settings
Adjust projection parameters for optimal viewing:

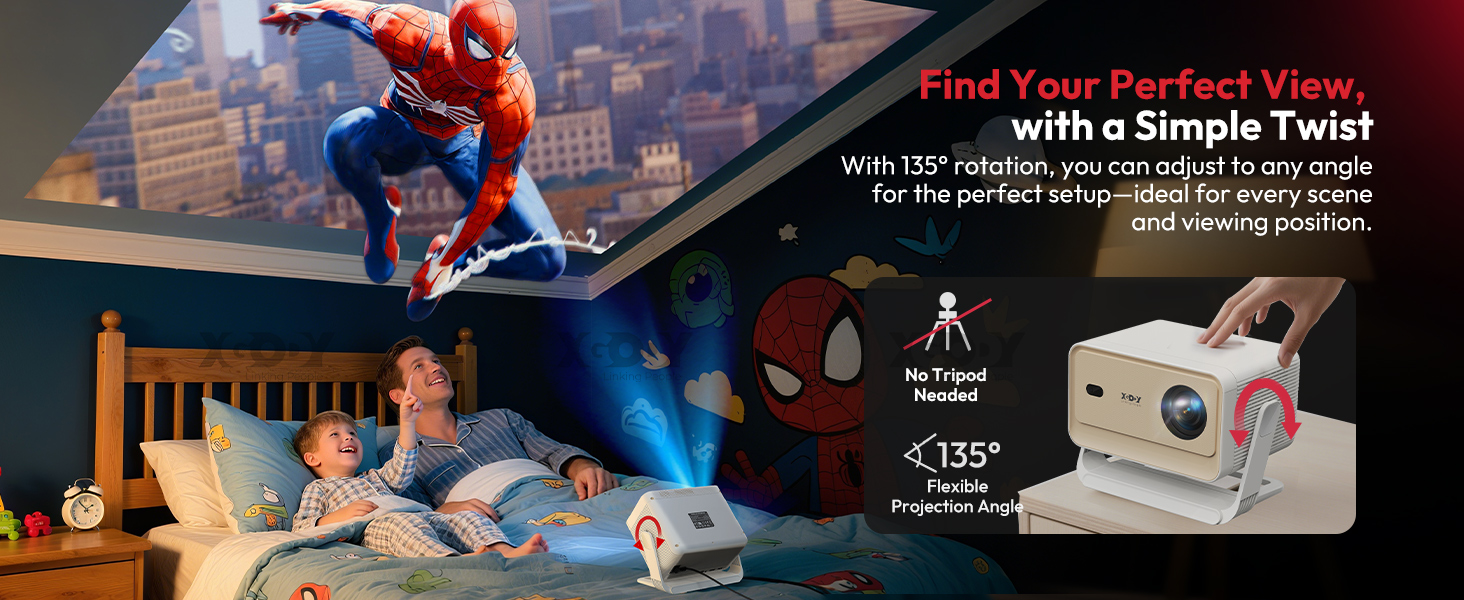
- Projection Direction: Choose the projection direction based on your installation method (e.g., Front, Rear, Ceiling front, Ceiling rear).
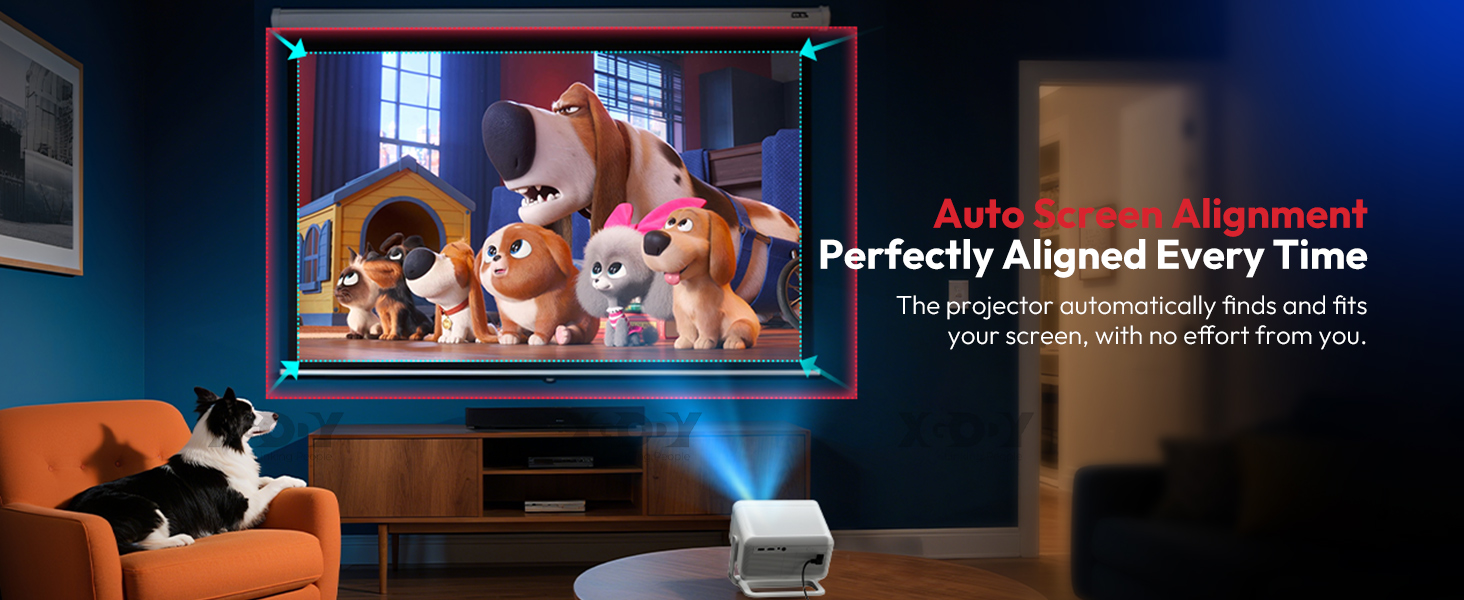
- Auto Focus: The projector automatically focuses and adjusts sharpness when restarted or moved.
- Auto Keystone Correction: Automatically adjusts irregular trapezoidal images to a standard rectangular shape when the projector's placement changes.
- Screen Recognition: The device automatically detects the screen's position, size, and shape, adjusting the projected image to match the screen edges.
- Obstacle Recognition: Automatically detects and avoids obstacles in the projection path by adjusting the image position, size, or angle.
- Digital Zoom: Adjust the projection screen size.
Device Preference
Customize general device settings:

- Language: Set the system language.
- Date and time: Set the system date and time format.
- Device Mode: Adjust the brightness according to your usage scenario (Energy Saving, Standard, High Brightness).
- About: View local device information and regulatory details.
- Reset Projector: Clear all data and restore factory settings.
Screen Casting
Share content from your mobile devices to the projector.
TV Casting (Android/iOS)
Android and iOS devices must be on the same network as the projector.

- Your device can download a TV casting app to use the screen mirroring function.
- Air Play: If you have an iOS device, open the TV casting app on your projector and use Air Play to cast your screen.
MediaCast (Android)
Supports wireless screen projection for Android 10 and above. The Android mobile/tablet must be on the same WiFi as the projector.

- Open the settings menu on your Android Mobile/Tablet.
- Access your display settings or screen mirroring option.
- Select "Projector: Whale TV (XXXX)" to connect.
Whale OS Features
The projector runs on Whale OS, an operating system optimized for large screens:
- Lightweight & Fast: Optimized for quick boot-up and faster response times.
- Whale Vision Engine: AI upscaling technology enhances 1080p images to near-4K clarity with dynamic color and contrast.
- Voice Control: The built-in Whale AI Voice Assistant understands natural commands for easy navigation and content search.
- Pre-installed Content: Comes with officially licensed Netflix, YouTube, and Prime Video (region dependent). Access to a 4K EDU/Documentary Hub.


Brightness Adjustment Modes
The XGODY N6 Pro offers three brightness modes:
- Energy Saving Mode: Ideal for watching movies in dark environments.
- Standard Mode: General use.
- High Brightness Mode: Best suited for viewing indoors with natural light.
Connectivity
The projector supports various connections for versatile use:
- Input/Output: HDMI, USB, 3.5mm Audio Jack
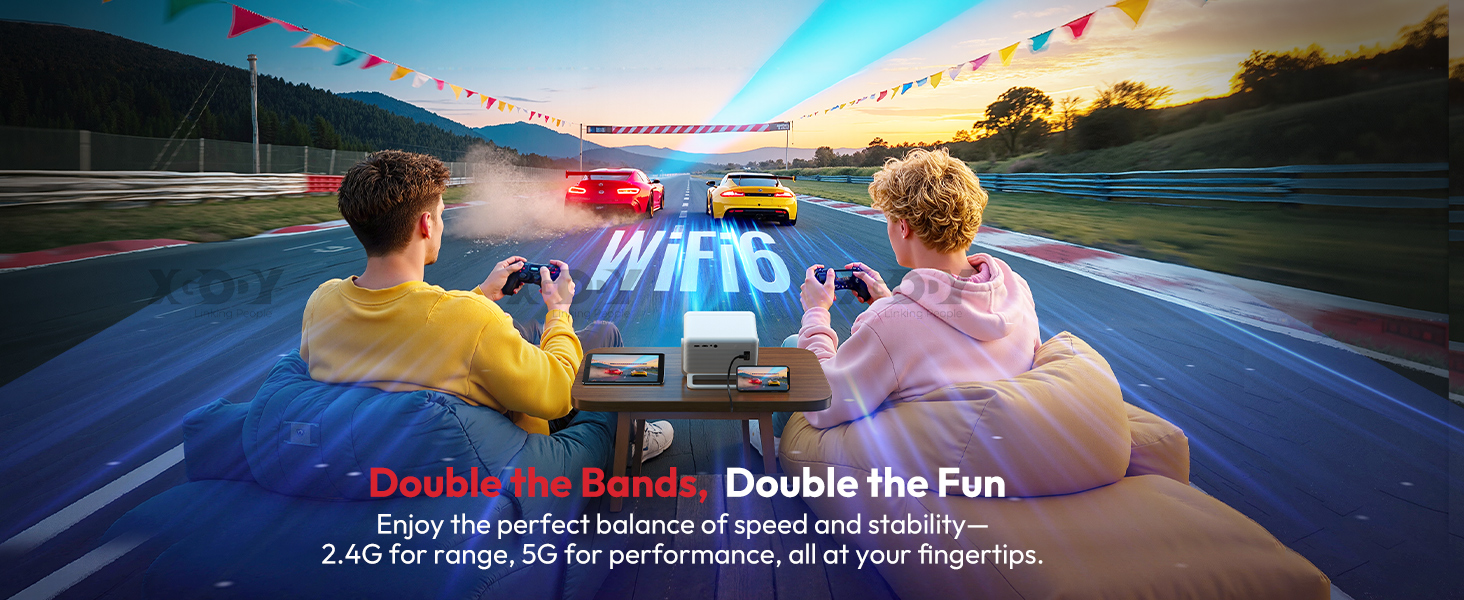
- Wireless: Wi-Fi 6 (2.4G and 5G bands), Bluetooth 5.4
Maintenance
Cleaning the Projector
Follow these steps to clean the projector's internal components:
- Prepare a screwdriver and unscrew the necessary screws to access the internal area.
- Clean the projector's internal components using a cotton swab.
- Reinstall the bottom cover after cleaning.


Placement and Environment
Proper placement ensures optimal performance and longevity:

- Place the projector horizontally and maintain at least 30 cm of space between the projector and any obstacles to ensure proper ventilation and performance.
- Do not install in areas with poor ventilation.
- Avoid high temperature or humid environments.
- Do not block the vents.
- Do not install in dusty or smoky places.
Troubleshooting
Common Issues and Solutions
- Blurry Images:
- Navigate to "Settings" > "Lens" > "Autofocus Settings" on the homepage to adjust clarity.
- Press the F+ or F- focus buttons on the remote control for manual adjustment.
- Ensure the projector is horizontal to the screen.
- Operating System Stuttering:
- While the Whale OS is generally smooth, occasional stuttering may occur. Ensure no excessive background applications are running.
- Consider performing a "Reset Projector" from "Device Preference" settings if issues persist, noting this will clear all data.
- Dust Inside Projector / Dirty Image:
- Follow the "Cleaning the Projector" instructions in the Maintenance section to clean internal components.
- Fan Noise:
- A slight fan noise is normal during operation. The built-in speaker's sound quality should generally cover it.
- Ensure proper ventilation as described in the "Placement and Environment" section to prevent the fan from working harder due to overheating.
- Remote Control Slow Response:
- Check battery levels in the remote control.
- Ensure there are no obstructions between the remote control and the projector's IR receiver.
Specifications
| Feature | Detail |
|---|---|
| Brand | XGODY |
| Model | A6/N6 Pro |
| Native Resolution | 1920x1080dpi (Optical Resolution) |
| Brightness | 600 ANSI Lumens / 25,000 Lumens |
| Contrast Ratio | 15,000:1 |
| Projected Dimension | 40-200 inches |
| Projection Distance | 1.05m-3.15m (optimal viewing 1-3m) |
| Projection Technology | LCD |
| Light Source | LED |
| Light Source Operating Life | 50,000 hours |
| System | Android (Whale OS) |
| Internal Storage | 32GB ROM |
| Input/Output | HDMI, USB, 3.5mm Audio Jack |
| Wireless Connectivity | Wi-Fi 6, Bluetooth 5.4 |
| Keystone Correction | Auto Correction |
| Auto Focus | Yes |
| Built-in Speaker | Yes |
| Remote Controller Included | Yes |
| Power (W) | 80w |
| Power Source | DC (100-240AC/50-60Hz) |
| Product Size | 222 x 151 x 175 mm (including mount) |
| Weight | 1.7kg |
| FCC ID | 2BDRG-N6PRO |


User Tips
- For the best viewing experience, especially for dark scenes, use the projector in a dark environment.
- Utilize the built-in apps (Netflix, YouTube, Prime Video) directly to avoid casting issues and save phone battery.
- If you need a longer power cable, consider purchasing an extension.
- The auto-focus and keystone correction features are highly effective; let them work automatically for quick setup.
- For gaming, users report no noticeable delay, making it suitable for console connections.
Frequently Asked Questions (FAQ)
- What Android version does it use?
The projector uses Whale OS, which is based on Android.
Regulatory Information
FCC Statement
This equipment has been tested and found to comply with the limits for a Class B digital device, pursuant to part 15 of the FCC Rules. These limits are designed to provide reasonable protection against harmful interference in a residential installation. This equipment generates, uses and can radiate radio frequency energy and, if not installed and used in accordance with the instructions, may cause harmful interference to radio communications. However, there is no guarantee that interference will not occur in a particular installation. If this equipment does cause harmful interference to radio or television reception, which can be determined by turning the equipment off and on, the user is encouraged to try to correct the interference by one or more of the following measures:
- Reorient or relocate the receiving antenna.
- Increase the separation between the equipment and receiver.
- Connect the equipment into an outlet on a circuit different from that to which the receiver is connected.
- Consult the dealer or an experienced radio/TV technician for help.
Caution:
Any changes or modifications to this device not explicitly approved by the manufacturer could void your authority to operate this equipment.
This device complies with part 15 of the FCC Rules. Operation is subject to the following two conditions: (1) This device may not cause harmful interference, and (2) this device must accept any interference received, including interference that may cause undesired operation.
RF Exposure Information
This equipment complies with FCC radiation exposure limits set forth for an uncontrolled environment. This equipment should be installed and operated with a minimum distance of 20cm between the radiator and your body.
Recycling
This product bears the selective sorting symbol for Waste Electrical and Electronic Equipment (WEEE). This indicates that the product must be handled according to European directive 2012/19/EU for recycling or dismantling to minimize environmental impact. Users can choose to deliver the product to a competent recycling organization. This product is suitable for use across EU member states.
EU Compliance Statement
SHEN ZHEN XIN SHENG SHANG TECHNOLOGY CO., LTD hereby declares that this device is in compliance with the essential requirements and other relevant provisions of Directive 2014/53/EU.
A copy of the EU Declaration of Conformity is available online at https://xgody.com/pages/doc
Support
For any issues or technical support, please contact us:
Email: support@xgody.com
Please include your model number and a detailed description of the issue for faster assistance.