1. Introduction
This manual provides comprehensive instructions for the installation, setup, and operation of your new Wireless Carplay and Android Auto Interface Box. This device is designed to seamlessly integrate Apple CarPlay and Android Auto functionalities with your vehicle's original infotainment system, enhancing your driving experience with navigation, music, communication, and more, all while retaining the original car features.
2. Compatibility
This interface box is compatible with specific Opel and Vauxhall models manufactured between 2011 and 2015, equipped with the following original head units:
- Opel Regal
- Vauxhall Insignia
- Vauxhall Mokka
- Vauxhall Astra
- Vauxhall Meriva B
- Vauxhall Zafira
Compatible Head Units:
- CD500
- CD600
- NAVI600
- NAVI900
- NAVI950

3. Key Features
- Full Apple CarPlay Functionality (Wireless & Wired)
- Full Android Auto Functionality (Wireless & Wired)
- Utilizes Original Screen and Controls (Steering wheel buttons, knob control)
- Full GPS Navigation via Apple Maps, Google Maps, or Waze
- Music Streaming via Spotify, Apple Music, etc.
- Handsfree Calling and Messaging via Siri/Voice Assistant
- U Disk Playback (Audio/Video)
- Reversing Radar Support (Original parking sensors)
- Mirror-link Functionality
- Supports Original Cameras and Aftermarket Cameras
- Built-in WIFI and Bluetooth
- Plug and Play cable design for easy installation
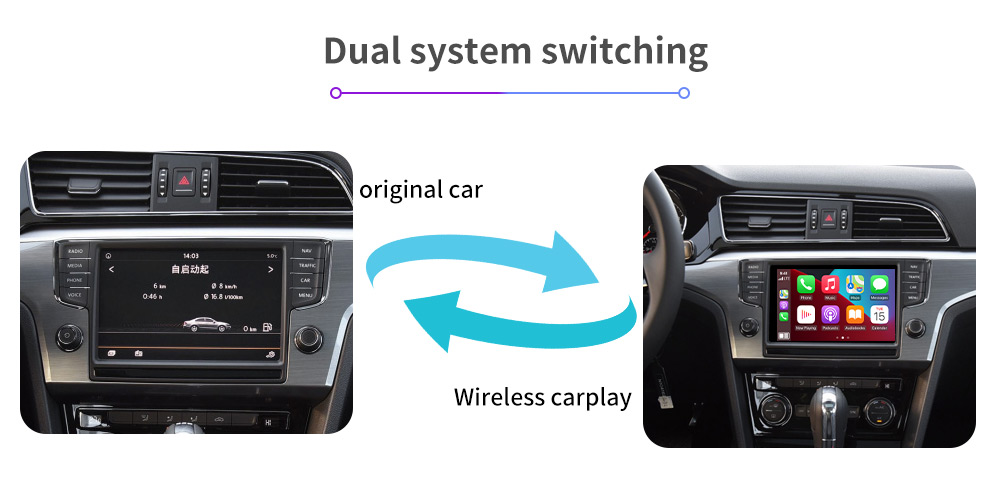
- Dual system switching between original car system and Carplay/Android Auto


4. Package Contents
Please check the box for the following items:
- Carplay & Android Auto Interface Box (Main Unit)
- Main Wiring Harness
- USB Cable
- WIFI Antenna
- User Manual (This document)

5. Installation Guide
5.1 Pre-installation Checklist
- Ensure your vehicle is compatible with the interface box (refer to Section 2).
- Turn off the vehicle's ignition and disconnect the car battery before starting installation.
- Gather necessary tools (e.g., trim removal tools, screwdrivers).
- Familiarize yourself with your car's dashboard disassembly process.
5.2 DIP Switch Settings
Before installation, configure the DIP switches on the interface box according to your car model and screen resolution. Incorrect settings may result in display issues or non-functionality.

DIP Switch Configuration Details:
| Model | 680*480 6" | 800*480 7" |
|---|---|---|
| CD500 | 0000 | 0001 |
| CD600 | 0010 | 0011 |
| NAVI600 | 0100 | 0101 |
| NAVI900 | 0110 | 0111 |
| NAVI950 | 1000 | 1001 |
5.3 General Installation Steps
- Carefully remove the car's original head unit from the dashboard. Refer to your vehicle's specific service manual for detailed instructions on dashboard disassembly.
- Locate the original wiring harness connected to the head unit.
- Connect the provided main wiring harness from the interface box to the car's original wiring harness (plug and play).
- Connect the other end of the main wiring harness to the interface box.
- Connect the USB cable and WIFI antenna to the designated ports on the interface box.
- If installing an aftermarket camera, connect it to the appropriate camera input on the interface box.
- Secure the interface box in a suitable location behind the dashboard, ensuring it does not interfere with other components.
- Reconnect the car battery.
- Test the system before fully reassembling the dashboard.
6. Initial Setup
6.1 Connecting to Wireless CarPlay/Android Auto
- After installation, start your car and switch to the interface box system (refer to Section 7.1).
- On your iPhone, go to Settings > Bluetooth and pair with the device named "Carplay" or similar.
- Once paired via Bluetooth, your iPhone will prompt you to enable Wireless CarPlay. Confirm to connect.
- For Android phones, ensure Bluetooth is on and connect to the device. Follow the prompts on your phone and the car screen to set up Android Auto.
6.2 Connecting via USB
- Connect your iPhone or Android phone to the USB port of the interface box using a high-quality data cable.
- CarPlay or Android Auto should launch automatically on the car's screen.
- The USB connection also charges your device.
7. Operating Instructions
7.1 Switching Between Systems
To switch between the original car system and the Carplay/Android Auto interface, use the designated steering wheel button or knob control. A long press on the 'SRC' button (or similar, depending on your car model) is typically used to switch systems.
7.2 Steering Wheel Controls
The interface box retains the functionality of your original steering wheel buttons. Refer to the diagram below for common functions:

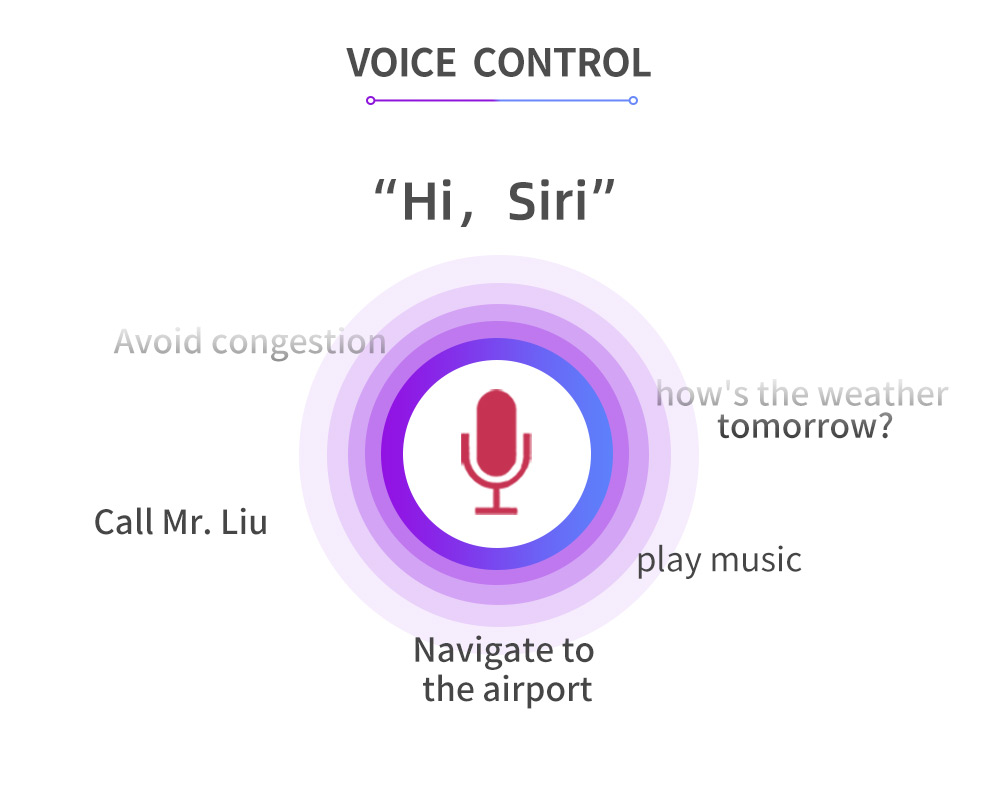
7.3 Voice Control
Activate voice control (Siri for CarPlay, Google Assistant for Android Auto) by a long press on the designated steering wheel button or by saying "Hey Siri" or "OK Google" if enabled on your phone. Use voice commands for navigation, calls, music playback, and more.

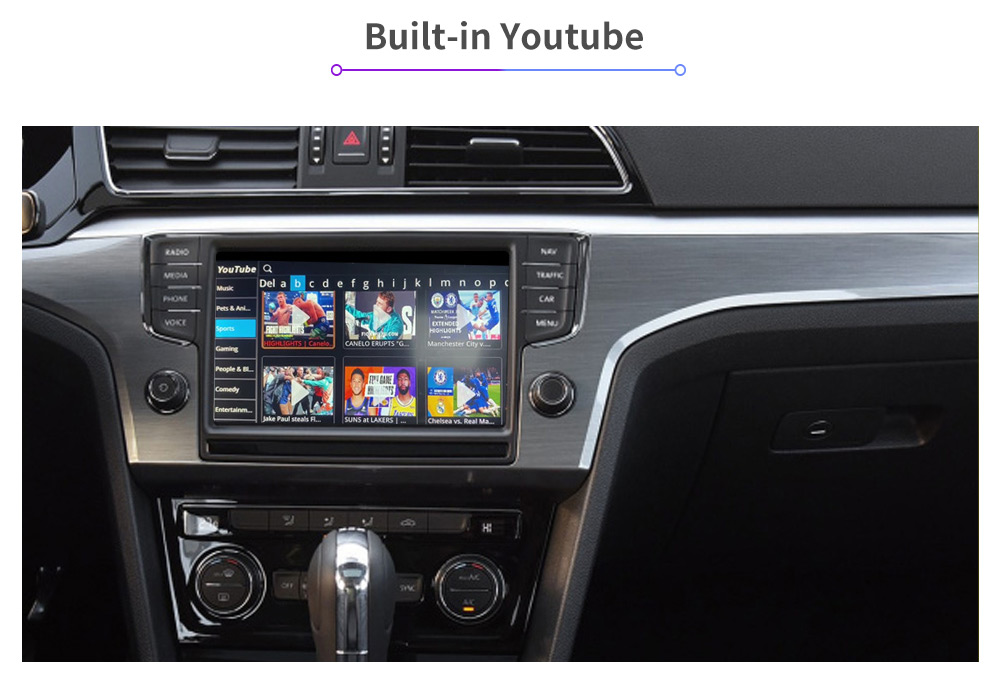
7.4 Using Navigation, Music, and Other Apps
Once connected, you can access all compatible apps from your smartphone directly on the car's screen. Use the car's original controls (knobs, steering wheel buttons) or touch screen (if available) to navigate through the Carplay/Android Auto interface.
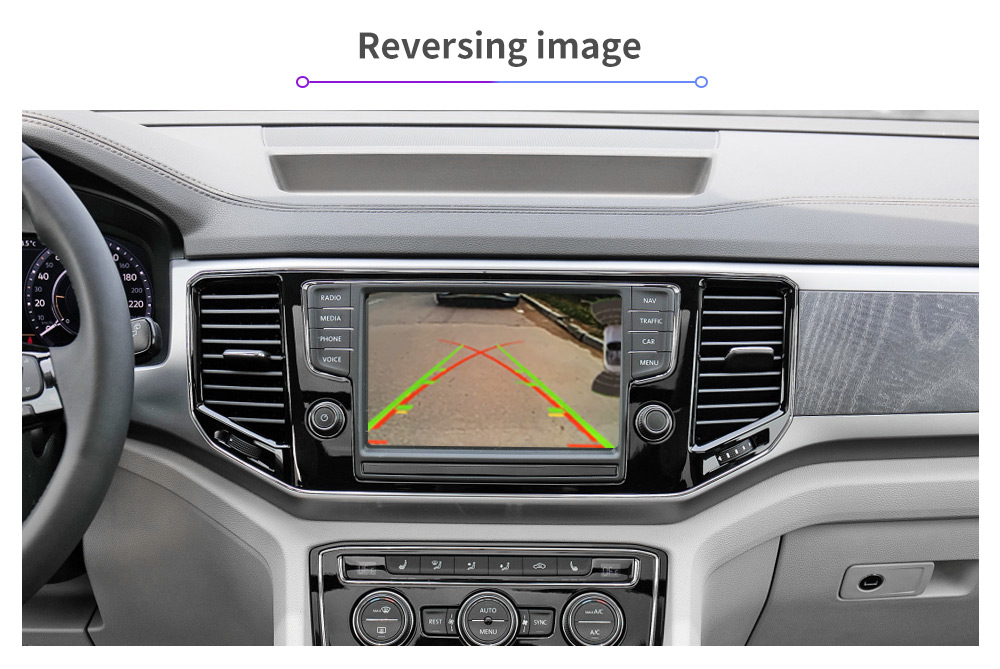
7.5 Reversing Camera Display
The interface box automatically switches to the reversing camera view when the vehicle is put into reverse gear, supporting both original and aftermarket cameras.
8. Troubleshooting
| Issue | Possible Cause | Solution |
|---|---|---|
| No display after installation | Incorrect DIP switch settings, loose connections, incompatible head unit. | Verify DIP switch settings (Section 5.2). Check all wiring connections. Confirm car model and head unit compatibility. |
| CarPlay/Android Auto not connecting wirelessly | Bluetooth not paired, Wi-Fi not enabled, phone settings. | Ensure Bluetooth is paired and Wi-Fi is enabled on your phone. Check phone settings for CarPlay/Android Auto permissions. Try restarting both phone and car system. |
| Audio issues (no sound, distorted sound) | Incorrect audio source selected in car, loose audio cable connection. | Ensure the car's audio input is set to AUX or the correct media source. Check audio cable connections. |
| Steering wheel controls not working | Incorrect wiring, system not fully initialized. | Verify wiring harness connections. Restart the car and interface box. |
| Reversing camera not displaying | Camera not connected, faulty camera, incorrect settings. | Check camera wiring. Ensure camera is functional. Some systems may require specific camera input activation. |
9. Specifications
| Feature | Detail |
|---|---|
| Compatibility | Opel/Vauxhall Regal, Insignia, Mokka, Astra, Meriva B, Zafira (2011-2015) with CD500/CD600/NAVI600/NAVI900/NAVI950 head units |
| Connection Type | Wireless (Wi-Fi/Bluetooth), USB connection |
| Control Method | Siri voice control, original car knobs, steering wheel buttons |
| Parking Sensor Support | Supports original parking sensors |
| Camera Support | Supports original cameras and aftermarket cameras |
| USB Port | 1 |
| WIFI | Built-in |
| Bluetooth | Built-in |
| Package Weight | 1.6 kg |
| Package Dimensions | 20 cm (L) x 16 cm (W) x 5 cm (H) |
10. User Tips
- Verify Car Model Year: Always double-check your car's exact model year and head unit type against the compatibility list before installation. For example, while this unit supports Zafira models, a 2016 Zafira might fall outside the supported 2011-2015 range and may not be compatible.
- Firmware Updates: Check the manufacturer's website periodically for any available firmware updates to ensure optimal performance and compatibility with the latest smartphone operating systems.
- Cable Quality: When using wired CarPlay/Android Auto, always use high-quality USB data cables to prevent connectivity issues or slow charging.
- Professional Installation: If you are not comfortable with car electronics installation, it is highly recommended to seek professional assistance to avoid damage to your vehicle or the interface box.
11. Warranty and Support
For any technical issues, warranty claims, or support inquiries, please contact the seller or manufacturer directly. Keep your purchase receipt as proof of purchase.


